How to Make 3D Flower Coasters
Resin coasters are one of our favorite resin crafts. They are so beautiful and so unique. There are a million variations you can try and today we are showing you how to make 3D flower coasters. Karen of MG Creations by Karen is teaching us how it’s done and the results are gorgeous!
Karen is a talented resin artist who specializes in badge reels and key chains but she has recently branched out into coasters. She has worked hard to perfect this flower style and is grateful to all the artists that she has learned from. The awesome thing for us is that Karen is a teacher by trade. And, being new to coasters herself, also knows what newbie coaster artists want to know. That makes her the perfect teacher for all of us! Karen breaks down this tutorial into easy to follow steps. She explains the hows and whys of each step while showing us how it’s done.
How to Make 3D Flower Coasters
There are lots of variations to making 3D flower coasters. You can use different molds, different petal types, different layers, etc. In the video below Karen shows us how to use one method to make two different types of coasters. That means that once you have this technique down you’ll actually have two new styles that you can create! The coasters in this tutorial have two main colors. This gives an amazing and realistic look to them. Once you’ve mastered this technique you could go crazy and mix things up if you wanted to. Karen uses some fabulous chunky glitter as the center of her flowers. This adds texture and depth, depth, and sparkle to the coasters. You could also try using painted glass or crystals for your center if you want to try a geode look. There are so many ways you can go with this design!
The Finishing Touches…
When you watch the video you will see that Karen gives us two different options for finishing these coasters. The coasters are done in two layers and you can choose which way to do the second one. You can either leave your coasters clear or add a layer of resin and glitter to make them super sparkly. Whichever option you choose you’re going to love the way they turn out!
When you remove your coasters from the molds you may find that there is a slight lip around the outside edge. This happens, no worries! There are a couple of ways that you can take care of it. You can use a sanding block to gently sand along the edge. Or, if you have one, use a Dremel to do the same thing. Either way is effective, it just depends on what you have on hand.
After your coasters have cured and you’ve removed them from the molds they will be beautiful and ready to go. If you want to add a little bit of extra bling though you can add one more step. A layer of gold or silver along the edges would be a beautiful touch! In the video Karen talks about a couple of different ways you can do this so be sure to catch that if you’re interested.
How to Make 3D Flower Coasters
Materials
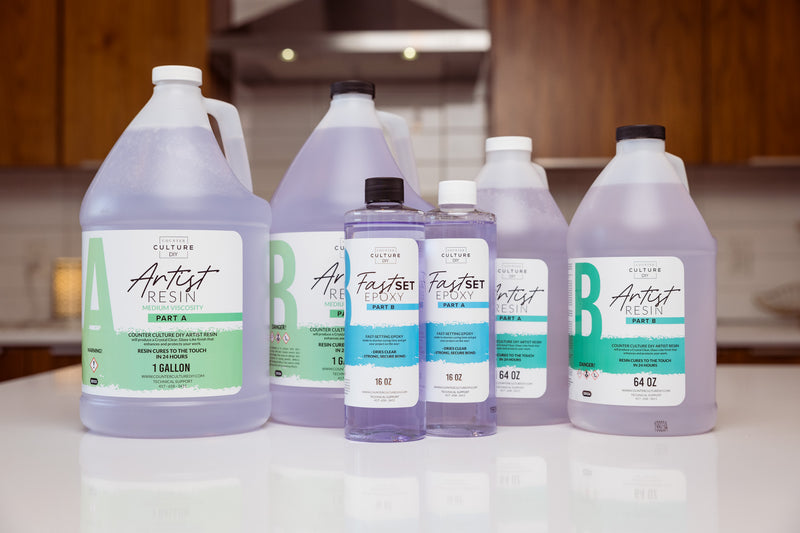
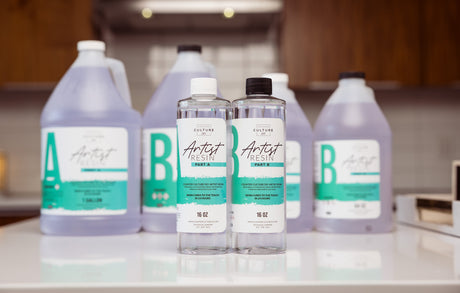
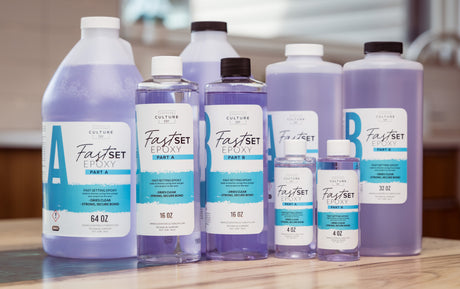
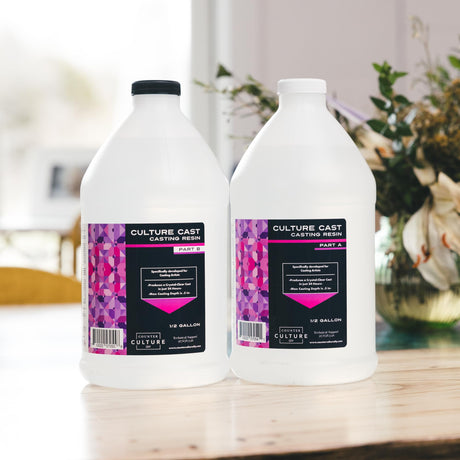
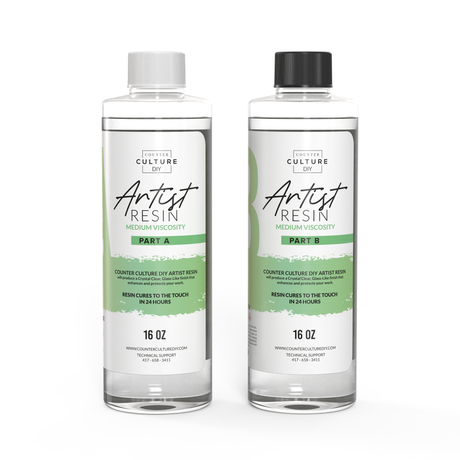
- Counter Culture DIY Artist Resin Medium Viscosity was used in this tutorial
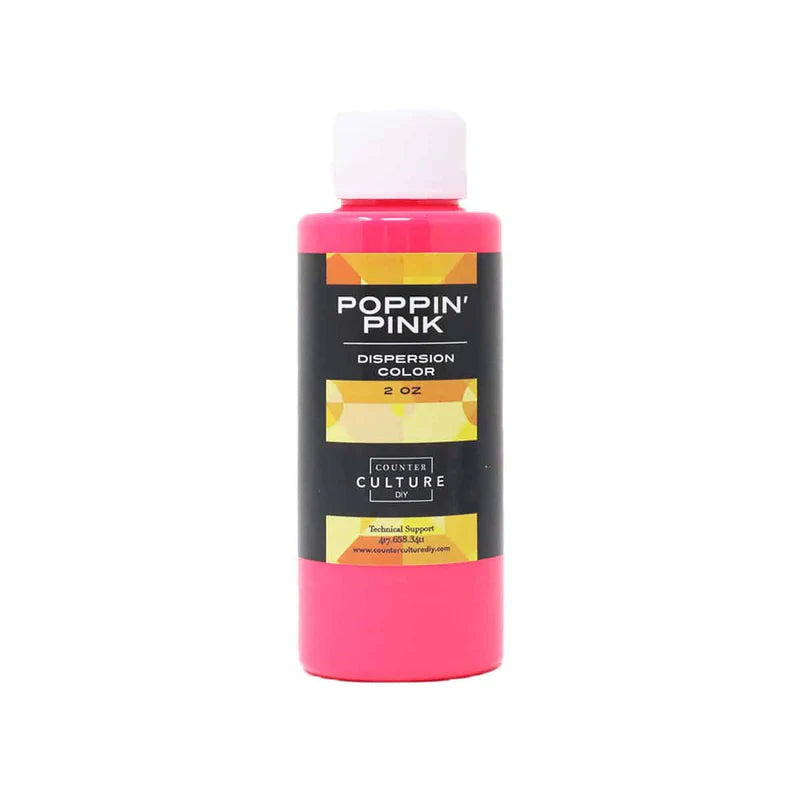
- Counter Culture DIY Dispersion Colors Freedom Red, Cameo Cream
- Alcohol Ink White
- Mica Powder White
- Glitter Treasure, Regal Red
- Geode coaster molds
- Protective gloves
- Silicone mat
- Mixing sticks
- Mixing cups
- Tape
- Heat gun
- Sealable plastic bags sandwich size
- Heat gun
Instructions
- Start by using tape to clean your coaster molds. This will remove any debris that may have collected.
- Combine equal amounts of part A and Part B of the Artist resin. Karen used 7.5 oz total for the coasters but had 1.5 oz left over.
- Next, pour 20 ml of the combined resin into 2 cups and 5 ml into 1 cup.
- Add the gold Treasure glitter into the cup with 5 ml and stir to combine.
- Now add 4 drops of the Freedom Red Dispersion color to one of the 20 ml cups and stir to combine.
- Next add 2 drops of the Cameo Cream Dispersion color, 2 drops of white alcohol ink and a little bit of white mica to the other 20 ml cup and stir to combine.
- Now add about 1.5 oz of combined clear resin to the bottom of each coaster. Make sure the resin gets into all the nooks of the coaster mold.
- Use the heat gun to pop any bubbles in your coasters.
- Next, add a dollop of the glitter mix to the center of your coaster. This will be the center of your flower.
- Now to make piping bags...Take one of the sandwich bags and place it inside a small cup, folding the bag over the sides of the cup. This will make it easier to fill. Add your white mix to the bag. Take the bag out of the cup, squeeze out the air, then seal the bag. Squish all your mix into one corner of the bag and then twist the bag several times just above the mix. Repeat this process with your red mix.
- Start with the red bag. Snip a tiny bit off the corner of the bag. Use the bag to "draw" 5 small petals around the center of your flower. Do this to all three of your coasters.
- Next, snip the end off the white bag and add white petals just outside of the red ones.
- Then add another round of red petals and then another round of white ones, then red again. Finish with one more round of white petals.
- Now use a pointed tool (not sharp or it will scratch your mold) or stir stick to add definition to your petals. Do this by starting at a point between two petals and at the outside. Use the tool to pull straight from the outside to the center. Wipe your tool clean and then repeat with the remainder of the petals cleaning your tool between each one.
- Next take your tool and pull from the center outward at the middle of each petal. When this is done, use the heat gun to pop any bubbles. Let your coaster cure for 5-12 hours before moving on to the next layer. For the final layer you have 2 options.
- Option 1: Add a thin layer of combined Artist Resin and then do the petals just like you did the for the first layer. Note that you don't need to add the glitter at the center for this layer. Allow the coaster to cure for 24 hours.
- Option 2: Now add the Regal Red glitter to combined Artist Resin. Dump onto each coaster and spread it out to get it in all the nooks. Use the heat gun to pop any bubbles and allow it to cure for 24 hours.
The Wrap Up…
Coasters are such a versatile resin craft which makes them popular with resin artists. They are also very popular with customers! Being able to offer coasters could add a whole new level to your business page. If you’re a hobbyist these designs also make excellent gifts and would look amazing in your own home. If you love Karen’s art as much as we do you can follow her on Facebook and Instagram! You will also find her hanging out with us in the Counter Culture DIY Artist Support group doing Lives, sharing art, and supporting fellow artists.
Be sure to follow us on Pinterest so you can stay on top of everything that’s new and never miss a blog post!
If you want more inspiration and information we have a Facebook group for that. Join us in Counter Culture DIY Artist Support where we, and other artists, offer ideas, answer questions, and support each other!
Do you have an art project using any of our products that you want to share? Send it to us at [email protected], and we can feature them here!
Pingback:Making a Resin Coaster Holder - Counter Culture DIY