How to Make a Holiday Serving Tray
We have another fun holiday craft idea for you today! Meg of Maker Magic with Meg Epps by Lyndly Grove is showing us how to make a holiday serving tray. Her gingerbread themed tray is absolutely adorable and we can’t wait for you to see how it’s done!
Intro We love making tumblers and coasters as much as the next artist. They are the heart of many of our resin artist’s small businesses and we will continue to bring you awesome tutorials for them. But we also love finding other ways to use our resin talents!
Meg has been showing us how we can use the supplies and methods that we love to create unique home decor items. From Dirty Pour Pumpkins to Holiday Door Hangers. And now a tutorial on how to make a holiday serving tray!
How to Make a Holiday Serving Tray
Making home decor items with resin is great for a lot of reasons. Which is why we wanted to bring these fun new craft ideas your way.
For one they make great gifts! And, if you are like us, you have already gifted your loved ones with your signature resin art items. Finding new resin craft ideas means you can still gift your loved ones with your beautiful hand made items. Those are the gifts that really come from the heart, which makes them our favorites!
Another thing that is great about this tray (and other decor items) is that it makes a great addition to your website, Etsy shop, or social media business page. They are also a huge hit at store fronts and craft shows. Since they don’t take much by way of supplies, and you can batch them out to save time, these trays give you a good return on investment when you sell them.
Holiday Serving Tray Tips
Making these trays is simple but Meg always has some tips and tricks to share with us. The first tip was to make sure our vinyl is smoothed out well. Use a smoothing tool to get out as many bubbles as you can. Then tilt the tray to look at it from different angles. This will help you pick out any bubbles that you may have missed.
If there are a few spots that can’t be smoothed out, take an exacto knife and make a tiny slit in the bubble. Then smooth it back down. Once you apply resin over it, any slits you made won’t be noticeable.
Another tip Meg shared has to do with the way we apply our resin to the tray. When we make tumblers, we use a gloved finger to apply our resin to the cups. While the tumblers turn on a turner, the resin naturally moves and levels. Since the tray will be resting as it cures, we need to go at it a bit differently. Instead of using your fingers to spread the resin, pour the resin into the tray and use gravity to smooth it.
Do this by tilting, turning, and rotating the tray to move the resin around. You can also use a heat gun to help move it. Applying the resin this way gives us a more even layer and ensures that we won’t miss any spots. All of our resins are self leveling. So once your have the whole bottom of the tray covered in epoxy, let it sit and do it’s thing. The resin will continue to move as it sits until the entire surface of the tray is level. Easy peasy!
Don’t Stop with Trays!
Meg teaches us step by step how to make these adorable holiday trays. But there is no reason to stop at trays with this method! You can use the same process on anything that will hold resin. Like charger plates. Different shapes and sizes of trays. Bowls with divots in the bottom…the list goes on!
You can also use the same process on a tumbler. And repeat it on a smaller scale for coasters. That’s the awesome thing about learning a new technique. It can be transferred to other projects in so many different ways. Think of it as adding another tool to your tool box. Ready to be pulled out anywhere and at any time!
How to Make a Holiday Serving Tray
Materials
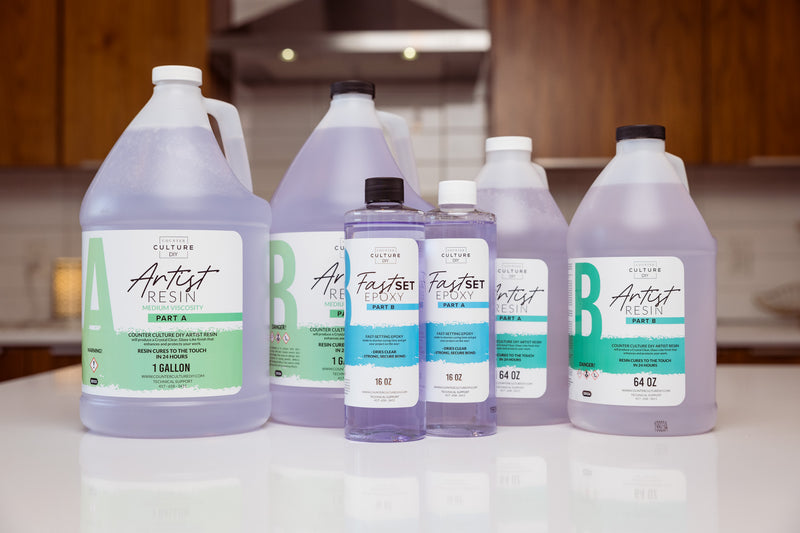
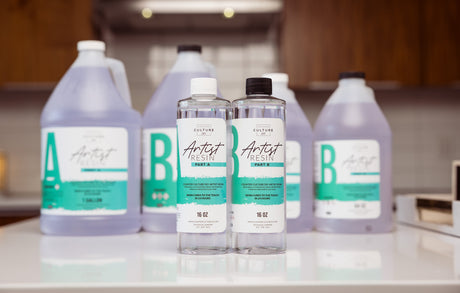
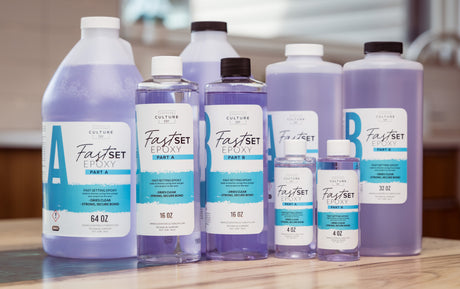
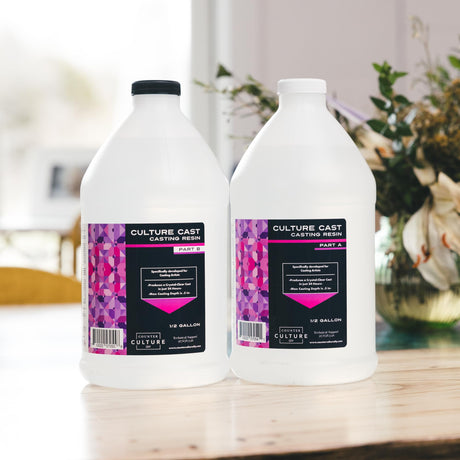
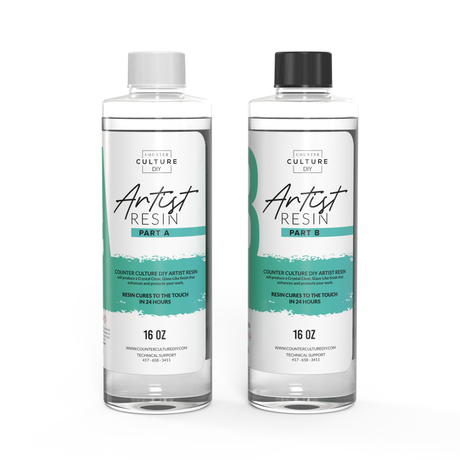
- Counter Culture DIY Thin Viscosity Artist Resin
- Galvanized serving tray
- White Prime Time
- Holiday themed vinyl Meg used clear cast vinyl
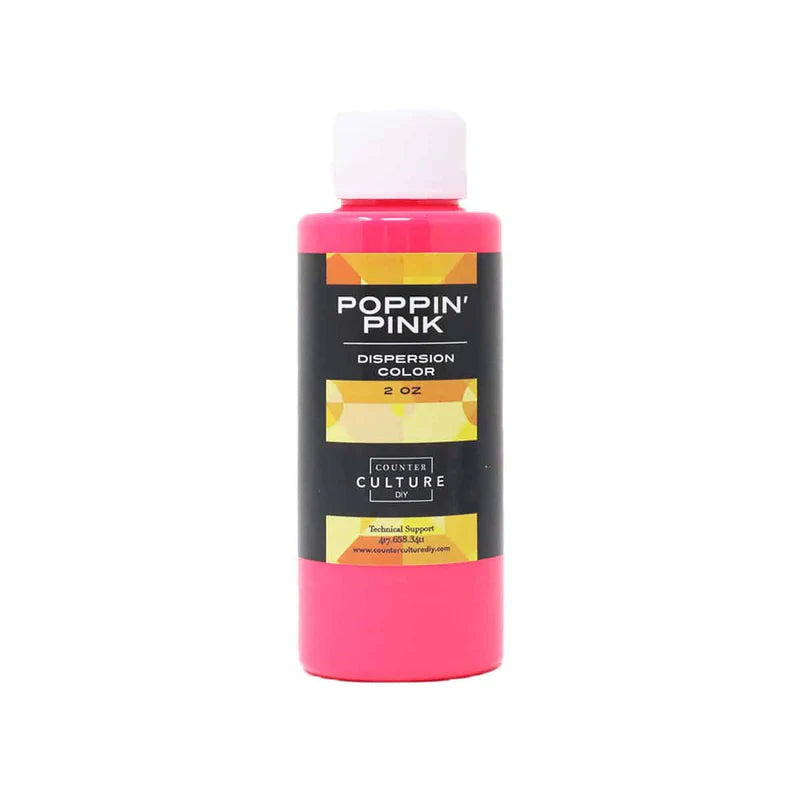
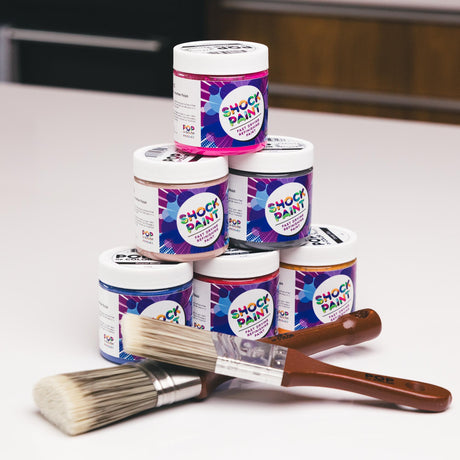
- Pop of Color Paints In a color that matches your vinyl. Meg uses Blush for her tray.
- Pure White Pop of Color Shock Paint
- Precious Metals Meg uses After Party.
- Foil Flakes
- Paint brush
- tweezers
- Protective gloves
- Silicone mat
- Filter mask
- Mixing cups
- Mixing sticks
- medicine cups
- Heat gun
- Torch
- Rubbing alcohol
- Glitter Spoon
- Desert Canyon Glitter
- New Years Eve Glitter
- Ivory Sky Glitter
- Brilliant Bronze Glitter
- Fabulous Frost Glitter
- Sprinkles
- Paint brush
- Heat Gun optional
Instructions
- Start by giving the bottom of your tray a coat of White Prime Time. Use a heat gun to speed the drying process if you want to. Then apply a second coat if needed and let that dry.
- Peel back the protective sheet on the vinyl a few inches and cut it off. Then place the vinyl into the tray, making sure the center of the design is in the center of the tray.
- Smooth down the exposed vinyl and continue exposing and sticking it in place until the whole sheet is down.
- Then smooth the vinyl out and use a tool to get it into the edge of your tray really well.
- Then use an exacto knife to trim the excess of the vinyl.
- Next, take your paint brush and did it lightly into the Pop of Color Paint. Dab it off on a paper towel to remove any excess. Then dab the brush along the edges of your vinyl. Use a heavier hand in the areas where the white is showing. And gently dab and blend into the other edges.
- Then go back in with Pure White and very gently dab a little over the top of your main color. This will add more texture and help to blend the colors better.
- Now mix up a batch of Thin Viscosity according to the package instructions. Measure equal amounts of Parts A and B. Then pour part B into part A and mix well for 3-5 minutes. Be sure to scrape the sides and bottom of your cup as you go, as well as your mixing stick. This ensures that all of your epoxy will be well incorporated.
- Next, grab a small cup and add some Dessert Canyon, New Years Eve, and two scoops of Ivory Sky. Add a little bit of the Brilliant Bronze. Mix them together and then put some combined resin in a medicine cup and add some of the glitter mix. Stir well to combine.
- Now pour your clear resin into your tray. Tip and turn it to get the resin to move around the tray. You can use a heat gun to help the movement. Do this until the whole bottom of your tray is coated with resin.
- Next, grab your glittered resin. Drizzle it towards the outside edge of the tray. Use your glitter spoon to gently spread it towards the center. You don't want big clumps of glitter anywhere. And you want it to gently fade as it gets closer to the center.
- Then sprinkle a little bit of Fabulous Frost around the edges of your tray.
- Grab your foil flakes and do the same thing.
- Then use your tweezers to strategically place your sprinkles where you want them.
- Go over the resin with a torch to pop any bubbles. Then use rubbing alcohol to clean up any areas around the edge that you need to. Allow the resin to cure.
- Finally, mix up another batch of Artist Resin and apply a top coat of resin to the tray. Allow the resin to fully cure before using.
The Finishing Touches
And that’s how you make a holiday serving tray! You probably already have most of what you need on hand to pull this project off. And there is no reason to spend a ton of money on your tray. Meg found hers at Dollar General for $5. You can find similar deals at your local dollar store.
Trays are also available online. And, if you plan to make a bunch, you can save money by buying in bulk. Whether you keep, gift, or sell your finished holiday trays; we hope you love this project as much as we do!
As always, a big thanks to Meg for sharing her time and talent with us. If you loved learning from Meg and want to see more of her creations and tutorials you can follow her on Facebook, Instagram, and YouTube, and you can check out her Facebook group, Curious Crafters. You can also join her mentoring group, Maker Magic for extra information and support from two amazing resin artists!
You can find more awesome video tutorials like this one on our YouTube channel!
Be sure to follow us on Pinterest so you can stay on top of everything that’s new and never miss a blog post!
If you want more inspiration and information we have a Facebook group for that. Join us in Counter Culture DIY Artist Support where we, and other artists, offer ideas, answer questions, and support each other!
Do you have an art project using any of our products that you want to share? Send it to us at support@counterculturediy.com, and we can feature them here!