How to Make a Teacher Crayon Tumbler
We all know that teachers are some of the most dedicated and hardworking people out there. Today Karen from Infinity Art by K is teaching us how to make a teacher crayon tumbler that makes the perfect teacher gift! This adorable tumbler is a special way to honor the teachers in your life.
Every year Teacher’s Appreciation Week seems to sneak up on us. At first it seems like winter will never end and summer will never arrive but then…BAM! Easter is over, Mother’s Day is upon us and the week to celebrate our deserving teachers is here. Karen is showing us how to make a teacher crayon tumbler that is beautiful and sure to be treasured by the teachers you want to celebrate.
Karen is a teacher herself which may be why she has such a passion for these cups. She is a bilingual 5th grade math and science teacher (God bless you Karen!) who gets to combine her love of teaching and love of tumblers in this awesome design. And, speaking of 5th graders, this design is also really cute for students too!
How to Make a Teacher Crayon Tumbler
Karen has been making these adorable cups since they first became popular. She explained that, even when the fever died down, they still remained one of her best sellers on Etsy. It’s easy to see why! Karen really pours her heart and talent into these cups and she has graciously agreed to share her secrets with us. As with many great tumbler designs, there are more than a couple of steps to this one. Don’t let that scare you though! Karen has broken each process down into easy to follow steps for us. And, let’s be real, teachers put their heart and soul into what they do every single day. A few extra steps to make the perfect cup for them is nothing to worry about!
This crayon cup is a great gift for any teacher. You can make them for your own kids’ teachers or offer them for sale in your shop. Love them but don’t really want to make your own? No problem! You can order one of Karen’s from her Etsy shop and she will help you customize it. She has everything from the one in this tutorial to fabulous crayon wine tumblers with leopard print! That one would be perfect for an end of the year teacher gift; what teacher doesn’t need a tasty adult beverage by the end of the school year?
Design Options
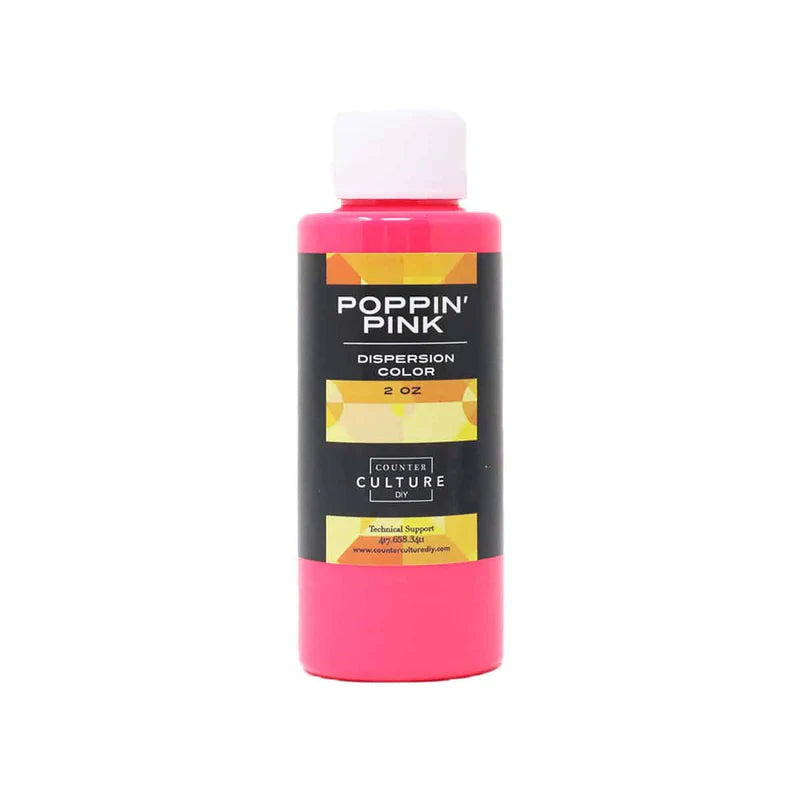
There are a few different ways that you can customize this teacher tumbler. Obviously the name will be different for each one but you can also make some other changes. There are several different mixes of the dot glitters that you can use depending on the look you are going for. From pale pastels to bright bold colors, there is something for everyone! Rockin’ Retro, Mirage, and Fairy Tale are all fun glitters to try. Once you choose your glitter colors you can also select your bottom base color. You will mostly see the dots but a bit of your base color will come through too and each shade gives a slightly different look to your cup.
How to Make a Teacher Crayon Tumbler
Materials
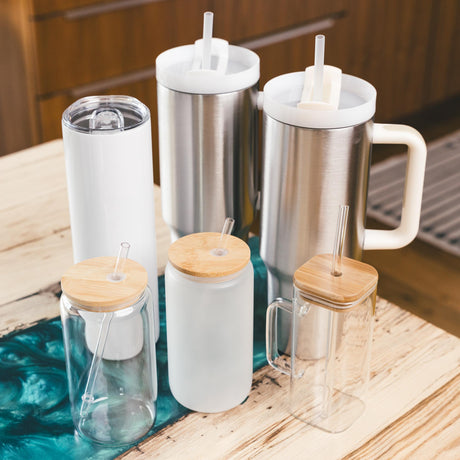
- Stainless Steel Tumbler
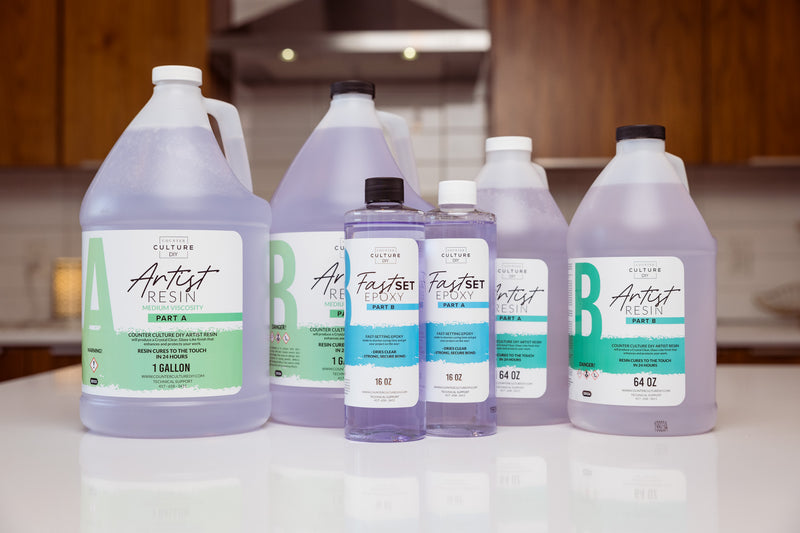
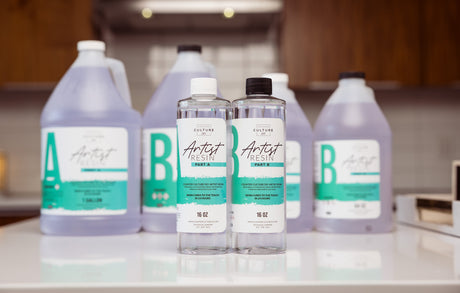
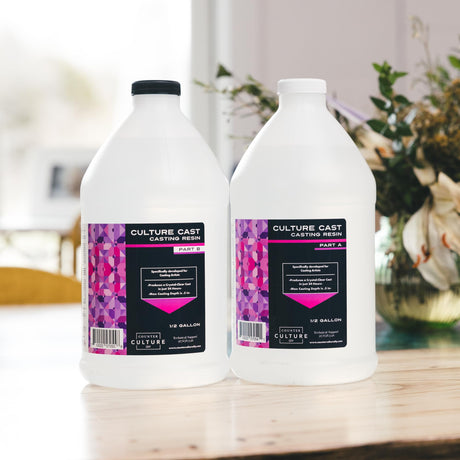
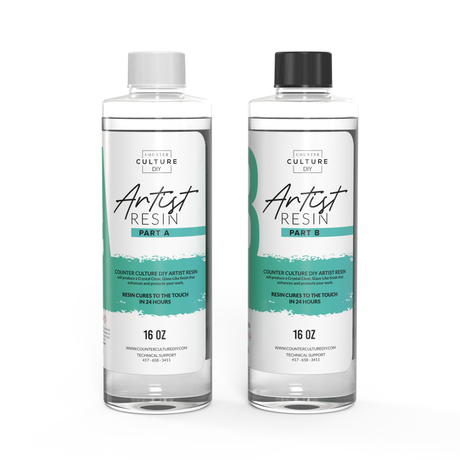
- Counter Culture DIY Artist Resin
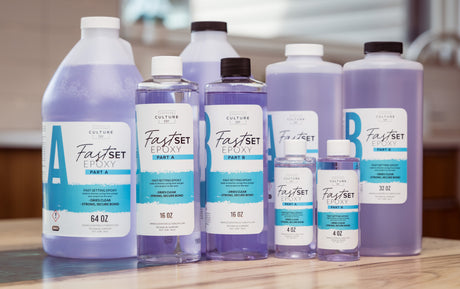
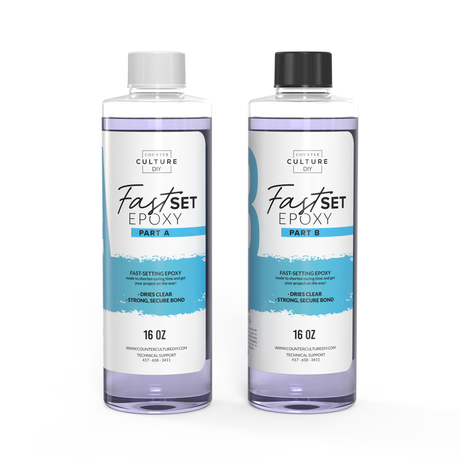
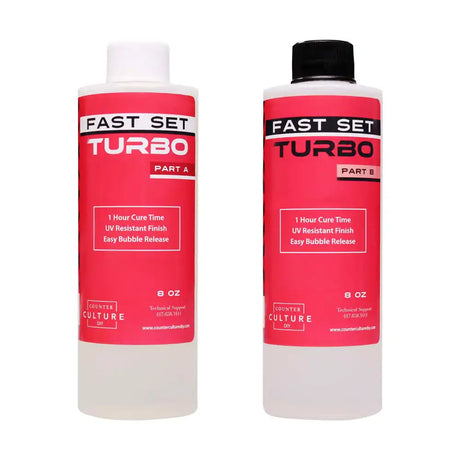
- Counter Culture DIY Fast Set
- Protective gloves
- medicine cups
- Mixing sticks
- Glitter Spoon Karen uses a metal stir stick, this is to place each dot on the tumbler
- Torch
- Heat gun
- sand paper rough and soft
- Spray paint White, light blue, light pink, or light orange
- Clear gloss and matte spray
- Counter Culture DIY Quick Coat
- Blue transparent dye optional
- Clear laser waterslide paper Karen uses Sunnyscopa
- Silicone brush
- Glitter White
- Rockin' Retro circular glitter or Mirage or Fairytale
Instructions
- Start by prepping your cup by wet sanding.
- Next spray paint the top 3/4 of the cup white. Then spray paint the bottom portion of the cup to match the dots you are using. It can be light pink, light blue or light orange. Let the paint dry for 3 hours.
- Mix 5 ml of Fast Set epoxy, this will be to glitter your cup. Apply a thin layer of the combined epoxy and place the cup on the turner for a few minutes to even out the epoxy. While it is spinning use a torch to pop any bubbles.
- Next sprinkle on a layer of white glitter over the entire cup and allow it to spin for 4 hours.
- Then seal with a matte spray and let it spin for another 20-30 minutes.
- Mix another batch of Fast Set for you first full layer of epoxy. You can mix in a drop of blue transparent dye to counteract any yellowing. The white part of the cup should have a thin layer and the bottom part should be thicker which will help the dots to adhere.
- Sprinkle your circular glitter starting at the bottom of the cup and stopping where the white color begins. Then, using a metal stir stick, place dots one by one to give depth to the sprinkle effect. Now let the cup spin for 4-6 hours.
- Prepare your crayon logo and print it onto the waterslide paper. Then apply the crayon decal over non-sanded epoxy and use silicone brush to remove excess water.
- Use a heat gun to help the decal fully dry and then apply a very thin layer of Quick Coat to seal it in place. Let it dry for about 20 minutes.
- Apply another layer of Fast Set epoxy (with the blue dye if using it), this time you want a thicker layer all around to give a good coverage to the dots. Let the cup spin for another 4 hours.
- Next, wet sand the cup with a light grit sandpaper. Focus mostly on the white portion of the tumbler and only lightly sand over the dots.
- Now spray the whole cup with a clear gloss sealant.
- When that is dry, add another thing layer of Fast Set and let the cup spin for 4 hours.
- Wet sand the whole cup one more time and apply your logo to the bottom of the cup if you use one.
- Mix a batch of Artist Resin (and blue dye if using) and apply it to the whole cup.
- Let the cup spin for12 hours and then let it cure for 4 days before shipping/delivery/pick-up.
The Wrap Up…
And that’s the teacher crayon cup, friends! Whether you are looking to give a gift to a teacher for the first day of school, a birthday, Teacher Appreciation Day, or the last day of school, this is the perfect solution! If you want to see more of Karen’s beautiful creations you can find her on Facebook, Instagram, and her Etsy shop. And a huge thank you to all the teachers in and out of our community! The dedication and love that goes into their craft should be celebrated every day of the year.
Be sure to follow us on Pinterest so you can stay on top of everything that’s new and never miss a blog post!
If you want more inspiration and information we have a Facebook group for that. Join us in Counter Culture DIY Artist Support where we, and other artists, offer ideas, answer questions, and support each other!
Do you have an art project using any of our products that you want to share? Send it to us at support@counterculturediy.com, and we can feature them here!