Making the Perfect Drip Cup using Nice N’ Thick
Tumblers are some of the most popular resin crafts around. There is no limit to the amazing things you can create with them and they are so fun to do! Today we’re showing you how to make the perfect drip cup using Nice N’ Thick. You’re going to love this project!
Tumbler artists are amazingly talented. There are so many different skills and techniques that go into tumbler making. Some artists are skilled in hand painting, others are talented graphic designers, still others do amazing things with 3D art. We are proud that our products get to part of these unique creations.
In the video below we are showing off one of our newer products that will make an awesome addition to your tumbler supplies. Our Nice N’ Thick is a thickening agent that will help you achieve the perfect drip cup design! If you haven’t tried this technique yet you are in for a real treat. We can’t wait for you to see the possibilities and the results!

From top left to bottom right: Emily of Silly Duck Creations, Misty of MD Leonard Designs, Taren of Wits End Tumbling Designs, Brittany of One Mama Creations, Danielle of DAM Fancy Creations, Athena An
Making the Perfect Drip Cup using Nice N’ Thick
Right now we are in the midst of the holiday season. Halloween is just behind us and Thanksgiving is mere weeks away. That means that resin artists are in the full swing of crafting their creations for gift giving. You could say that they are extremely busy helping Santa’s elves!
Whether you are a new tumbler artist or an old pro, a seller or a hobbyist, being able to make the perfect drip cup will add variety to your tumbler line up. Drips seem to be especially popular on tumblers with the fall, Halloween, and winter themes. That makes this the perfect time of year to learn how to make them!
There’s another great thing about drips cups. You can add them to any type of base design that you want! That means that whether you specialize in glitter, alcohol ink, split cups, or anything in between, the drip method will work for you. Also, since you mix Nice N’ Thick right into your Artist Resin, the drip is your final epoxy layer. No need to add any additional coverage!
Tips and Tricks…
- Nice N’ Thick is a powder thickening agent. When you are mixing it into your pre-mixed epoxy be sure to start with a little at a time so that you get the consistency you are going for. If you put in too much at once your epoxy will be too thick and you won’t achieve the drips you want. You want it just thick enough to drip without running uncontrollably down the sides of your tumbler. The video below will show you the correct consistency.
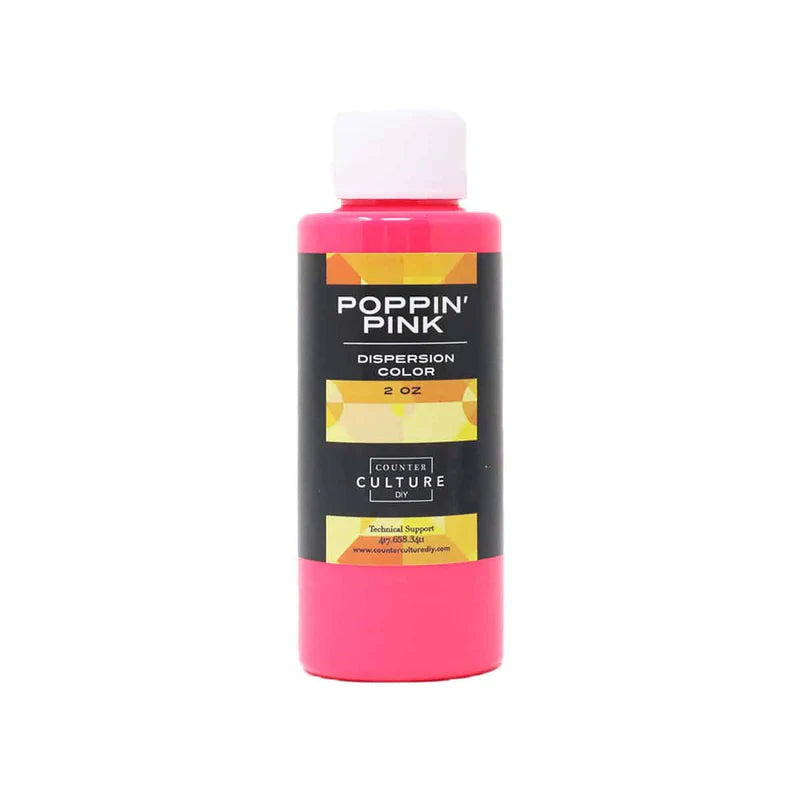
- When adding colorant to your drips it is best to add the Nice N’ Thick first and then add your pigment. That way you’ll be able to better gauge the shade you are getting. You may need to add more colorant than you’re used to since the Nice N’ Thick has an opaqueness to it. Our Dispersion Colors are the perfect choice for adding pigment to your drips!
- You can also add other things to your drips! Some cute holiday sprinkles would make a great addition to a hot cocoa cup. Glow in the dark pigment added to the drips on your Halloween tumbler would add a spooky feel. And we know how much most of you love glitter! You get the idea, the sky is the limit here.
Drip Cup Supply List
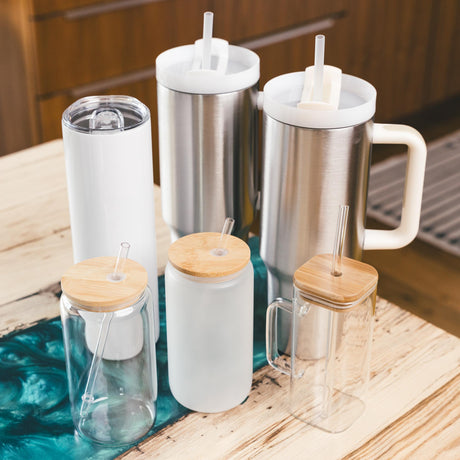
- Tumbler that you’ve previously decorated and added your final layer of epoxy to.
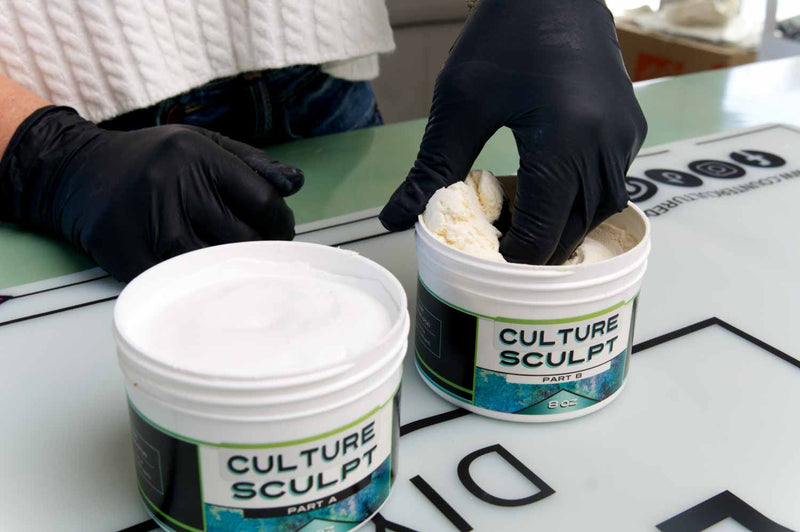
- Counter Culture DIY Nice N’ Thick
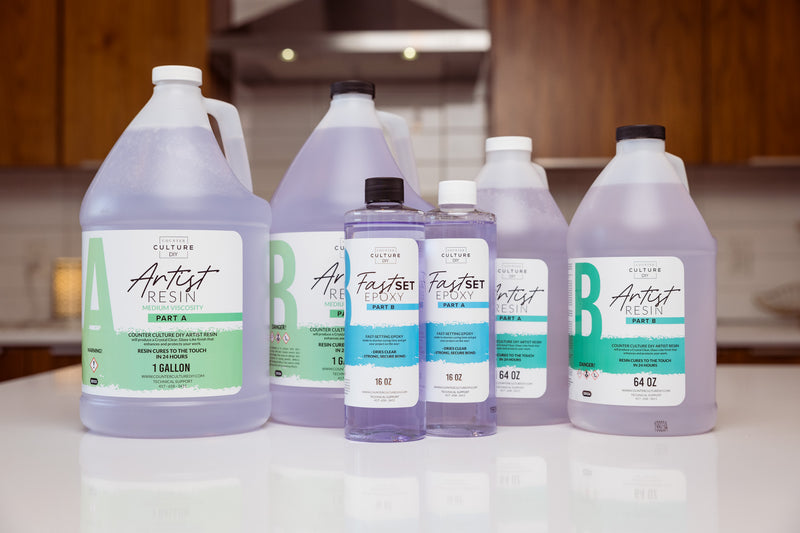
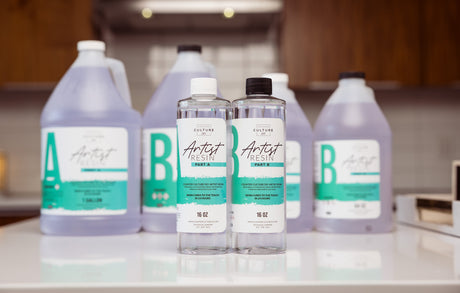
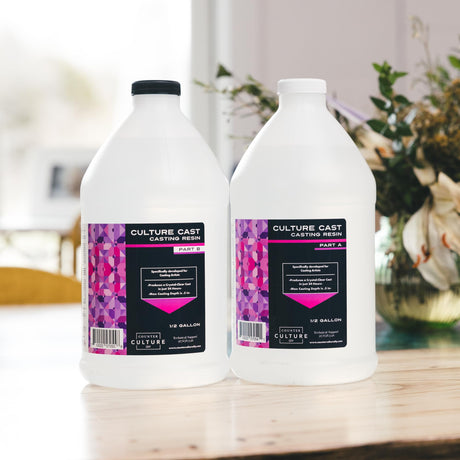
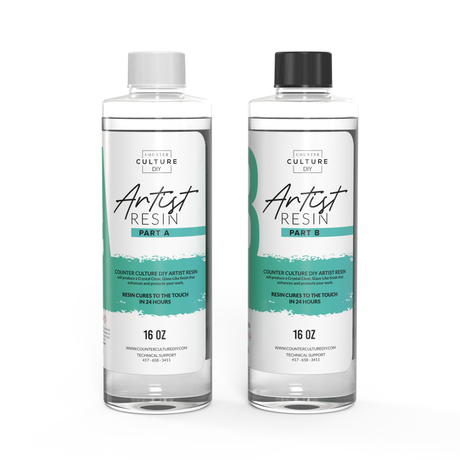
- Counter Culture DIY Artist Resin
- Colorant (optional)
- Additives such as sprinkles, Glow in the dark, glitter (optional)
- Measuring and mixing cups
- Stir sticks
- Gloves
- Tumbler Turner
Step By Step Instructions
- Start by mixing equal parts of the Artist Resin according to the instructions on the container. Mix well for 2-3 minutes, scraping the sides of your cup and your stir stick.
- Next, use the end of a stir stick to add a small amount of Nice N’ Thick to your combined Artist Resin. Fold the powder into the resin and mix until no clumps remain. The easiest way to do this is to push the resin up and mash it into the side of your cup. Continue to add a small amount of powder and combine well until you reach the desired thickness.
- Next, add your chosen colorant a little at the time until you get the shade you’re looking for. Then add any other items you’ll be using (like sprinkles).
- Now, use the stir stick to spread your mixture to the top edge of your tumbler. Once you have it all spread stand your cup up and allow gravity to make natural drips. Once the drips are where you want them put your tumbler on your turner so it won’t continue to drip.
- Allow your cup to cure on the turner for 24 hours.
The Wrap Up…
And that’s the dish on drip cups! The drip adds so much texture and variety to your designs and can be used on any sort of cup you like. Once you’ve completed your basic tumbler design, adding the drips is a cinch! There are so many ways that you can go with this technique and we can’t wait to see what you come up with.
If you share your creations on Instagram, be sure to use #counterculturediy so we can check out your designs!
If you want more inspiration and information we have a Facebook group for that. Join us in Counter Culture DIY Artist Support where we, and other artists, offer ideas, answer questions, and support each other!
Do you have an art project using any of our products that you want to share? Send it to us at [email protected], and we can feature them here!
Comments are closed.
Pingback:How to Make Sundae Tumbler Toppers - Counter Culture DIY
Pingback:Halloween Inspired Bubbly Cauldron Drip Wine Tumbler - Counter Culture DIY
Pingback:How to Make a Caramel Apple Fall Tumbler - Counter Culture DIY
Pingback:Snow Globe Tumbler Tutorial