How to Make a Penguin Tumbler
/
/
How to Make a Penguin Tumbler

How to Make a Penguin Tumbler

We have an adorable resin tumbler idea for you today! Misty Leonard of MD Leonard Designs is showing us how to make a penguin tumbler that is sure to make you smile. Misty uses Culture Sculpt and Pop of Color Shock Paints to create her little cuties. And artists of any level will be able to do the same!

Penguins are one of the cutest animals in the world, so who wouldn’t want to create a tumbler featuring these adorable creatures? Whether you’re making it as an Easter gift or to add to your product line up, this penguin-themed tumbler is sure to put a smile on anyone’s face!

In the video below, Misty shows us how to make a penguin tumbler in a few simple steps. So grab your sculpting tools (these can be as basic as a toothpick and a straw) and your favorite shades of Shock Paint and let’s get crafting!

how to make a penguin tumbler

How to Make a Penguin Tumbler

We have been having a lot of fun with 3D tumblers lately! Misty has shown us how to make some really cute tumbler designs using Culture Sculpt. And each one is as unique as the last. The thing we love most about using Culture Sculpt for our 3D tumblers is that it is an all-in-one process. What do we mean by that, you ask?

Well, when you use clay to create the add-ons for your tumblers there are several extra steps. You have to dry it (and hope it doesn’t crack or shrink). You need to attach it to your tumbler (and hope it stays secure). And you often have to prep it for paint.

With Culture Sculpt, however, all of that is taken care of for you! Since it is sculptable epoxy, you don’t have to worry about shrinking or cracking. Your Culture Sculpt will stay just as you leave it. It is also self adhering. So, once you place it and it cures, that’s it! A secure bond that only resin can give. If you are new to Culture Sculpt and want to learn more about it, check out our post Introducing Culture Sculpt: All your Questions Answered!

How to Make a Penguin Tumbler

Design Variations

Misty shows us exactly how she made her sweet penguin tumbler. She shares the colors she used as well as the methods. So you will be able to make your cup very similar to hers if you want to. Or you can totally change things up! You can use any colors of paint that you like for your penguin.

One of Misty’s penguins is fairly monochrome in its colors. While another has amazing leopard print on its hat and scarf. Misty gives you the method so you have a jumping off point. But where you take it after that is entirely up to you! One more thing to mention… Misty uses vinyl and prints out her penguin eyes. This ensures that they come out the way she wants, every time.

How to Make a Penguin Tumbler

But if you don’t have a vinyl printer/cutter you still have other options! You can free hand your eyes if you are skilled in painting. Or you could print out eyes on regular paper or card stock and use them as a stencil. There are probably lots of other methods that you can come up with too. No matter how you do it, remember that painting mistakes can easily be fixed by adding more paint. Or just covering the offending area with paint and starting over again. You’ll get it!

How to Make a Penguin Tumbler

Watch the Video Tutorial Here!

How to Make a Penguin Tumbler

Learn how to make a cute penguin tumbler with Culture Sculpt and Artist Resin!
Yield: 1 tumbler

Materials

Instructions

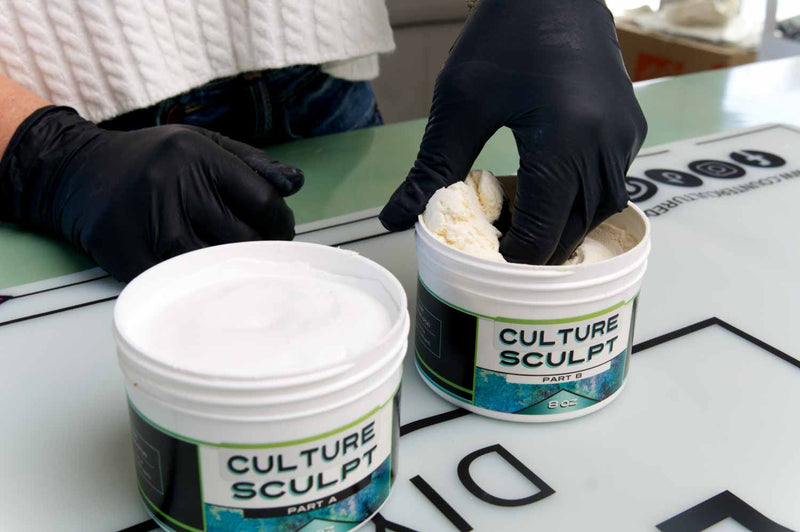
  • Use a gloved hand to scoop out equal amounts of Part A and Part B of the Culture Sculpt. Then smoosh and knead the two parts together until they are thoroughly combined.
    When it is thoroughly combined, it will all be one color.
  • Next, take a length of the combined Culture Sculpt and wrap it around the rim of the cup to make the base of your hat. Press it down as you go. Once you have it secured in place, take a frosting spatula and run the edge of it around the rim of the cup to remove the excess Culture Sculpt.
    Then use the spatula to cut away the excess at the bottom and even out your strip of Culture Sculpt. Misty's strip of Culture Sculpt is about 1 1/2 - 2 inches.
  • Then dip your gloved finger into water. Use the water to smooth out the Culture Sculpt. This will remove any glove and finger prints.
  • Use a baby wipe or damp rag to clean any Culture Sculpt that got where it wasn't supposed to.
  • Take some of your mixture and roll out a long strip for the brim of the penguin's hat. You can make it as big or as small as you want. But it should stick out a bit further than the main part of your hat.
    Gently press it down and blend it to the top of your hat.
  • Use the toothpick to add texture to the rim of the hat. To do this, just poke the pick in and out.
  • Next, make your scarf. Leave a V shape at the front of your cup. Then mold the rest of the scarf around the back of the cup.
    Use water and your finger to smooth the scarf out.
  • Then use the edge of the spatula to scrape away any excess mixture from the bottom of the cup.
  • Take your piece of string and use it to make stripes on your scarf. Just wrap the string evenly around the scarf and press it gently into the Culture Sculpt. Then remove the string.
    Continue adding stripes this way until you have as many as you want.
  • Then make a rounded square for the center of the scarf. Press it into place. Then use the string to make stripes so that the scarf looks knotted.
  • Set your tumbler aside and let it cure. Then give it a base coat of Black Shock Paint. Paint all but the face of your penguin.
    Then paint the face with Pure White Shock Paint. Let those coats of paint dry before moving on.
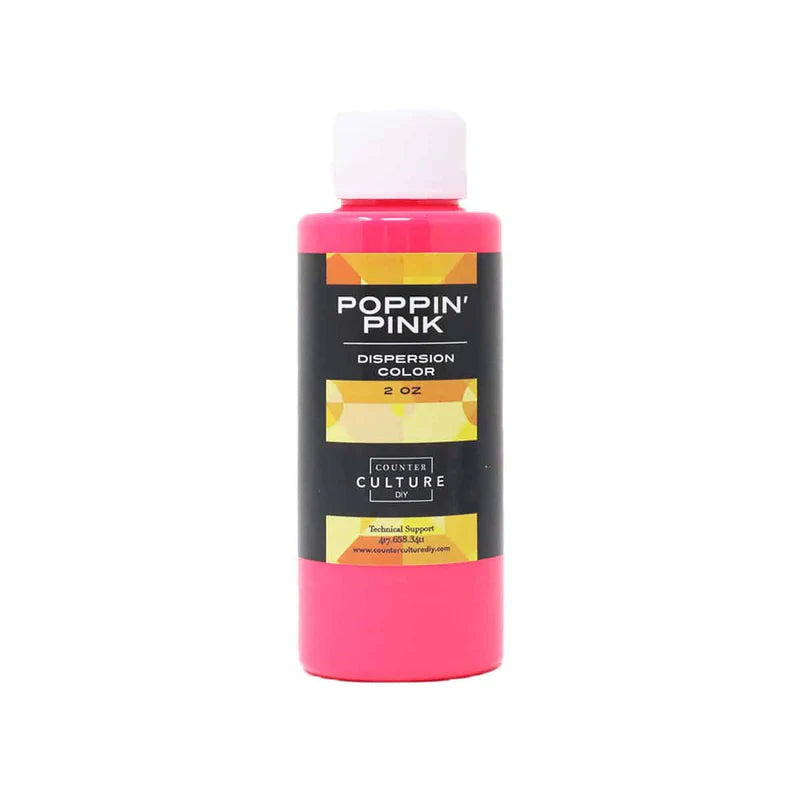
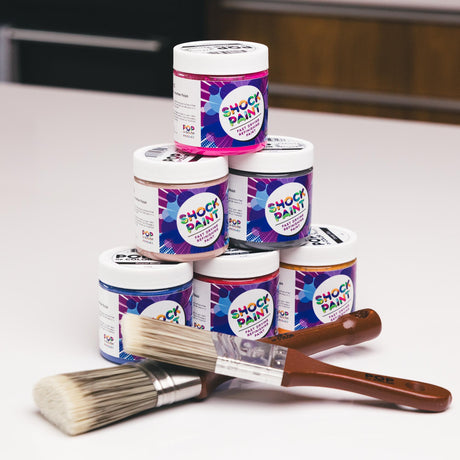
  • Take the round brush and dip it into the Hot Pink Shock Paint. Dab most of the paint off onto something. Then dab your brush over the hat (minus the brim) and scarf areas of the your penguin.
  • Then use a smaller brush to get up next to the edges where the round brush doesn't reach.
  • Next, use your small brush to dab the White onto the brim of the hat like you did the pink.
  • Now it's time to paint the face. Use the paint marker to add two half circles for the cheeks. And a triangle for the nose. Then place your eye balls and outline them with the paint marker. Then add in the eyeballs.
  • Next use a small brush and the Black paint to fill in the areas around the eyes and cheeks. Use the yellow to fill in the nose. Let your paint dry before moving on to epoxy.
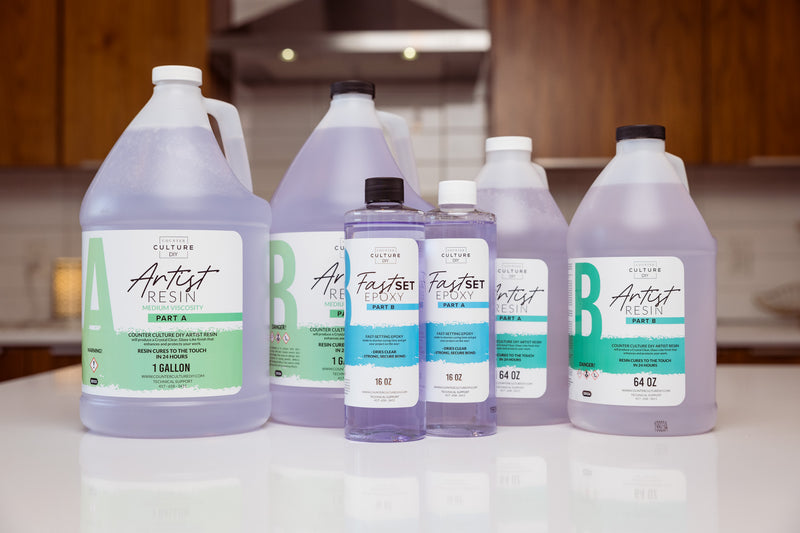
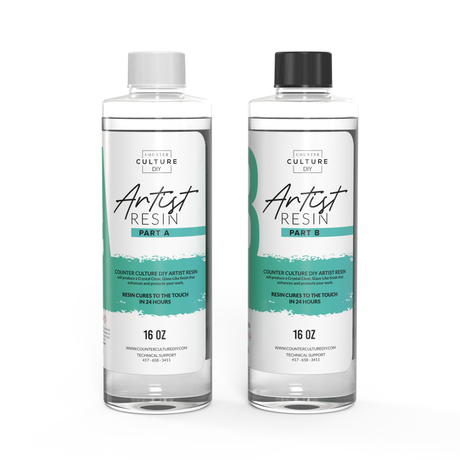
  • Next, mix up a batch of Artist Resin according to the package instructions. Measure equal amounts of Parts A and B. Then pour part B into part A and mix well for 3-5 minutes. Be sure to scrape the sides and bottom of your cup as you go, as well as your mixing stick. This ensures that all of your epoxy will be well incorporated.
  • Add a very thin layer of the epoxy to your cup. You don't want to make it too thick or our will get pooling and bubbles in your lower areas.
    Once this first layer of epoxy is cured, you will be able to add a normal layer of epoxy. Continue adding and curing layers until your cup is as smooth as you want it. 2 or 3 layers should do it.

The Finishing Touches

And that’s how you make a penguin tumbler! Ready to make an adorable penguin tumbler of your own? Grab some supplies and get creative! With a little bit of effort and imagination, you can craft something wonderful that will have friends and family asking where you got such a fun idea!

A big thanks to Misty for sharing her time and talent with us! If you loved learning from Misty you can find her all over social media! Follow her on FacebookInstagram, and YouTube. You can also find her in our post How to Make a Cookie Handle Tumbler. That’s another fabulous 3D tumbler tutorial!

How to Make a Penguin Tumbler

Pop of Color Shock Paints are sold exclusively at Counter Culture DIY. So now you have even more reasons to stop by!

You can find more awesome video tutorials like this one on our YouTube channel!

Be sure to follow us on Pinterest so you can stay on top of everything that’s new and never miss a blog post!

If you want more inspiration and information we have a Facebook group for that. Join us in Counter Culture DIY Artist Support where we, and other artists, offer ideas, answer questions, and support each other!

Do you have an art project using any of our products that you want to share? Send it to us at [email protected], and we can feature them here!

Share this post

Start typing and press Enter to search

Shopping Cart

No products in the cart.