Halloween Inspired Bubbly Cauldron Drip Tumbler
/
/
Halloween Inspired Bubbly Cauldron Drip Tumbler

Halloween Inspired Bubbly Cauldron Drip Tumbler

We have another awesome fall tumbler tutorial for y’all today! Laura of Serene Design Company is showing us how to make this amazing Halloween inspired bubbly cauldron drip tumbler. Her bubbly drips are so amazing!

This Halloween inspired bubbly cauldron drip tumbler is so much fun. It’s reminiscent of striped witch’s tights and obviously a cauldron brew. Laura is sharing her whole process with us so that we can make our own fabulous Halloween Tumblers. Laura uses a great method to make her stripes. She uses double sided tape of different sizes.

Then the first layer of glitter sticks right to the tape. Gotta love a simplified process! Laura used Nice “N’ Thick and Medium Viscosity Artist Resin to get those awesome drips. The half pearls are used to make the bubbles. The whole effect is ghoulishly gross and absolutely fabulous!

halloween inspired bubbly cauldron drip tumbler

Halloween Inspired Bubbly Cauldron Drip Tumbler

Lauren’s double sided tape method makes stripe making simple. And it is simple to get different sized stripes doing it this way. If you are used to using painter’s tape, you could still use different thicknesses of that but may not be able to have such a variety of sizes. 

One of the things that’s interesting about Lauren’s stripes is that there is no set pattern to their colors. Lauren just chooses a few random stripes for each color of her glitters. Don’t get us wrong, we love perceptible patterns too! But there is something so fun about the randomness. And it goes perfectly with the Halloween theme! 

Design Variations

In the recipe below we have listed all of the CCDIY glitters that match Lauren’s tumbler. You could use these classic Halloween colors or try other combinations. You could even use Glow-in-the-Dark or Thermal powders to add to the spooky theme!

Lauren uses a matte finish spray paint to seal her glitters before adding epoxy. If you have some on hand you can go for it with the paint. Or you could use Quick Coat as your sealant. We know that many of you already have some in your work rooms! If you have never used Quick Coat as a sealant or adhesive, check out our post How to Use CCDIY Quick Coat. You’ll learn about the many ways you can use this awesome product!

How Much Resin to Use

The amount of resin that you will need for you cup will depend on how big it is. Laura used a 20 oz tumbler for her cauldron cup. The amount will also depend on how many layers of epoxy you need to get your cup nice and smooth. If you need help figuring out how much resin you will need, you can use our Resin Calculator. All you need to do is plug in the dimensions of your project and the Resin Calculator will tell you how much to use. 


Halloween Inspired Bubbly Cauldron Drip Tumbler

How to make a striped glitter Halloween inspired bubbly cauldron drip tumbler
Yield: 1 tumbler

Materials

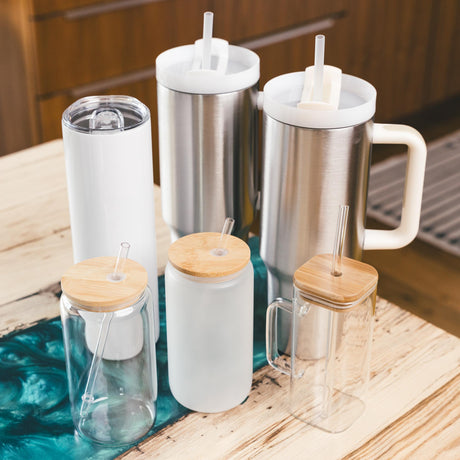
  • 20 oz stainless steel tumbler
  • Filter mask
  • Silicone mat
  • Protective gloves
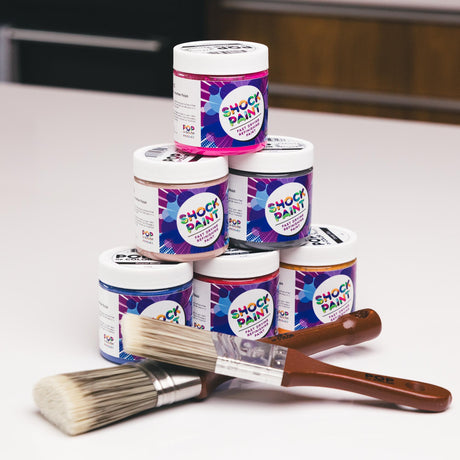
  • White Prime Time
  • Sanding block
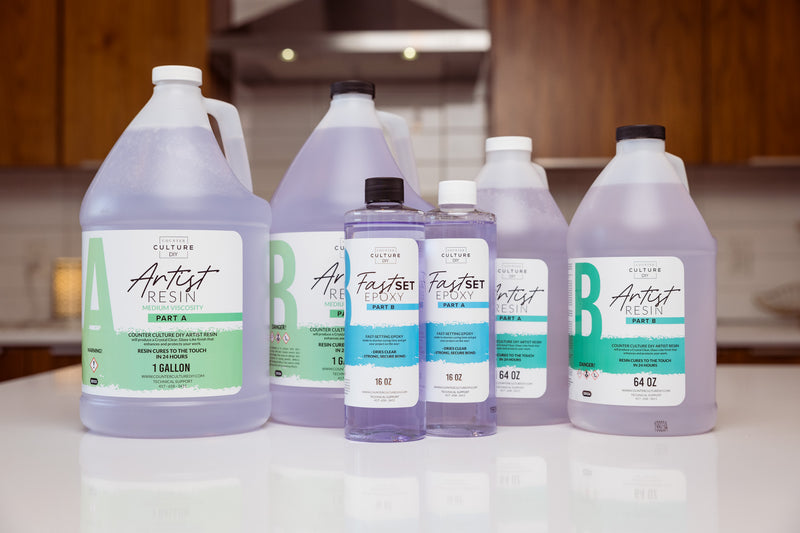
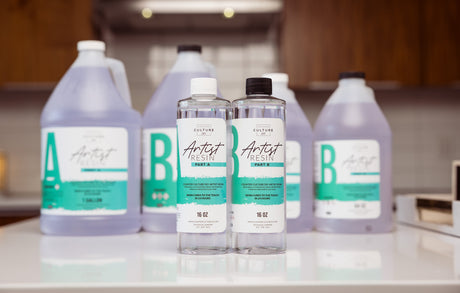
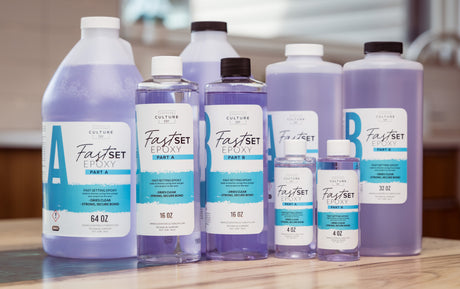
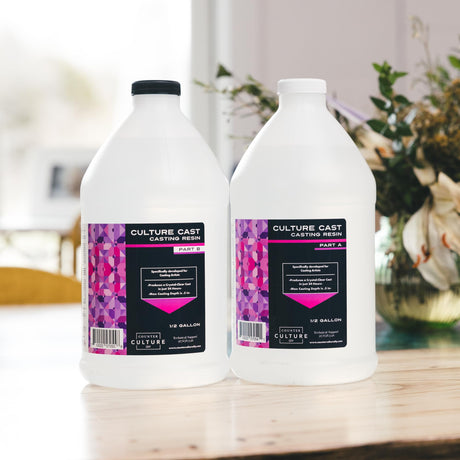
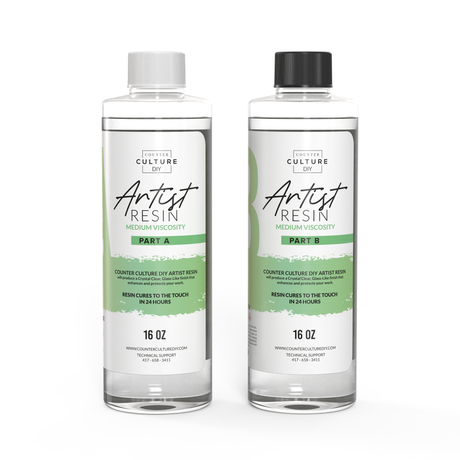
  • Counter Culture DIY Artist Resin Medium Viscosity
  • Nice N Thick
  • Mixing cups
  • Large Silicone Mixing Sticks
  • Mod Podge dishwasher safe gloss
  • Clear matte spray paint Rustoleum was used for this project
  • Silver Sand Glitter
  • Quasar Glitter
  • Chive and Boogie Glitter
  • Nina Glitter
  • Pumpkin Spice
  • Lime Green Rick's Mix
  • Pearl Shimmer Mica Powder
  • Plum Purply Mica Powder
  • Bryonia Mica Powder
  • Shimmer Purple Brea Reese Alcohol Ink
  • Shimmer Cobalt Green Brea Reese Alcohol Ink
  • Half Pearls
  • E6000 adhesive
  • Double sided tape in multiple sizes

Instructions

  • Start by sanding then washing your 20 oz tumbler. Then use the white Prime Time to give it a base coat. Allow the paint tor dry completely before moving on.
  • Then apply the various thicknesses of double sided tape around the cup, leaving the backing on for now. The whole cup should be covered in tape.
  • Next, peel the backing off 4-5 randomly chosen stripes down the cup.
  • Start with your darkest color (Quasar) and sprinkle the glitter over the exposed tape. Then apply a layer of Mod Podge to each of those stripes and add a second layer of glitter. This is done before removing the backer on to the next set of stripes. Let this layer fully dry.
  • Working from darkest to lightest, repeat the same process with your remaining glitters. Let them fully dry and then brush off any excess glitter with a makeup brush.
  • Seal the entire cup with 3-4 coats of the clear matte spray paint and let it dry for several hours.
  • Next apply 2 coats of Medium Viscosity Artist Resin letting it cure between coats.
  • Then use the E6000 to apply multiple sizes of half pearls in the pattern that you want your drips. Be sure to leave space for pearls that will be added on top of the epoxy drips after they've cured. Let your glue dry completely.
  • Next, make another batch of the Medium Viscosity and add the green Rick's Mix and the Pearl Shimmer mica powder. Mix well to combine. Then add Nice N' Thick a little at a time until you get the right consistency.
  • Then apply your drip mix starting from the rim of the cup and down over the top of the pearls.
  • Next add more half pearls over the drips for the bubbles. Allow your drips to fully dry before moving on.
  • Then use the green and purple alcohol inks to "paint" over the drips and bubbles to give it more dimension. Then brush on the green and purple pearl micas to give it some shimmer.
  • If you get any inks or mica on the rest of the cup, clean it off with a cotton swab dipped in alcohol. Then seal again with the clear matte spray.
  • Next apply a final thin layer of Medium Viscosity over the entire cup. Take extra care to get in all the nooks and crannies of the drips and bubbles. Allow your cup to fully cure and then enjoy!

The Wrap Up!

If you have never made a drip tumbler before, this is the perfect project for your first one! It is so much fun to do. And so much fun to look at! In our experience, Halloween fans usually go all out. That makes this Halloween tumbler design a perfect addition to your online shop. 

Don’t feel badly if you keep it for yourself though. We wouldn’t blame you in the least! Thanks again to Lauren for sharing this fabulous design with us! You can check out her other awesome creations on her Instagram page!

halloween inspired bubbly cauldron drip tumbler

You can find more awesome video tutorials like this one on our YouTube channel!

Be sure to follow us on Pinterest so you can stay on top of everything that’s new and never miss a blog post!

If you want more inspiration and information we have a Facebook group for that. Join us in Counter Culture DIY Artist Support where we, and other artists, offer ideas, answer questions, and support each other!

Do you have an art project using any of our products that you want to share? Send it to us at support@counterculturediy.com, and we can feature them here!

Share this post

Start typing and press Enter to search

Shopping Cart

No products in the cart.