Halloween Inspired Bubbly Cauldron Drip Wine Tumbler
/
/
Halloween Inspired Bubbly Cauldron Drip Wine Tumbler

Halloween Inspired Bubbly Cauldron Drip Wine Tumbler

We have a really fun project for you today! With Halloween coming up we thought you needed a Halloween Inspired Bubbly Cauldron Drip Wine Tumbler in your life. Marie Thomason of Dazzle by Mia is teaching us how it’s done!

Marie’s Halloween inspired bubbly cauldron drip wine tumbler is so creative and so much fun! She uses Glow in the Dark Powder and Nice n Thick to make her amazing drips. Adding black half pearls gives the drips that fabulous bubbling cauldron look. The whole cup just screams Halloween! And the best part?

It’s a wine tumbler which means you’ll be able to pick your tasty poison to put in it. Whether it’s full of wine, water, or something with a little more kick, this Halloween tumbler is sure to be a big hit!

Halloween Inspired Bubbly Cauldron Drip Wine Tumbler, halloween tumbler,

Halloween Inspired Bubbly Cauldron Drip Wine Tumbler

To make the images on her tumbler, Marie used a Halloween sticker by Martha Stewart for the poison. For the leopard spots, she searched online for the image, chose the pattern she liked best, and then used her vinyl cutter to make them. If you can’t find the exact stickers that Marie used don’t worry. Anything similar will work just fine! 

You can also switch things up with the design in any way that you want to. That’s the great part of being an artist. You can be inspired by a look, learn the technique, and then make changes. That way the design becomes your own! Our community of artists is so generous in sharing their talents and skills with each other. We love how you inspire and teach each other! 

Making the Bubbly Cauldron Drip

As Marie points out, it can be challenging to explain in words how to make these amazing drips. She explains it well but having the image of the tumbler in front of you can really be helpful. The first thing Marie does to get ready for the drips is make a drip line with the half pearls. Using a glue gun or E6000 glue, she places the pearls to form the bottom line of where she wants her drips to go. 

Once those pearls are dry Marie has a good base for her drips and bubbles. After working the drips onto the cup she then goes back in and adds more pearls to complete the bubbles. Marie explained that she moves drips and pearls around during this step until she gets it just the way she wants it. 

If this is your first time doing a drip cup, this may seem a little confusing but don’t worry, we have you covered! You can check out our post Making the Perfect Drip Cup using Nice n Thick. In that post you’ll find a video tutorial that shows you exactly how to mix and apply your drips. Once you see it done you’ll be on your way to amazing drips every time! 

Halloween Inspired Bubbly Cauldron Drip Wine Tumbler

Learn how to make a bubbly cauldron drip wine tumbler that is perfect for Halloween
Yield: 1 Cup

Materials

  • Protective gloves
  • Filter mask
  • Silicone mat
  • Torch
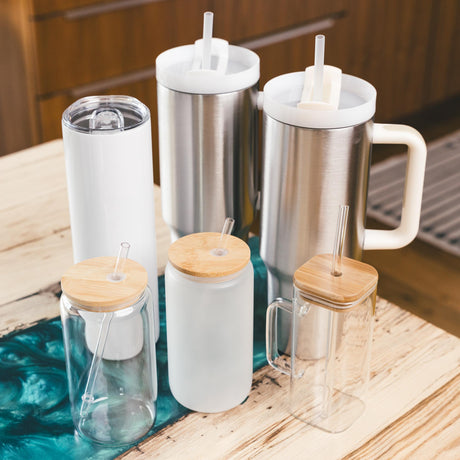
  • 12 oz wine tumbler
  • Sanding blocks 80 grit and 120 grit
  • Rubbing alcohol 70% or higher
  • Rustoleum 2x spray paint Matte Black
  • E6000 glue or a glue gun
  • Quasar Glitter
  • Out of this World Glitter
  • Lightening Bug Glow in the Dark Powder
  • Counter Culture DIY Quick Coat
  • Nice N Thick
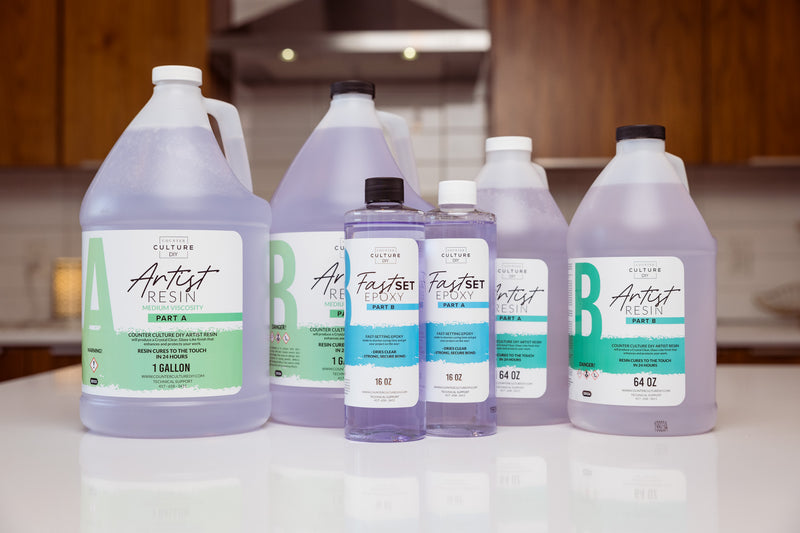
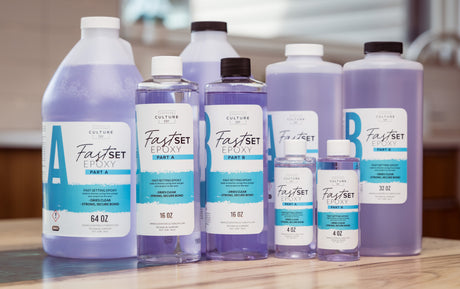
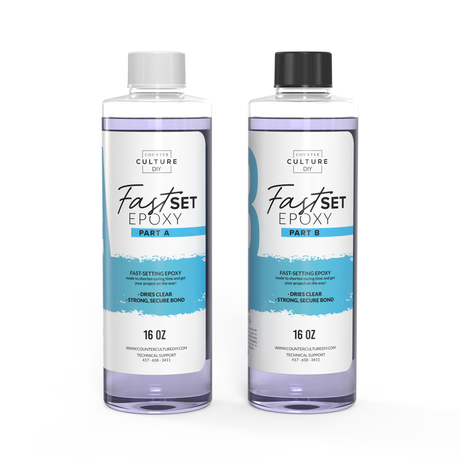
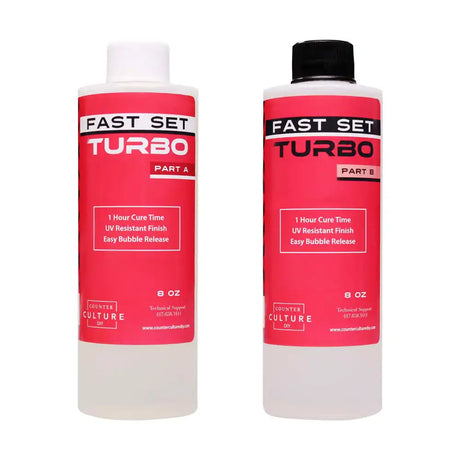
  • Counter Culture DIY Fast Set
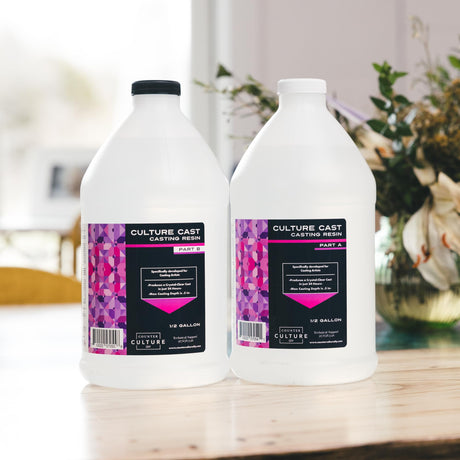
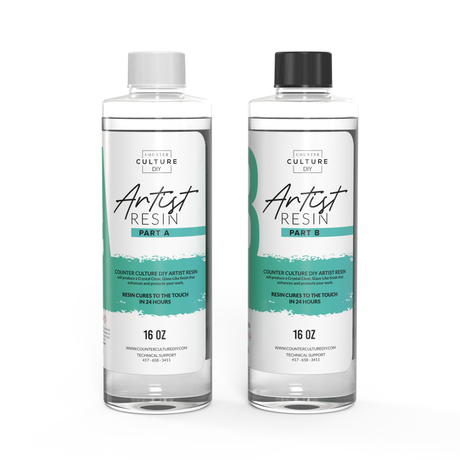
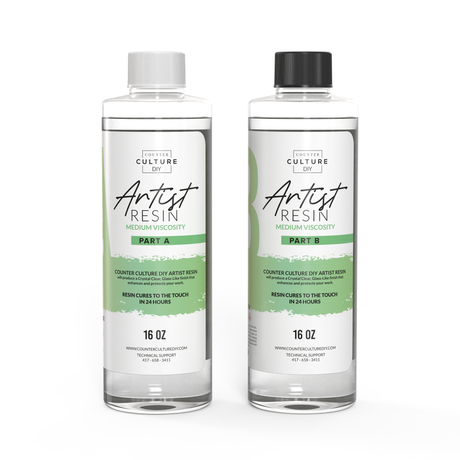
  • Counter Culture DIY Artist Resin Medium Viscosity
  • Black metallic half pearls Marie got hers from Fab Cab Cases
  • Halloween Stickers Marie used Martha Stewart
  • Rhinestone pen
  • Black vinyl for decal
  • Neon green acrylic paint

Instructions

  • Start by prepping your cup. Sand, wash, dry, and then spray paint the cup black and allow it to dry.
  • Now mix a small batch of Fast Set and apply it evenly to your entire cup. Then shake the Quasar glitter all over the Fast set and pat down any large chunks with a gloved finger.
  • Let your cup spin for about 2 hours before moving on to the next step.
  • Then mix another batch of Fast Set and apply it to the entire cup. Use a torch to pop any bubbles. Allow it to cure for a couple of hours and then decide if you need another layer to make the cup smooth. If so, add the layer of epoxy and then let it spin for another couple of hours.
  • While your cup is curing, get your leopard print decals cut out of the vinyl. You can find images on Google to use for this.
  • Next apply your decals. Place the Poison sticker where you want it first and then place your spots is a swirl pattern around the cup.
  • Then use a gloved finger to apply 2 coats of Quick Coat on top of the decals.
  • Once the Quick Coat is dry its time to add your half pearls where you will be putting your drips. Using glue to attach them, start with the larger ones at the bottom of where you want the drips. You are creating a drip line here.
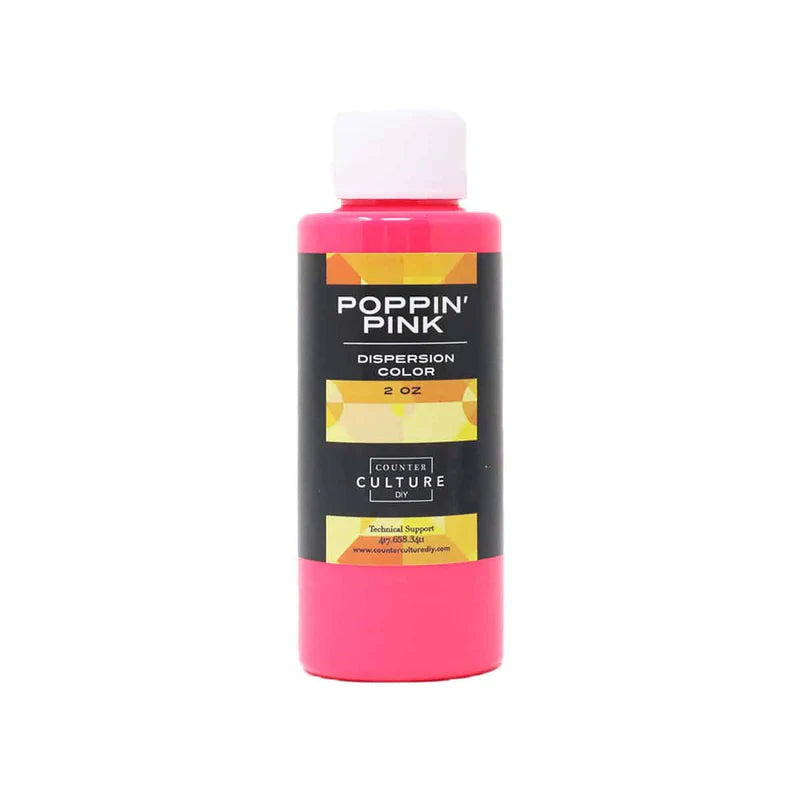
  • Next add your drips. Mix up about 10-15ml of Medium Viscosity Artist Resin and then let it sit for about 5 min. Then add in acrylic paint, the glow in the dark powder, and Out of this World glitter then mix to combine. Next, add in Nice and Thick until the epoxy slowly drips off of your stir stick.
  • Add the drip to the top lip of the cup, work the epoxy up and down a few times to get it “moving” hit with heat if needed. Continue to add more drip under the lip but above your half pearls. Flip up and down. Putting your cup on a turner at this point can make it easier. Add more drip up and down your half pearl drip lines. You may need to take it off and on the turner a few times to get your desired drip. Don’t worry if it isn’t perfect yet as you will fill with more pearls.
  • Add more pearls. You will want to grab a rhinestone pen to help pick up the pearls. Place pearls all around the drip to your personal preference. The more random the better, it makes it more “Witchy”! If your drip moved in areas you didn’t want it to, this is the time to fix that by placing a pearl there, or putting the pearl there and moving the drip into another spot.
  • Let the cup spin and cure for 24 hours then clean the top rim of the cup if you need to.
  • Now add one coat and then another of Fast Set Fast set entire cup including the drip, allowing the cup to spin for a couple of hours between each coat.
  • Sand, clean the cup rim and then add a final coat or two of Medium Viscosity Artist Resin, using a torch to pop any bubbles.

The Wrap Up…

This Halloween bubbly cauldron is absolutely fabulous! It makes a great addition to your own collection or gift for friends. If you enjoy making them, they will also make a fantastic addition to your product line up. You probably already know this but, people who love Halloween, LOVE Halloween! They like to go all out and a cup like this will be something they want to get their hands on. Whatever you decide to do with your bubbly cups, we hope you have a blast making them!

If you love this cup and want to check out more of Marie’s creations be sure to check out her Facebook group, Dazzle by Mia. You can also follow her on Instagram


Halloween Inspired Bubbly Cauldron Drip Wine Tumbler, Halloween tumbler, drip tumbler, cauldron tumbler

You can find awesome video tutorials on our YouTube channel!

Be sure to follow us on Pinterest so you can stay on top of everything that’s new and never miss a blog post!

If you want more inspiration and information we have a Facebook group for that. Join us in Counter Culture DIY Artist Support where we, and other artists, offer ideas, answer questions, and support each other!

Do you have an art project using any of our products that you want to share? Send it to us at support@counterculturediy.com, and we can feature them here!

Share this post

Start typing and press Enter to search

Shopping Cart

No products in the cart.