How to Make a Candy Tumbler
/
/
How to Make a Candy Tumbler
how to make a candy tumbler

How to Make a Candy Tumbler

Another fabulous resin tumbler tutorial coming at you! Kaelee Rupell of Kaelee’s Kups is back and showing us how to make a candy tumbler. This cup is as cute as it is sweet, you’re going to love it!

We love all of the tumblers that you amazing resin artists design. And the flux of 3D tumbler designs has been a blast to watch. The creativity in our community continues to blow us away! Kaelee gives us another great example of this as she shows us how to make a fabulous candy tumbler on our YouTube channel!

Kaelee uses adorable candies, some Nice N’ Thick drips, and Brea Reese Alcohol Inks to make her fabulous cup. And she gives us everything we need to know to make our own. It’s about to get sticky sweet around here!

how to make a candy tumbler

How to Make a Candy Tumbler

This candy tumbler is so fun to look at and it’s also a lot of fun to make. Kaelee shows us how to use a few different tumbler techniques in this design. So it is a great way for us to stretch our creativity too! She uses a round sponge brush and alcohol ink to add depth and color to her glitter tumbler. And then she makes beautiful drips and tops the whole thing off with candy. It doesn’t get much better than that! 

how to make a candy tumbler

How to Make a Glitter Tumbler

For this candy tumbler tutorial, Kaelee starts with a cup that she had already glittered. If you have been making tumblers for awhile, you probably already have a preferred method of glittering a cup. But if you have never done one before or are looking for a new way, we have you covered! For a simple and beautiful glitter base, check out our post How to Make a Basic Glitter Tumbler. It tells you everything you need to know to get started!

If you are looking for a new and easy way to glitter a tumbler (especially if you are a fan of Pop of Color Paints!) you can learn How to Make a Striped Glitter Tumbler with Pop of Color Paints. While you don’t need the stripes for this design, it shows you how to apply the glitter to a tumbler using only the paint. Your base coat and glitter application all in one!!

How you get your glitter onto your tumbler isn’t important. The important thing is that you get it there and then get ready for the real fun to begin!

Candy Tumbler Design Variations

how to make a candy tumbler

As with any tumbler tutorial, there are so many ways that you can make this cup your own. Kaelee shares all the supplies and colors she used to make her cup. But you can switch things up however you want. Kaelee’s glitter base on her cup is teal. But you can start with any color you like. And you can swap out the alcohol inks for any you already have or would rather use. 

You could also add sprinkles to the candies on your drips. Or a great vinyl decal to personalize your tumbler. The sky is the limit so just use your imagination! 

how to make a candy tumbler

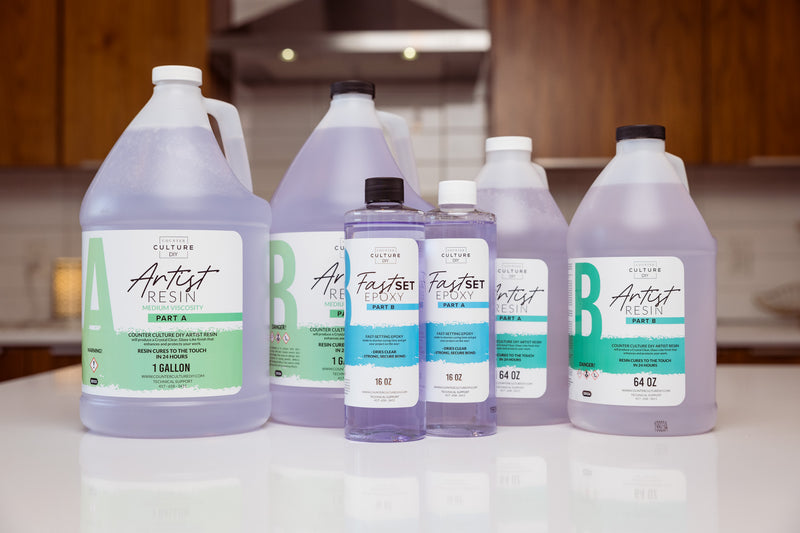
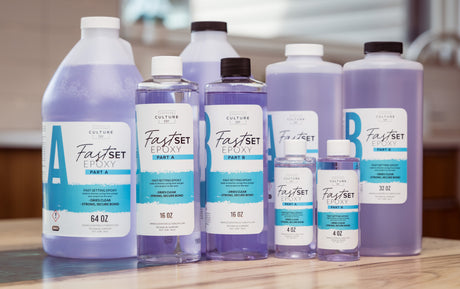
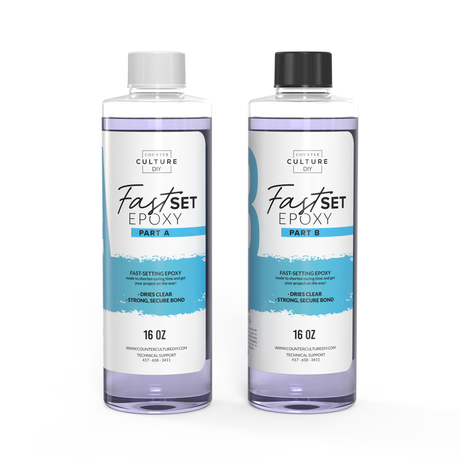
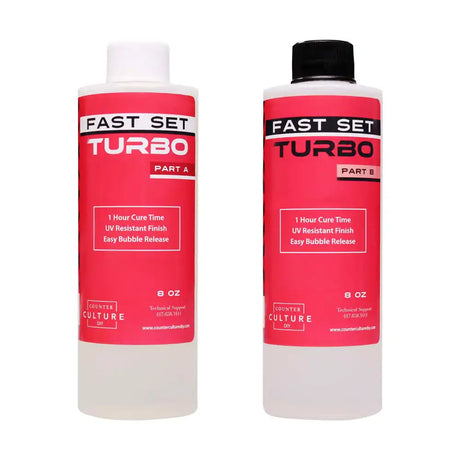
Kaelee uses our Fast Set Epoxy for the drips on her tumbler. Artists love Fast Set because it saves so much time in tumbler making. But you do have to work quickly with it. The work time you have is only about 15 minutes before it starts to cure. Perfect for when you are looking to save time. But not if you are trying something for the first time and need those extra minutes. Artist Resin will work perfectly for you if this is the case! 

How to Make a Candy Tumbler

Yield: 1 tumbler

Instructions

  • Start by prepping your cup and adding a glitter base in whatever method you choose. Kaelee started with a teal colored glitter base.
  • Next put a drop of the purple alcohol ink onto the tumbler. Use a sponge brush to dab it around. Move to another area of the cup and do the same thing again. Repeat until you have a few purple areas.
  • Continue the process with your other alcohol inks, leaving the red for last. The red is the darkest and will completely take over your brush. Overlapping your colors will blend them a bit and also form some pretty cells.
  • Then mix 5mls of Parts A and B of the Fast set together to make 10mls total. Then add in some Nice N' Thick and Sterling Snow and stir well to combine. If you need your drip a little thicker, add more thickener a little at a time until you get the right consistency.
  • Now use your mixing stick to apply the drip mixture to the top portion of the cup. Twirl it, tap it, and wiggle it around to get your drips to move. Once you are happy with your drip, move onto your candy!
  • Gently press your candies into the drip, wherever you want them. Spinning your cup as you apply them will keep your drips where you want them. Continue adding candy until you are happy with the look. Then put your cup on a turner so that everything stays in place while the resin cures.
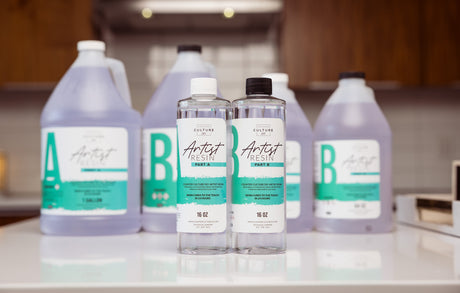
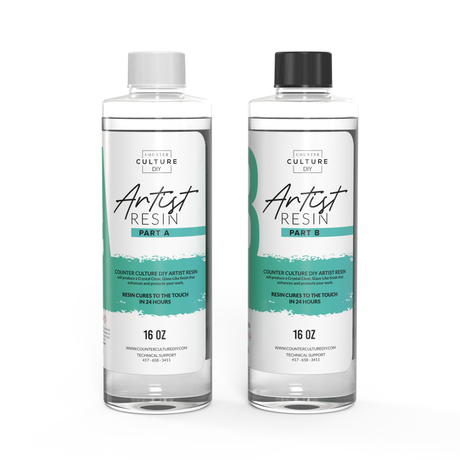
  • Once your drips have cured, add a final layer of Artist Resin to the entire tumbler and allow it to cure for at least 24 hours.

The Finishing Touches

This is such a fun project to do and the cup is just a blast to look at! This design is sure to be a big hit with the crowds. A big thanks to Kaelee for sharing her time and talents with us again. We always learn a lot from her! If you want to see what Kaelee is up to and see more of her beautiful creations you can find her on Facebook and TikTok. You can also join her VIP Facebook group and head to her Etsy Shop.


how to make a candy tumbler

You can find more awesome video tutorials like this one on our YouTube channel!

Be sure to follow us on Pinterest so you can stay on top of everything that’s new and never miss a blog post!

If you want more inspiration and information we have a Facebook group for that. Join us in Counter Culture DIY Artist Support where we, and other artists, offer ideas, answer questions, and support each other!

Do you have an art project using any of our products that you want to share? Send it to us at [email protected], and we can feature them here!

Share this post

Start typing and press Enter to search

Shopping Cart

No products in the cart.