How to Make a Light up Christmas Wreath Tumbler
We have an absolutely amazing Christmas tumbler tutorial for you today! Holly from Southern Persuasion Company is teaching us how to make a light up Christmas wreath tumbler. And you read that right, it actually lights up! This tumbler is so fun and festive!
The artists in our community are constantly blowing us away with their creations. This light up tumbler is no exception! It took Holly some trial and error plus lots of creativity and ingenuity to get the design just right. We are so excited that she agreed to teach us how to make a light up Christmas wreath tumbler!
Holly said, “This cup has taken lots of trial and error. I know I have shed some tears over it when I did the first one. A huge part of my battle was finding the right consistency epoxy for each step. CCDIY made that so much easier once I became more familiar with each product and what they were capable of. Each item I have tried has been amazing and really helped me develop as a tumbler maker and artist!”
There are some intricate steps in this tumbler making process but Holly explains them so well that you will be able to nail it! Especially since she has already worked out all of the kinks for this design. We are sure that it was no easy feat to figure out how to add fairly lights to a tumbler and make it look good. But the results speak for themselves. This Christmas tumbler is absolutely amazing!
How to Make a Light up Christmas Wreath Tumbler
Christmas tumblers are some of our favorites to see and sport. There is something so magical about each one. Holly’s wreath tumbler has a little extra magic too! She uses fairy lights with a bow battery pack to add sparkle to her waterslide wreaths. Normally we wouldn’t share a link to Amazon here but the lights that Holly used were kind of hard to find. Since having the right lights is really important to the design we wanted to make sure you can find them. You can grab yours here.
Like Holly says, the battery pack being right in the bow is a huge win! No need to hide an ugly battery pack with these lights. Holly reminded us to make sure the battery opening is facing outward so the batteries can get changed. In the recipe below she also explains how to attach the bow and lights and how to camouflage the screws.
How to use UV Resin to Attach your Lights
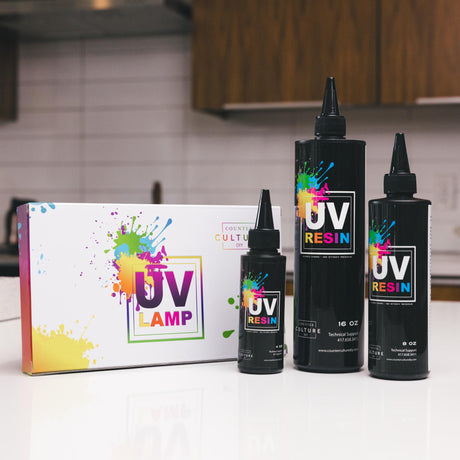
Holly used super glue to attach the string of fairy lights because that is what she had on hand. If you have our Counter Culture DIY UV Resin and UV lamp, they would be perfect for securing your lights! UV Resin is perfect for adhering anything small to your resin art. Your lights will never even think of moving! And the UV Resin cures in seconds to there is no need to wait for glue to dry.
If you are wondering what the heck we are talking about check out our UV Resin Tutorial. You can also watch the video tutorial on our YouTube channel. In both places you will learn what it is, how to use it, and why it’s amazing! All you need to do is use it like glue, adding dots where you need your lights to adhere. Then place the tumbler under the UV Lamp and watch as the magic happens. Don’t blink though! It cures so quickly you might miss it.
Let’s Talk Waterslide Wreaths
One of the things that makes this holiday tumbler unique is its layered wreaths. When Holly goes to make this cup she prints off 3 waterslide wreaths. She adds the first one early on. It makes the perfect base and also helps with guiding the lights. Holly adds the second wreath over top of the lights. This adds depth and dimension to the wreath and also makes the lights look really cool!
If Holly feels like the wreath still needs a little volume, she cuts the third wreath up then adds individual branches where she needs them. The three layers of waterslide with the lights in between looks absolutely awesome!
How to Make a Light up Christmas Wreath Tumbler
Materials
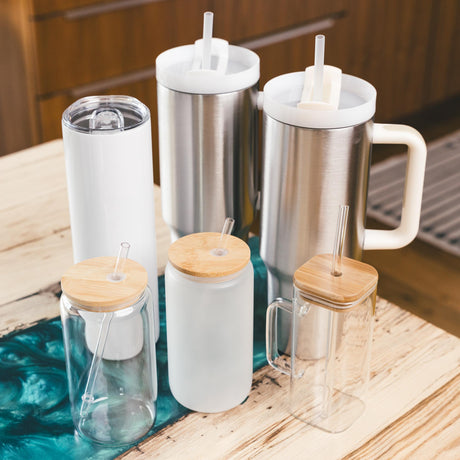
- Stainless Steel Tumbler 24 oz plump
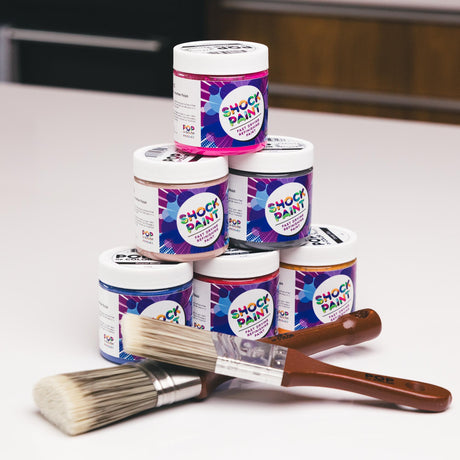
- White Prime Time
- Fabulous Frost Glitter
- Ice Ice Baby Glitter
- Christmas lights glitter
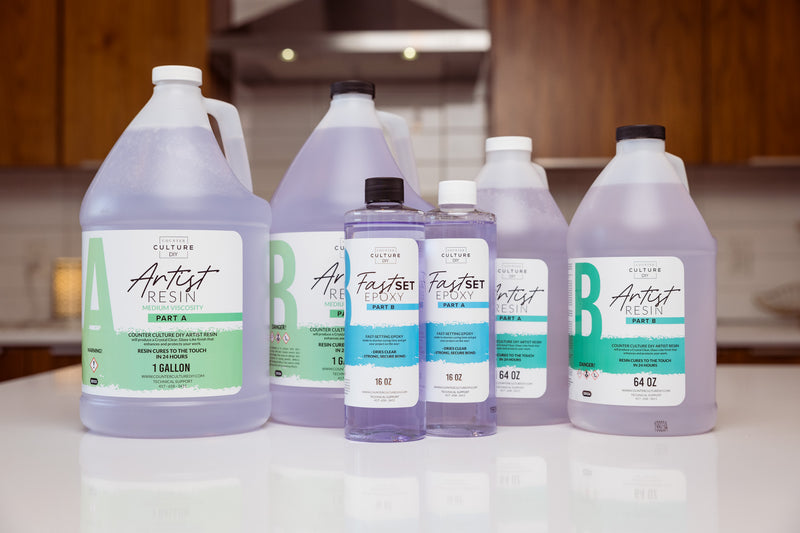
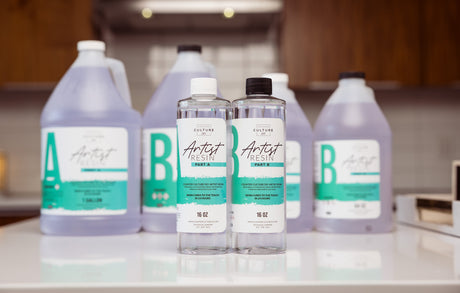
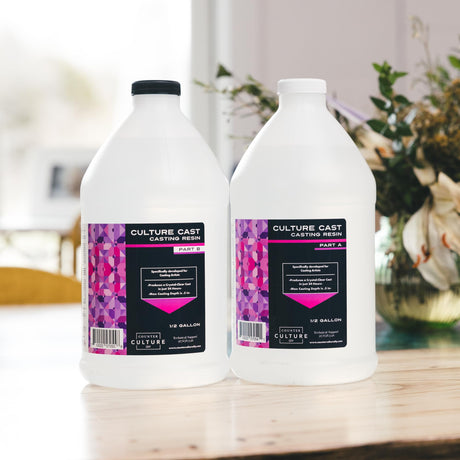
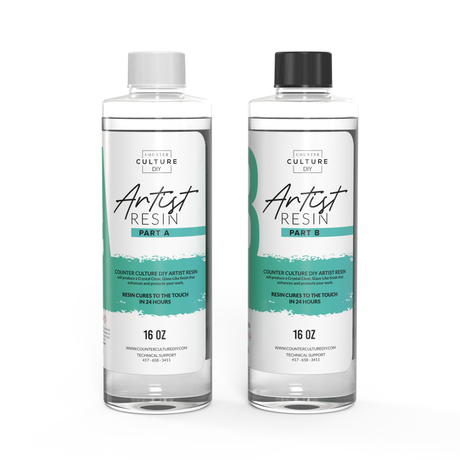
- Counter Culture DIY Artist Resin
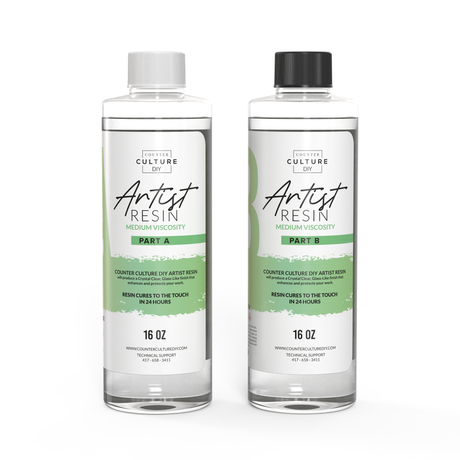
- Medium Viscosity Artist Resin
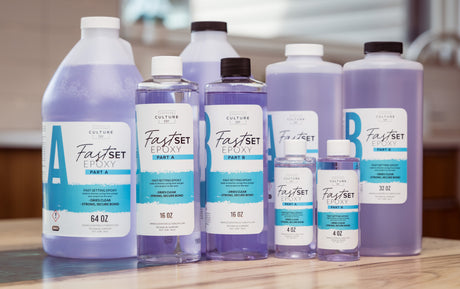
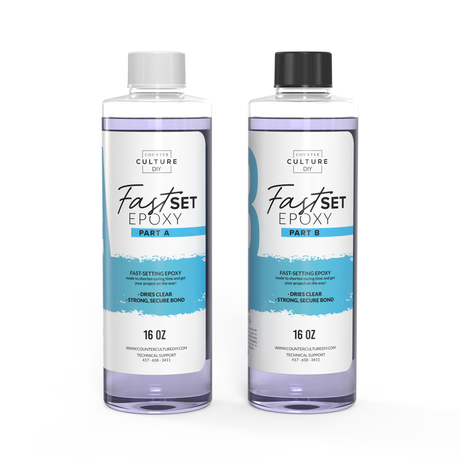
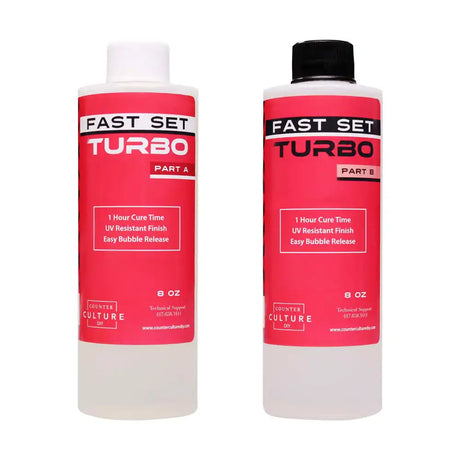
- Counter Culture DIY Fast Set
- Counter Culture DIY Quick Coat
- Wreath waterslide You will need to print 3
- Counter Culture DIY UV Resin or super glue
- Fairy lights with a bow battery pack Holly found hers on Amazon
- Protective gloves
- Filter mask
- Mixing cups
- Large Silicone Mixing Sticks
- Silicone mat
- Vaseline
- Flat paint brush
- Enalmel paint to match your bow
Instructions
- First you will need to prep your tumbler. I sand and wash thoroughly. I then apply a basecoat with white Prime Time. While my paint is still wet, I will glitter my tumblers.
- Once you have your cups glittered, you will want to do a flood coat. I use Artist Resin for this step and apply a thick coat to get it as smooth as possible. This cup needs more layers than most, so you want to get this first layer as smooth as possible.
- Once, that layer has dried I apply a waterslide of a wreath. I love the Sunnycopa clear waterslide for this. It is thick and durable and won’t tear as easily. It will be important for later steps to use a waterslide that won’t tear easily.
- Now that our wreath “base” is laid down, it is time to add our lights! I found these light son Amazon. They are fairy lights, but the battery pack is the bow. This works great with the design and no packs have to be hidden! I start by taping my bow to the arm of my turner just above my cup. I attach it later but if it is attached too soon, the epoxy will build up and then you won’t be able to remove the cover to change batteries. From the bow, I leave about 5 inches of wire unattached to the cup; then I begin to attach the lights to the top of the wreath. I work counter clockwise, dab a small amount of super glue and place my wire as I go. I make small loops with the wire to get them in a single layer. It is really important to not have the wire bunched up, sharply bent, or sticking up. UV resin would work well for this but when I first made these, I did not have UV resin. Use the waterslide as your guide to place your wire. We will cover the wires in the next steps, but placing the wreath first gives a good guide.
- Next, I do another layer of Artist Resin. I like to let thicken up for a bit before I apply this layer. I let it sit about 30 minutes, like I would for a drip cup. I let it thicken because you will need to build up around the wires to get it fairly smooth. This layer will still have some bumps to it due to the dimension of the lights. If you find that you can still easily feel the wires, do a second layer. Same as before, let it thicken, and just pay extra attention to the area around the wires.
- If you have made it this far, you are ALMOST there!! The hardest part is behind you!! You will use the same waterslide image of a wreath and apply it OVER the wires. I print 3 wreaths when I make this cup, 1 for my base and 2 as “finishing” wreaths. I will take my 2nd wreath image and I apply it on top of the first. I don’t worry about lining up the image because I like the more organic and full look I get by allowing my wreath branches to be layered. This would be personal choice but this is just the look I prefer. If I think my wreath needs to be more full, I will cut the 3rd wreath design apart and add in individual branches as needed. Think of this part like making a flower arrangement- you will just stick in more branches where needed. Once I am happy with my wreath, I do a layer of Medium Viscosity resin over the entire tumbler.
- Now, it is time for adding our bow and final touches! I remove the bow that has been taped to the turner arm. Coil the wire that is exposed, and tack it to the cup. You will want to make sure that it is hidden behind the bow. (It is also important to remember to place the bow with the screws facing AWAY from the cup! This way batteries can be easily changed Alright, wires are tacked down to the cup- now mix a little bit of Fast Set epoxy. Apply the Fast Set to fill in around the wires. You will want to let it sit until it is thick and just before it hardens, apply a generous amount to the center of the bow and press it against the cup. You can use painters tape if needed to hold it in place until it cures.
- The bow is in place, so it's time to coat the whole tumbler! I use a flat edge paint brush and liberally paint my bow with Vaseline to keep any epoxy from getting on it. I mix up some Medium Viscosity and coat my entire cup. Once you have it coated, I cut my decals. I add my vinyl to the center of the wreath before I add the shape glitter. I used Christmas Lights shape glitter and I used a tiny dab of Fast Set on the back of the shapes as I held them with tweezers and placed them around my wreath.
- Once that was set, I took a paintbrush and coated my glitter with Quick Coat to prevent any color bleed or epoxy repelling. I do 2 more thin coats of Medium Viscosity on the tumbler until smooth. Once everything is dry, wipe the Vaseline off of the bow and use a red enamel paint and paint the screw heads to make them less noticeable. That is it, the tumbler is FINALLY finished!!!
The Finishing Touches
This Christmas light tumbler may not be the easiest cup you have ever made but it is sure to be one of the most awesome! We are so grateful to Holly for sharing her process with us and giving so much detail in her instructions. If you want to see more of Holly’s fabulous creations you can follow her on Facebook, Instagram, TikTok, and Etsy. She is also working on getting her new website up so you will be able to check out SouthernPersuasionCo.com soon!
We hope that you love this tumbler as much as we do. And, if you try it, we would love to see your finished cups! Be sure to tag us on social media when you post it so we can check it out too! Have fun creating, y’all!
You can find more awesome video tutorials like this one on our YouTube channel!
Be sure to follow us on Pinterest so you can stay on top of everything that’s new and never miss a blog post!
If you want more inspiration and information we have a Facebook group for that. Join us in Counter Culture DIY Artist Support where we, and other artists, offer ideas, answer questions, and support each other!
Do you have an art project using any of our products that you want to share? Send it to us at support@counterculturediy.com, and we can feature them here!