How to Make an Ice Cream Drip Tumbler Using Real Effects
/
/
How to Make an Ice Cream Drip Tumbler Using Real Effects
how to make an ice cream drip tumbler

How to Make an Ice Cream Drip Tumbler Using Real Effects

We have a fun summertime tutorial for you today! Kaelee of Kaelee’s Kustoms is showing us how to make an ice cream drip tumbler. And she is using one of our brand new products to do it, Real Effects! Real Effects is a super thick viscosity resin that cures to the touch in only 12 hours. We can’t wait to tell you all about it!

Nothing says summertime like a cold creamy ice cream cone dripping in the heat. We have fond memories of racing to catch all those drips with our tongues so we didn’t waste a bit. In the video below, Kaelee shows us how to make an ice cream drip tumbler using our thickest resin yet, Real Effects!

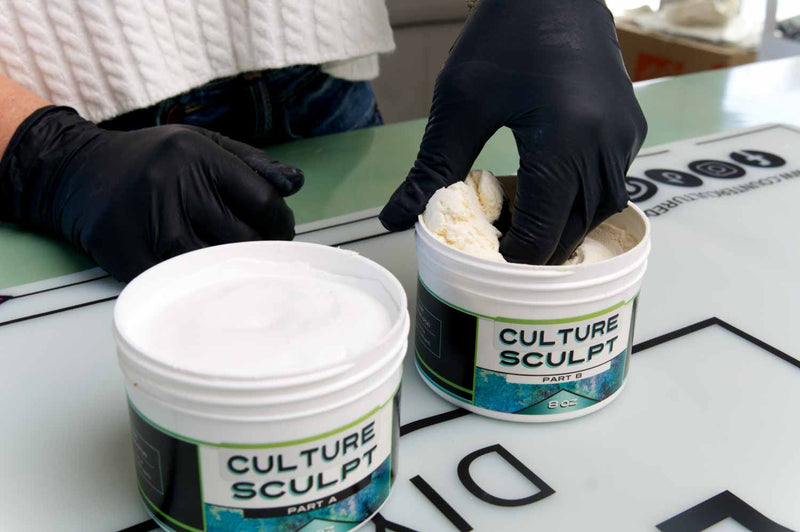
Real Effects is a two part, high viscosity artist resin used for adding height and dimension to your project. This resin can be shaped and controlled to create pours with unique, 3-dimensional surfaces. Or, you can allow it to self level for a smoother finish. Make flowing water effects, add texture to your geodes, and much more! Today we are showing you how it makes the perfect drips!

How to Make an Ice Cream Drip Tumbler Using Real Effects

We love making drip tumblers and we know that many of you do too. That is one reason why we developed our Nice N’ Thick resin thickener in the first place. Simply add it to your favorite Artist Resin and you will have a nice thick consistency for your drips. (If you want to see how to do a drip tumbler using this method, check out our post Chocolate Dipped Strawberry Tumbler).

We still love making drip cups this way but we also wanted to give our artists another option. So we designed Real Effects to be a super thick epoxy that is perfect for several 3D effects. And you can use it to get fabulous drips with tons of additional texture!

You can also create the look of beautifully flowing water. Or add texture and dimension to your geodes and coasters. Today we are focusing on tumblers but there are so many other amazing things that you can do with Real Effects!

ice cream drip tumbler

Why use Real Effects for Drips?

Like we said, we still love Nice N’ Thick and you can absolutely use it with Artist Resin to make your drips. Especially if that is what you have on hand! But there are some benefits to using the Real Effects. First, it allows you to do drips much more quickly than with traditional resin. Since it is so much thicker than regular resins, it is ready to go minutes after it is combined.

And there is no need to add a thickener! One less step and one less product to pull out. If you want to speed the thickening process up (like Kaelee did for the purposes of the video below), you can still add a tiny bit of Nice N’ Thick to the combined Real Effects. Just keep in mind that you will need way less than you would normally use with regular resin.

Or, if you just keep stirring for a few minutes, the Real Effects will thicken to the perfect drip consistency all on its own!

ice cream drip tumbler

You also get fabulous control with the Real Effects. We all know that resin has a mind of its own and likes to go where it will. That is part of its charm and beautiful results. But it can also be challenging. The thickness of Real Effects allow you to control the flow and movement of your resin better. Nothing like a resin that tries to stay where it’s put!

Another reason that Real Effects makes amazing drips is that it truly give a “real” look. The shimmer and texture of the resin makes ice cream and chocolate drips look even more realistic. And the texture of them is also much more natural with the Real Effects. You can go in and add the dips and peaks that occur in a real ice cream drip! As you can see, there are a lot of reason to try Real Effects on your next drip tumbler!

How to Make an Ice Cream Drip Tumbler Using Real Effects

Instructions

  • Start by prepping your tumbler and giving it a coat of Prime Time White. Allow that to dry before moving on to the next steps.
  • Measure your cup and then cut the vinyl to the size that you need it.
  • Next peel back a small portion of one side of the vinyl. Then cut a slice of the backing away. This will make it easier to apply the vinyl.
  • Now carefully wrap and apply the vinyl to the tumbler. Using a small squeegee to smooth it down as you go and lining up the edges as best you can.
  • Next pour 7.5 ml of Part B into a medicine cup. Then scoop a bit of Part A (because it's very thick) into another medicine cup. Now add a bit of Part A to Part B at a time until you have 15 ml total.
  • Then mix the contents of your medicine cup for 3-4 minutes, scraping the sides of the cup and your mixing stick as you go. Next, transfer the contents to a second medicine cup and stir for an additional 1-2 minutes.
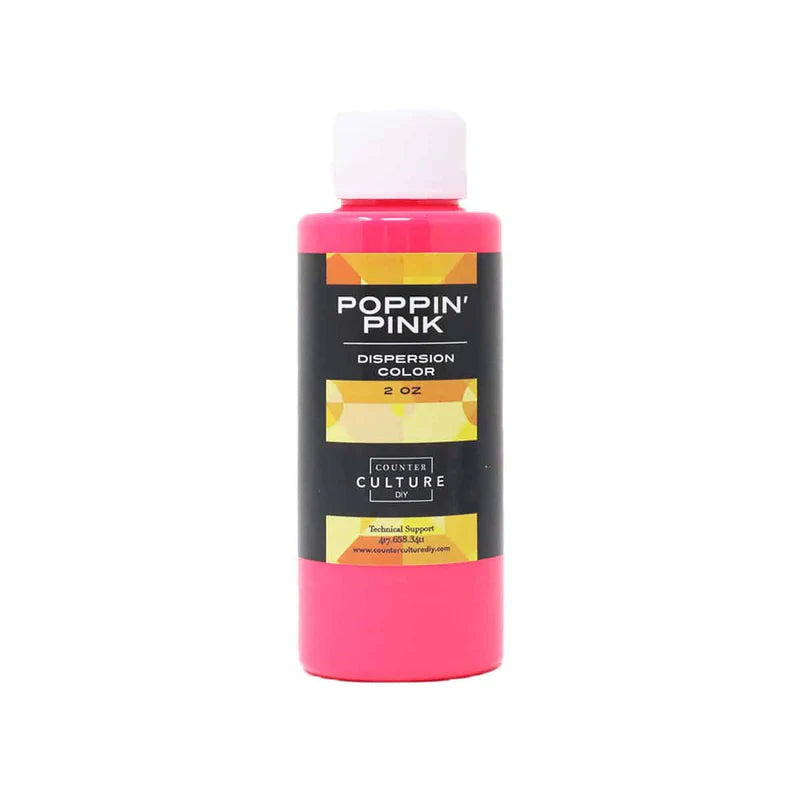
  • Now add a couple of drops of the Grace Bay and stir well to combine the color with the resin.
  • Next use your mixing stick to start applying your drip to the rim of the cup. Slide it along the edge, adding the resin as you go. To keep control of the epoxy, spin your stick slowly to get it back onto the stick.
  • Then smoosh and smooth the drips until you get them where you want them. Adding more resin as needed. As you stand the cup up and spin it, gravity will also help form natural looking drips.
  • Now you can add your sprinkles by gently pressing them into the drips. You can use tweezers to make it easier! When your sprinkles are in place, put your tumbler on a turner and let it cure for 12 hours.
  • After 12 hours you can add a decal if you are using one. Seal your decal with Quick Coat and let that dry. Then add a thin layer of combined Artist Resin. Make sure to work into all the nooks and crannies of the sprinkles. Allow the tumbler to cure completely and it's ready to use!

The Finishing Touches

So that is Real Effects, artist friends! We can’t wait for you to try it and we can’t wait to hear what you think! And we know that you are going to come up with even more uses for it than we originally envisioned. So be sure to show us what you are making with it on the Artist Support Facebook Page. It will be so much fun seeing what y’all come up with!

A big thanks to Kaelee for sharing her time and talent with us again! If you want to see what Kaelee is up to and see more of her beautiful creations you can find her on Facebook and TikTok. You can also join her VIP Facebook group and head to her Etsy Shop.

ice cream drip tumbler

You can find more awesome video tutorials like this one on our YouTube channel!

Be sure to follow us on Pinterest so you can stay on top of everything that’s new and never miss a blog post!

If you want more inspiration and information we have a Facebook group for that. Join us in Counter Culture DIY Artist Support where we, and other artists, offer ideas, answer questions, and support each other!

Do you have an art project using any of our products that you want to share? Send it to us at support@counterculturediy.com, and we can feature them here!

Share this post

Start typing and press Enter to search

Shopping Cart

No products in the cart.