Resin Tumblers and glitter go hand in hand. Whether it’s fine glitter, chunky glitter, or man glitter chances are you are going to add some to your tumbler designs. Today we are talking all about how to put glitter on a tumbler. And sharing 7 of our favorite glitter application methods!
If you are new to making tumblers. Or ready to add some more glitter application methods to your tool box, this post is for you. We are walking you through how to put glitter on a tumbler. And giving you lots of different methods to try. We also share where you can get more information and a video tutorial on each method. Be sure you have your glitter close at hand. Because you are guaranteed to want to put it on a cup by the end of this post!

Artist Meg Epps
How to Put Glitter on a Tumbler: 7 of our Favorite Methods
We have a lot of information to get to so I won’t spend long here. But one thing to mention first. No matter how you apply your glitter to a tumbler, you are going to want to have a sheet of paper on hand. Place the paper under your tumbler while you sprinkle your glitter.
All of the excess will gather on the paper and you can easily pour it back into your glitter container. That way you won’t loose any of that precious sparkle! Ok, now onto our 7 favorite glitter application techniques…
Classic Resin Method
One of the first glitter application techniques that we learned was the the classic resin method. Practically fool proof, this technique is a classic for a reason. The method gives you a beautiful coat of glitter. While also giving you one of your epoxy layers.
To use resin to apply glitter, first sand your tumbler with sand paper. Then wash and thoroughly dry it. Next, wipe the tumbler down with rubbing alcohol to remove any debris, residue, and finger prints. Then give your tumbler a base coat of color. Pop of Color Paints, Dispersion Colors, and Prime Time are all great options for this.

Artist Jami Mazzoni
Next, combine equal amounts (about 5 ml total) of parts A and B of your Artist Resin and stir well for 3-5 minutes. Scrape the sides and bottom of your cup as you go. Don’t forget to scrape your stick occasionally too. Once your resin is well mixed, use a gloved finger to apply a thin layer of the combined resin to your tumbler.
You don’t want it too thick or the glitter will sink down in instead of resting on top. While the resin is still wet, sprinkle the glitter evenly onto it. Turn your tumbler and continue to add glitter until you are happy with the coverage. Then allow your resin to cure and your glitter will set with it.
For more detailed instructions on this process and for other tips and tricks, check out our post How to Make a Basic Glitter Tumbler!
Spray Paint
Using spray paint on resin tumblers is about a process that is as old as tumbler making is. It is the original tumbler base coat and can also be used for glitter application. To use this method, prep your tumbler like we described in the last section. Then tape any areas of your tumbler where you don’t want paint.
Next, spray the tumbler with the paint in even strokes. Give it as many coats as you need to get good coverage. While the paint is still wet, sprinkle the glitter on evenly until the coverage is good. Give your tumbler a gentle tap with the bottom of a brush to get rid of any loose glitter. Seal your glitter layer with Quick Coat before moving on. If you need a second layer of glitter, use the Quick Coat as your glitter adhesive.

Artist Meg Epps
Spray paint works fine and we have all used it on our tumblers. Especially for peek-a-boo designs. But it does have it’s drawbacks. You can only use it for one layer of glitter because you don’t want to cover your first glitter layer with paint.
Also, in colder climates where we can’t get outdoors to spray paint, there are months at a time when we can’t use it. The color options are also pretty limited. And there is no way to combine spray paint colors to make your own shades. But take heart, fellow artist!
These issues are exactly why we designed Dispersion Colors, Prime Time, and Pop of Color Paints. They give you mazing color options, fabulous coverage, and are designed to work well with resin. And you can use all of them to apply your glitter too! Keep reading and we will explain…
Dispersion Colors
Another option that gives you base coat and glitter application in one is our Dispersion Colors. Dispersion Colors come in a ton of gorgeous colors. And you can combine them to create even more custom shades. They can be used as a base coat and glitter application in one step. To do this, combine your resin and then add a few drops of Dispersion Color. Mix it well and add more if you need to.

A little goes a long way so only add a tiny bit at a time. Put your tumbler on a turner and then gently pour the resin onto the cup. Use a gloved finger to smooth it out. Let the resin rest and get a bit gummy. Then sprinkle your glitter on.
For more detailed instructions on this process and extra information, check out our post Using Dispersion Colors as a Tumbler Base Coat!
Pop of Color Paints

Artist Emily Brede
If you haven’t tried our Pop of Color Shock Paints yet, you are missing out. We designed this chalk paint for furniture refinishers, DIY divas, and of course, tumbler artists! The colors are rich and the variety is plentiful. And the coverage these paints give is fantastic. And you only need a little paint to get it. There is no need to add coat after coat.
And it dries so quickly, you’ll be able to move on to your next steps in a snap. Best of all, you can use it for your base coat and glitter application all in one simple step! Simply paint your prepped tumbler. Then sprinkle your glitter straight on. Your glitter layer will be dry and ready to be sealed and resined in a matter of minutes!
We especially love using Shock Paints for tumblers with multiple colors. Buffalo check, striped, and split tumblers are great examples of this. We are able to quickly tape, paint, and glitter in the colors we want without having to wait long for the paint to dry. This really helps save steps and production time. A win win, for sure!
You can learn more about using Pop of Color Paints on tumblers in our post, Floral Painting on a Tumbler.
Using Prime Time

Prime Time is the primer that we developed to work flawlessly with resin. It was one of our first solutions to the problems that can come with using spray paint on tumblers. Just like with the Shock Paints, you can use Prime Time as your base coat and for glitter application in the same step.
Prime Time is available in black and white. And many artists love to create their own unique shades by tinting their white Prime Time with Dispersion Colors and other colorants. Being able to create your own color of base coat gives you a whole new element of creative freedom!
Tack It Method (Or Mod Podge)

Artist Meg Epps
Our favorite way to apply glitter is to use a gorgeous color as a base coat and then add the glitter right to it while the color is still dry. But there are times when what you really need is a clear product for your glitter application. One example is with a hand painted tumbler.
When you work hard to paint the perfect ombre or design onto a cup and want to add a translucent glitter that still lets your painting come through, Tack It or Mod Podge are the application method you want to use. Traditionally in this case, we would have mixed our translucent glitter into a batch of Artist Resin or Fast Set. Then use a gloved finger to apply it to the tumbler.
This is still an option! But the resin will need time to cure before you can move on. Tack It and Mod Podge give us a quicker option for clear application. They both go on white (use a paint brush for the best application) so you can easily see how much you are applying and where. But they dry clear. This allows you to add an opal glitter without taking away from your beautiful hand painting.
If you want to learn How to Make an Ombre Tumbler Using the Tack It Method, we have a tutorial for that too!
Quick Coat Method
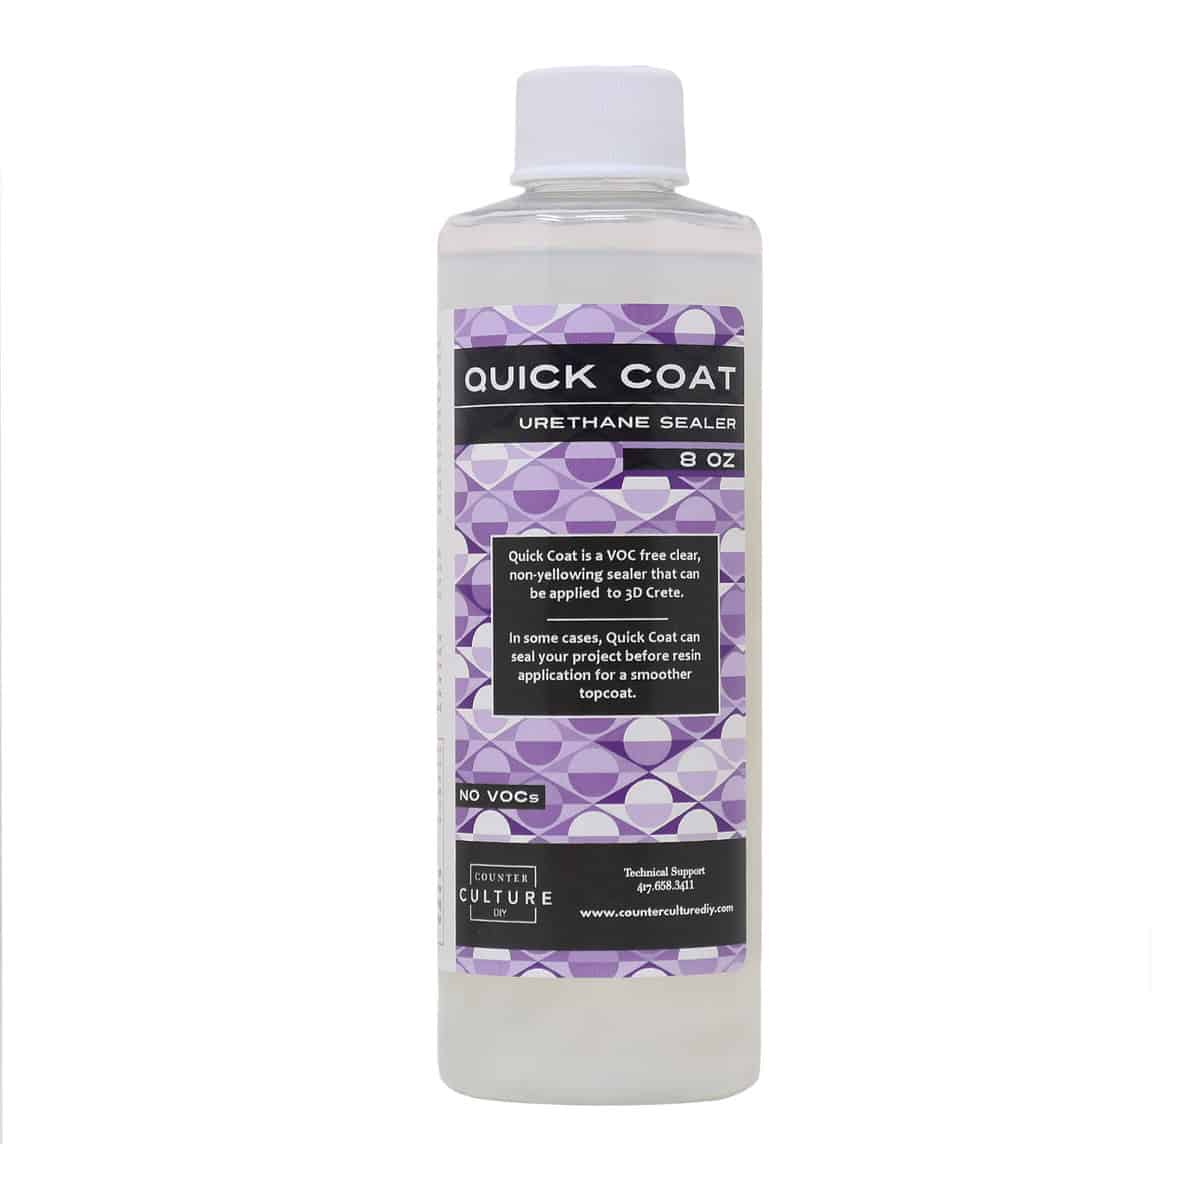
Quick Coat is one of our favorite products! It can be used in about 101 different ways. And many of them have to do with tumbler art! You can use Quick Coat for three separate steps in the tumbler making process. Use it as the adhesive for your glitter. It is also perfect for sealing you glitter between layers and before adding epoxy.
No matter what tumbler design we are making, Quick Coat is our go to for sealing glitter. It is designed to work with resin and allow it to adhere perfectly every time. If you personalize your tumblers, you can also use it to seal in any vinyl or decals before adding your final layers of epoxy. Want to learn more about the many ways to use Quick Coat? Check out our post, How to Use CCDIY Quick Coat.
The Finishing Touches
And there you have it, friends! 7 of our favorite ways to add glitter to a tumbler. The method you choose will depend on several things. The design you are looking to accomplish, the amount of time you have to work with, and what you already have on hand. They all play a part in which method you will use when.
We have so many more options now than we did back in the day. And more options are always welcome in the art world! Let us know in the comments what your favorite glitter method is and if we missed any. We can’t wait to see your next glitter creations!

Artist Laura Kalamets
You can find awesome video tutorials on our YouTube channel!
Be sure to follow us on Pinterest so you can stay on top of everything that’s new and never miss a blog post!
If you want more inspiration and information we have a Facebook group for that. Join us in Counter Culture DIY Artist Support where we, and other artists, offer ideas, answer questions, and support each other!
Do you have an art project using any of our products that you want to share? Send it to us at support@counterculturediy.com, and we can feature them here!