Hydro Dipped Resin Beach Tumbler
/
/
Hydro Dipped Resin Beach Tumbler

Hydro Dipped Resin Beach Tumbler

No matter what time of year it is, you can never go wrong with a hydro dipped resin beach tumbler! Bring on warm thoughts of sand and surf any day. Courtney of Courtney’s Customs is showing us how to make an adorable beach themed tumbler. We can’t wait for you to see how fun it is!

As resin artists, we know it can be hard to find time to make things for ourselves. But every now and then, it just has to be done! As you will see in the video below, Courtney was heading out for an ocean side vacation. She wanted a fabulous beach themed tumbler to take with her. And so this super fun design was born!

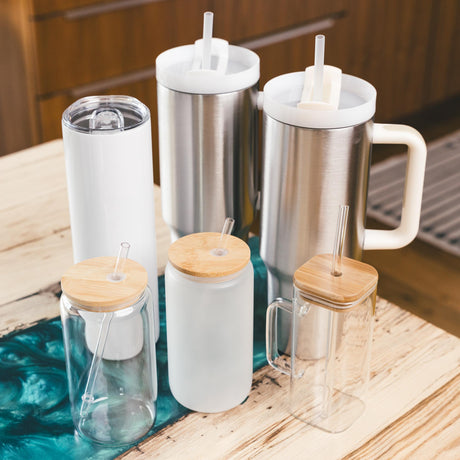
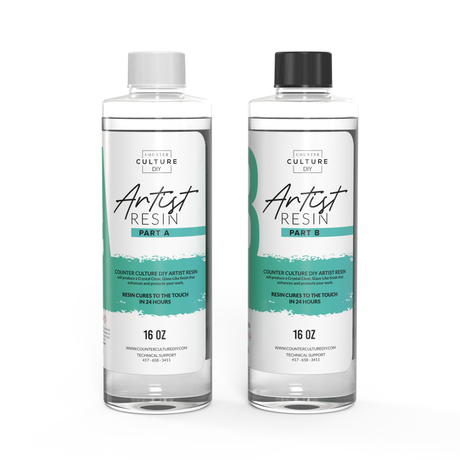
Courtney pulled out all the stops to make this beautiful hydro dipped resin beach tumbler. And we are so thrilled that she is sharing the process with all of us. So grab yourself a 20 oz skinny, some sea shells, and your favorite Counter Culture DIY Artist Resin. It’s time to get sandy in the craft room!

hydro dipped beach resin tumbler

Hydro Dipped Resin Beach Tumbler

Beach tumblers are some of the most popular designs around. That has to be because, no matter where you live, most of us have made great beach memories over the years. And many of us still love to dig our toes in the sand and relax by the waves. 

Hydro Dipped Resin Beach Tumbler

The awesome thing about beach tumblers is that, just like beach memories, no two tumbler designs are the same. There are so many different techniques combinations that you can use for beach themed tumblers. From alcohol ink to hand painted designs, and everything in between. 

For her hydro dipped beach themed tumbler, Courtney adds sea shells to sand colored glitter. And she uses a great beach decal. Maybe the best element is the adorable removable tumbler topper that she makes to go with it. There is just so much to love about this tumbler!

Hydro Dipped Resin Beach Tumbler

Helpful Hints

We all know that there are a million and one ways to do things when it comes to resin art. We all have favorite products and techniques that we swear by. Courtney uses Mod Podge to apply her glitter. So if this is your preferred method you will get to see it in action. If there is another glitter application method that you love, go for it!

A lot of us love to use Quick Coat because you can use it to apply your glitter and also to seal it. One product, two steps, and you’re done! Simplicity is golden, for sure. If you want to learn more about Quick Coat and its many uses, check out our post How to Use CCDIY Quick Coat. It is definitely a game changer!

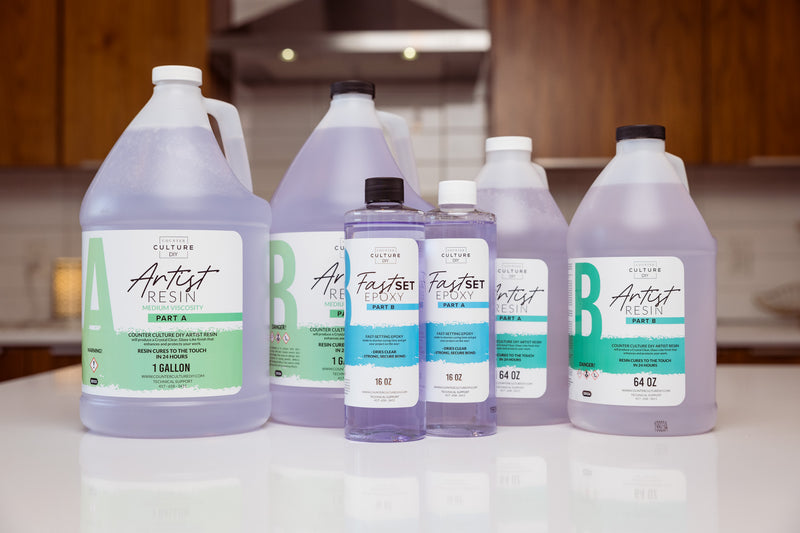
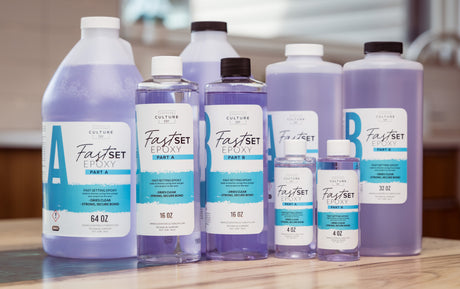
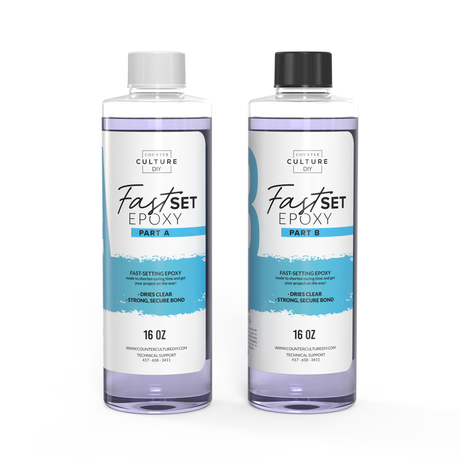
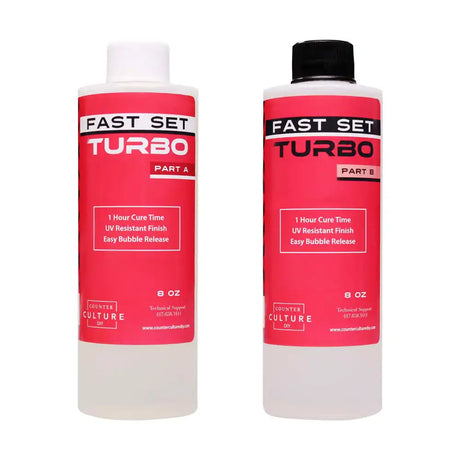
Another thing that can save you time is using Fast Set Epoxy for your middle layers of resin. Like most glitter tumblers, this one requires several layers of resin. Add in the shells and the decal and it may need an extra layer or two. You always want to use Artist Resin as your final layer of epoxy. But using Fast Set for your middle layers can save you hours upon hours of cure time!

But Wait, There’s More!

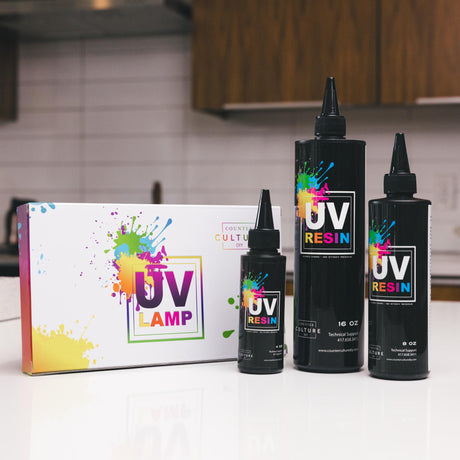
Not only does Courtney show us how to make this fabulous beach themed tumbler. She also teaches us how she made the adorable topper to go with it! Courtney uses our UV Resin and lamp to attach the cute details to her removable topper. UV Resin cures in minutes so she was able to easily get the topper made between her tumbler steps. 

Courtney found the adorable parts for her tumbler in the cake decorating supplies. It is such a great idea! They are the perfect size. And you know you will be able to find lots of other fun themed decorations for other tumbler toppers!

Hydro Dipped Resin Beach Tumbler


Hydro Dipped Resin Beach Tumbler

How to make a beautiful hydro dipped beach themed tumbler
Yield: 1 tumbler

Materials

Instructions

  • Start by prepping your tumbler and applying a layer of White Prime Time.
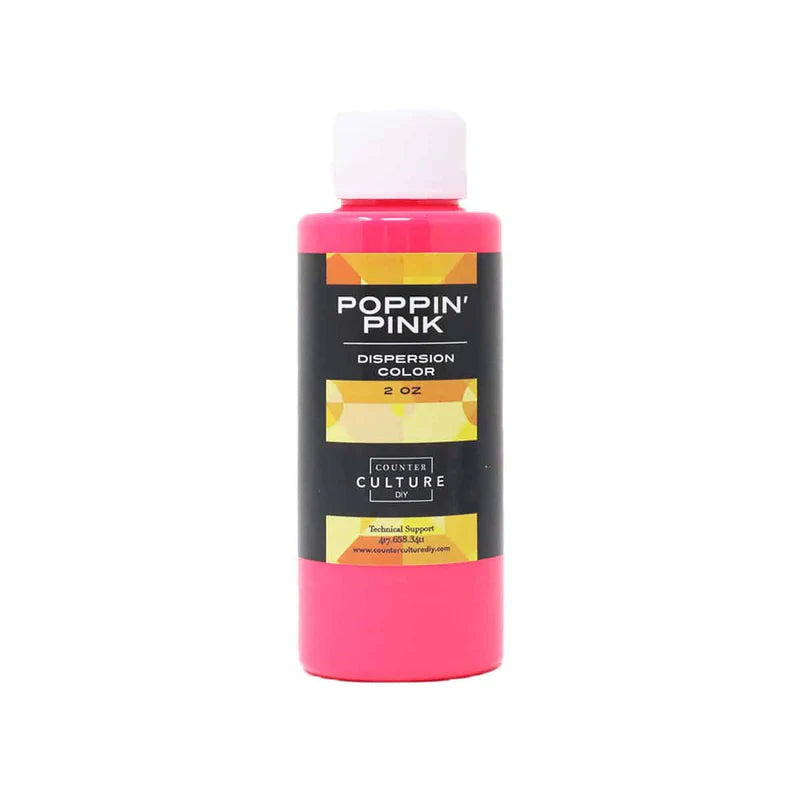
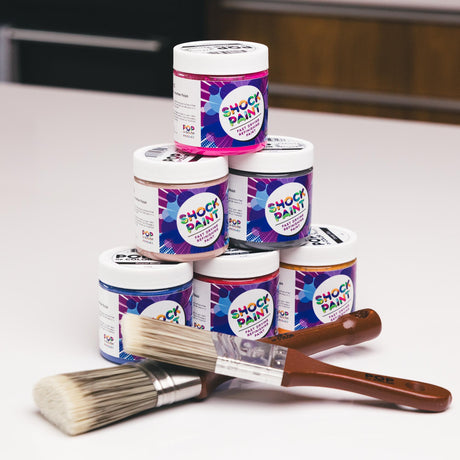
  • Then get ready to do your hydro dip. Get a bucket of water and drip your two colors of marbling paint in. Give them a gentle swirl or two with a painting stick. then carefully dip your cup in and pull it out. Then allow it to dry completely.
  • Apply a layer of Mod Podge to the entire tumbler. Then sprinkle the glitter on the bottom third of the cup as well as its very bottom. Let everything dry.
  • Now cover your whole tumbler with a layer of Quick Coat or spray adhesive to seal your glitter in. Let the tumbler dry completely.
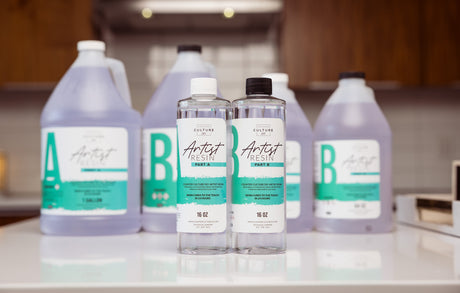
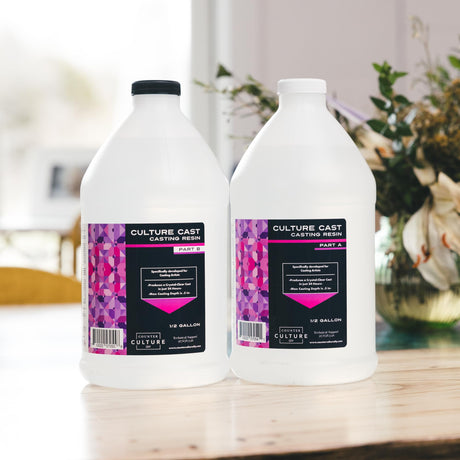
  • Next add a layer of combined Artist Resin to the tumbler and allow it to cure for at least 8 hours.
  • Now it's time to add your shells. Courtney used hot glue to secure her shells to the sand portion of her tumbler.
  • Then add a layer of combined Artist Resin and allow it to cure.
  • Next apply the decal to your tumbler and seal it with Quick Coat or a spray sealer.
  • Finally, apply 2-3 layers of combined Artist Resin allowing it to cure in between layers. It took Courtney 3 layers of the epoxy to get her tumbler nice and smooth.

The Final Touches

Well we are still craving the sun and sand. But, thanks to Courtney and her hydro dipped resin beach tumbler, we’ve gotten a pretty little taste of it! 

If you loved learning from Courtney you can join her Patreon group and her free Facebook group. You can also follow her on Instagram and YouTube! She has lots of fabulous designs and her tutorials are all so helpful. We love having Courtney as part of our artistic family. And we grateful to her for sharing her time and talent with us! We hope you love her beach themed tumbler as much as we do. Have fun creating, friends!

hydro dipped beach resin tumbler

You can find more awesome video tutorials like this one on our YouTube channel!

Be sure to follow us on Pinterest so you can stay on top of everything that’s new and never miss a blog post!

If you want more inspiration and information we have a Facebook group for that. Join us in Counter Culture DIY Artist Support where we, and other artists, offer ideas, answer questions, and support each other!

Do you have an art project using any of our products that you want to share? Send it to us at [email protected], and we can feature them here!


Share this post

Start typing and press Enter to search

Shopping Cart

No products in the cart.