Light Up Valentine’s Day Heart Tumbler
We are back with another fabulous tumbler tutorial for you! Just in time for February, Athena of War Goddess Creations is teach us how to make a light up Valentine’s Day Tumbler. It is as sweet as it is sparkly!
Many of our artists have been telling us that light up Tumblers are gaining in popularity. Their customers are gobbling them up like candy. Especially when it comes to holiday tumblers. So we are really excited to bring you Athena’s light up Valentine’s Day tumbler tutorial!
Athena tells us all the supplies she used to make her tumbler. Then she gives us the steps she used to achieve this adorable Valentine’s Day design. Making light up tumblers does take an extra step of two. But the results are so worth it!
Light Up Valentine’s Day Heart Tumbler
The Peek-a-Boo Method
This cute peek-a-boo heart tumbler combines tumbler making techniques with some real ingenuity. Athena uses some pretty pink glitters and vinyl decals to get her hearts just right. This is a technique that many tumbler artists are familiar with and love doing.
If this is your first time though, no worries. Athena tells us what to do. And you can check out our post How to Make a Halloween Peek-a-Boo Tumbler for another example and more tips and tricks! Basically what you need is some vinyl decals and spray paint.
For most designs like this you glitter your tumbler first. They add your decals to the tumbler. Next, spray paint the tumbler and allow the paint to dry. When you peel back the vinyl, what you have left is the glitter peaking through. It’s super cute and adds tons of depth to your design.
Making it a Light up Tumbler
So we’ve talked about the tumbler technique, now for the ingenuity…adding the lights. Actually, adding the lights is not too tricky. Use a little tape to keep them in place as you work and it’s pretty easy. But stashing the battery pack can take some creativity.
Athena told us that she used a custom 3D printed housing for the battery pack. Others have stashed theirs in a decorative topper. In some instances you can find lights that have already cleverly concealed their batteries.
Check out our post, How to Make a Light up Christmas Wreath Tumbler.Not only is it another great light up tumbler tutorial. It is an example of lights you can find with the batteries already hidden. In this case, they are stashed in the bow of the wreath. Easy peasy! Wherever they end up going, the batteries are what give these cups their added flare!
Light Up Valentine's Day Heart Tumbler
Materials
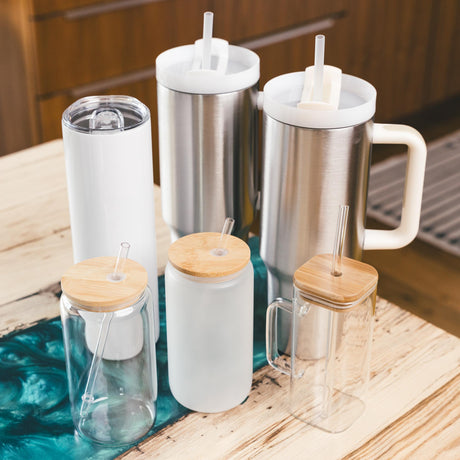
- Stainless Steel Tumbler 24 oz plump (Athena gets hers from The Steel Magnolia)
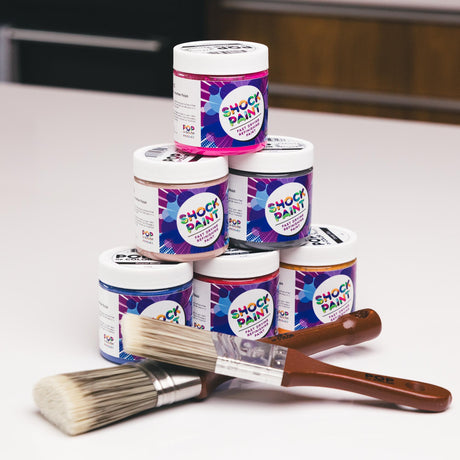
- White Prime Time
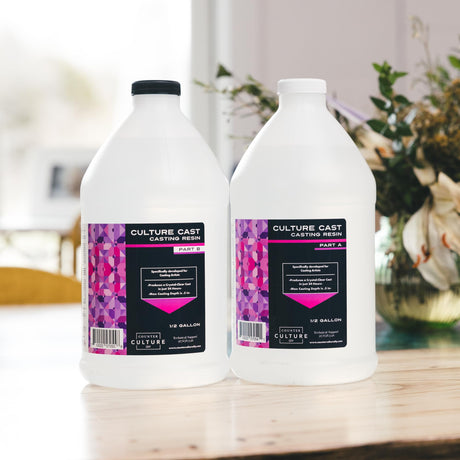
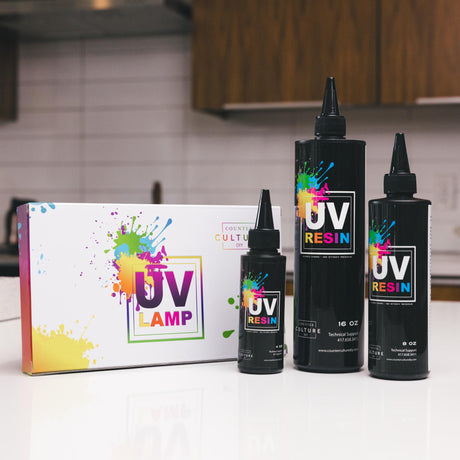
- Counter Culture DIY UV Resin
- Counter culture DIY UV light
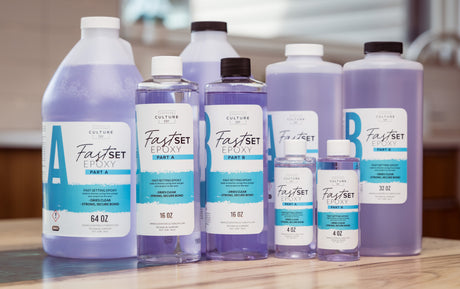
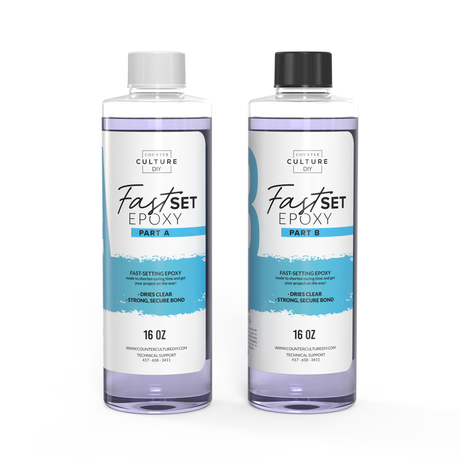
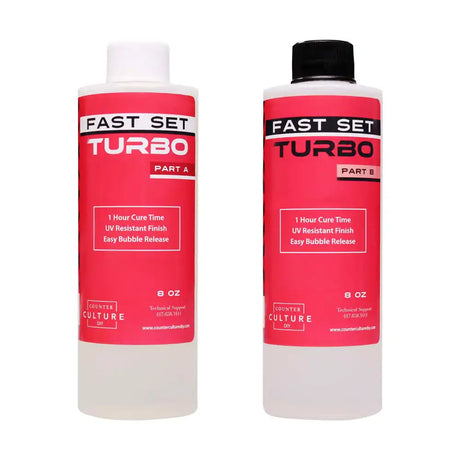
- Counter Culture DIY Fast Set
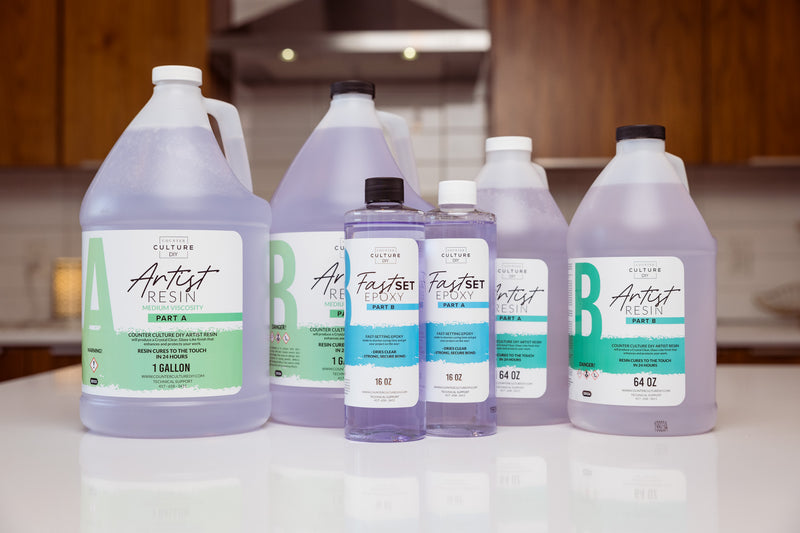
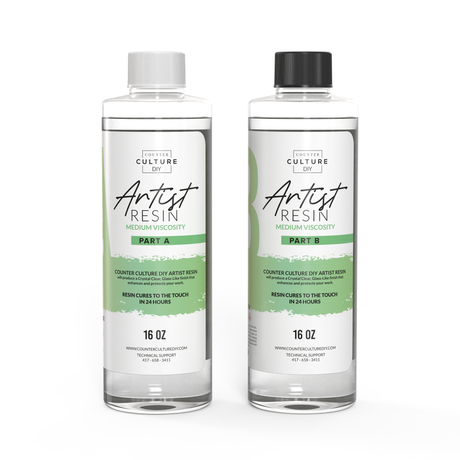
- Medium Viscosity Artist Resin
- Counter Culture DIY Quick Coat
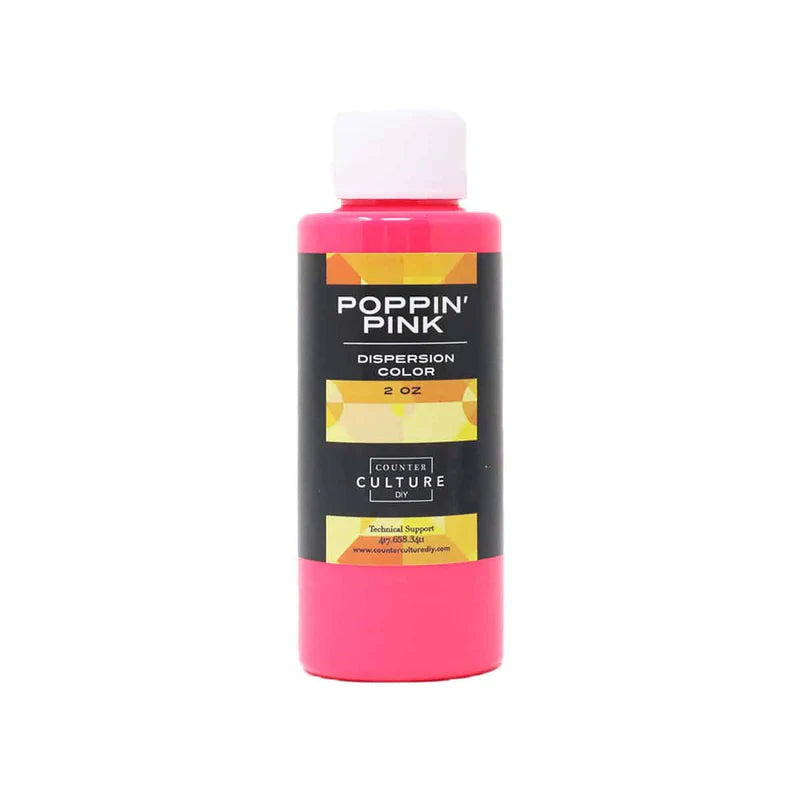
- CCDIY Pink Unicorn Glitter
- CCDIY Baby Girl Glitter
- tweezers
- Mixing cups
- Large Silicone Mixing Sticks
- Silicone mat
- Filter mask
- tape
- Spray paint
- fairy lights with battery pack
- Peek-a-Boo heart vinyl decals
Instructions
- Start by prepping your tumbler by sanding and washing it.
- Now lay out your lights and make sure the wires aren't twisted. Wrap the lights around the tumbler to get an idea of where they will be placed. I’m using a custom 3D printed housing for the battery pack. I’ve taped it on to get a feeling of where it belongs. I also have the battery pack and wire taped to keep it clean and free of paint or epoxy.
- Use the UV Resin and apply it to the wire. Then cure the UV resin in the UV lamp. This will secure your wire to the tumbler. Continue to add resin and cure it along your wire to adhere it in place. Then use the UV resin to secure your housing to the bottom of the tumbler.
- Once your lights are in place, apply a base coat of Prime Time to the whole tumbler. Yes, over the wires and lights too! You can use tiny pieces of tape to keep the lights clean, and/or use a q-tip and alcohol to clean them.
- Apply Quick Coat to your tumbler and coat with the Pink Unicorn glitter. It’s an iridescent glitter so I didn’t bother to avoid the light bulbs.
- Apply layers of combined Fast Set, curing in between, until the tumbler is smooth. Keep in mind that the lights will still give little bumps.
- Apply your peek a boo decals. Spray paint. Apply Fast Set and sprinkle on Baby Girl glitter. Finish off with a layer of combined Artist Resin Medium Viscosity. Add a Velcro dot to hold the battery pack in place.
The Final Touches
We just love how cute these light up hearts turned out! The design is a simple one that packs a lot of punch. Have you tried making a light up tumbler yet? We would love to hear about it in the comments below. Or you can post a picture of it on social media and tag us #counterculturediy so we can check it out!
A big thanks to Athena for sharing this awesome Light Up Valentine’s Day Heart Tumbler with all of us. You can see her other beautiful tumblers and what else she is up to on Facebook and Instagram.
You can find awesome video tutorials like this one on our YouTube channel!
Be sure to follow us on Pinterest so you can stay on top of everything that’s new and never miss a blog post!
If you want more inspiration and information we have a Facebook group for that. Join us in Counter Culture DIY Artist Support where we, and other artists, offer ideas, answer questions, and support each other!
Do you have an art project using any of our products that you want to share? Send it to us at support@counterculturediy.com, and we can feature them here!