Using Dispersion Color as a Tumbler Base Coat
/
/
Using Dispersion Color as a Tumbler Base Coat

Using Dispersion Color as a Tumbler Base Coat

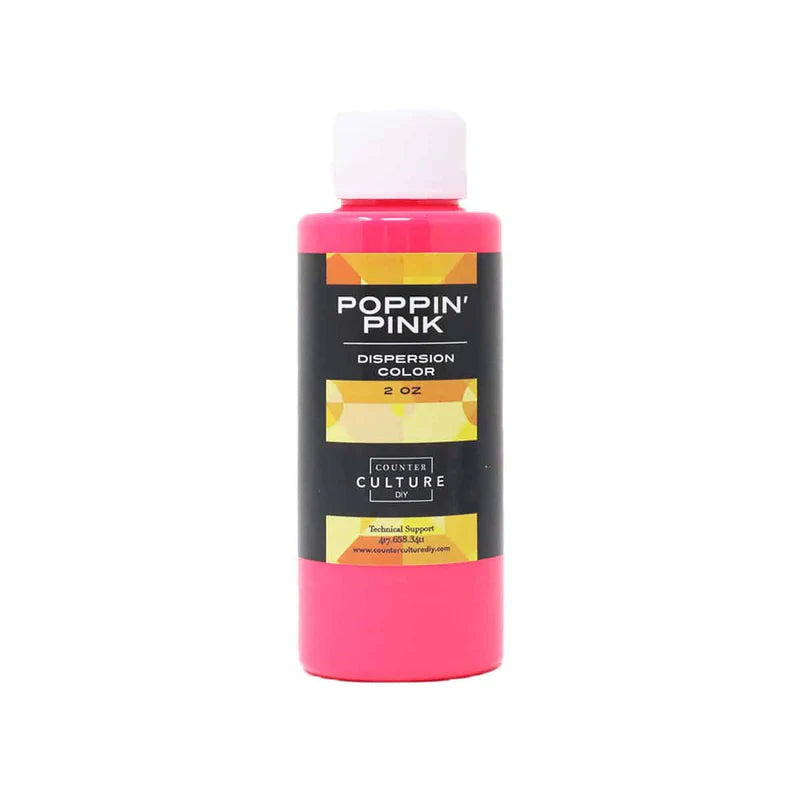
Spray paint is one of the most used items in a tumbler makers tool box. We use it all the time for base coats and peekaboo effects. Did you know that it’s not your only option though? Today we are using Dispersion Color as a tumbler base coat and the results are fabulous! 

For those of us who live colder climates winter gives us some challenges with our resin art. For example, cold temperatures can make it hard to get out and spray paint a base coat. That’s ok, we have a solution for you! Today one of our fabulously talented resin artists, Meg Epps of Lyndly Grove,  is showing you how to use Dispersion Colors as a tumbler base coat. Problem solved! This is a fabulous alternative for your winter tumbler creations and gives a beautiful effect to glitter tumblers. 

using dispersion color as a tumbler base coat

Using Dispersion Color as a Tumbler Base Coat

For a lot of us winter means a slow down in other activities which allows more time for our resin art. We can’t complain about that but those cold temps do come with their challenges. Finding a way around spray paint by using Dispersion Colors is one great solution.

Another problem that people have is tumblers not curing as well when it’s cold. A great solution to that is to set up a space heater in your work area. If you are working in a colder area another good idea is to warm your resin parts A and B separately in a warm water bath to bring them to the desired working temp of 72 degrees. With a little preparation there is no reason that you need to pack up your resin supplies until spring! 

In the video below Meg shows you all the steps for this technique as well as some extra tips and tricks. She also gives you the exact resin measurements you’ll need for this project. Many of you know that getting the exact resin amount can be a tricky thing. We have a great solution for you!

If you are starting a project for the first time or are tired of guessing the amounts you’ll need, use our Resin Calculator to help you on your way. It’s a really handy tool that you’ll find under the Resources tab on the website. Another good idea is to have some small molds like phone grips or earrings on hand and ready to go for any time you mix too much resin. That way you can pour the extra in your small molds and never waste resin again! 

A Note about Glitter…

For this technique Meg uses fine and chunky opal glitters that have a gold tint to them. The opal glitters allow the base color to peak through and also gives the tumblers a beautiful shimmer. This method calls for a nice thick layer of resin for the base coat. These glitters are the perfect combo for that and the application is simple because you add it right to your base layer before it cures.

Meg stresses, however, that if you want to use a different shade or type of glitter that it is best to allow your base coat to cure completely. Then you would mix your glitter into your Artist Resin and apply it just like you normally would. Glitters other than the opal tones may rest into the base coat in such a way that they sink in and look wet. Just some things to keep in mind. 


Using Dispersion Color as a Tumbler Base Coat

Yield: 1 tumbler

Materials

  • Counter Culture DIY Artist Resin
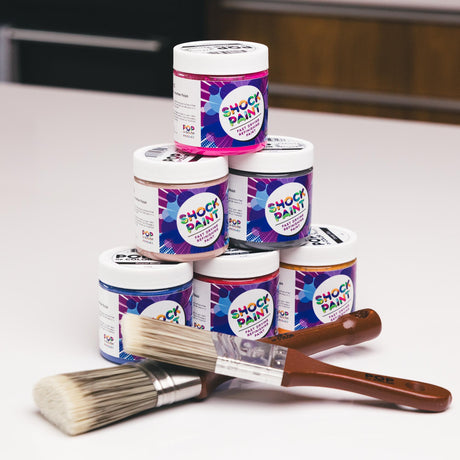
  • Counter Culture DIY Dispersion Colors
  • Glitter
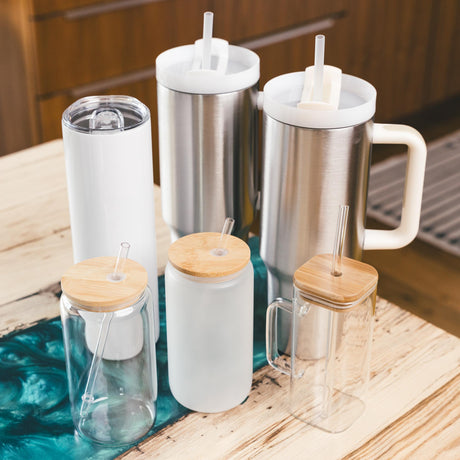
  • Stainless Steel Tumbler
  • Sand paper
  • Alcohol
  • Silicone mat
  • Protective gloves
  • Paper for catching glitter
  • Torch
  • Tumbler turner optional
  • Mixing cups
  • Mixing sticks

Instructions

  • First, lay out your protective silicone mat and prep your tumbler by sanding it then wiping it with alcohol to remove any debris.
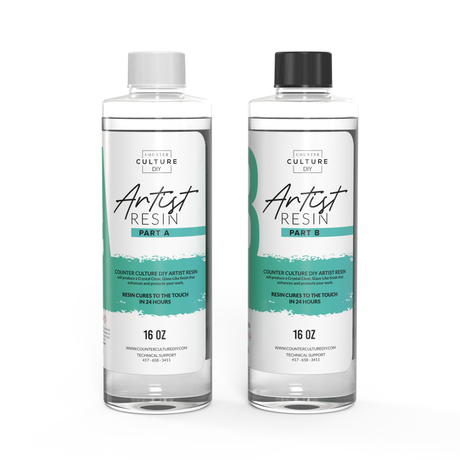
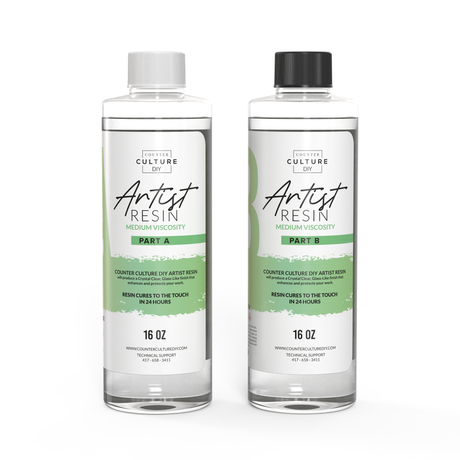
  • Next, mix your Medium Viscosity Artist Resin by combining 20 ml of part A and 20 ml of part B. Mix thoroughly scraping the sides of your container and stir stick.
  • Now pour 15 ml of your combined resin into a separate cup and add just a couple drops of your chosen Dispersion Color. Mix well to combine. Add a little more color if you need to, you want it to be mostly opaque.
  • Next, place your tumbler on your turner if you have one and slowly drizzle the resin onto the entire surface of the cup. Use your gloved hand to smooth it out. Continue to add a little resin at a time until you have a nice thick layer. Use a torch to help the resin level itself and to pop any bubbles.
  • Let the tumbler turn for a few minutes so it can thicken a bit. You want it to have a gummy texture.
  • Now lay sheets of paper under your turner to catch any excess glitter so you can use it again. Sprinkle on the fine glitter starting at the rim of your cup and then working your way down and around until you have an even layer.
  • Next, add a thinish layer of chunky glitter evenly around the cup. Then use the fine glitter again to fill in any spaces. Let the tumbler spin for a minute and then apply the fine glitter one more time.
  • Now take the tumbler off the turner and repeat the glitter process to the bottom of the cup. Allow the tumbler to cure now for 24 hours.
  • Next, gently sand any areas where the glitter sticks up or is rough. Use alcohol to remove any residue. Mix up a batch of Artist Resin using equal parts A and B and mixing thoroughly. Apply the combined resin to your tumbler and allow it to cure for an additional 24 hours.

The Wrap Up…

We are loving this technique! Not only does using Dispersion Color as a tumbler base coat help to beat the cold weather blues it also turns out some beautiful creations! If you want to see more of Meg’s fabulous art and tutorials be sure to check her out on Facebook, Instagram, and YouTube. You can join Meg’s Facebook group, Curious Crafters, for more inspiration and tutorials! You’ll also find her frequently on our Artist Support Page

If you want more inspiration and information we have a Facebook group for that. Join us in Counter Culture DIY Artist Support where we, and other artists, offer ideas, answer questions, and support each other!

Do you have an art project using any of our products that you want to share? Send it to us at support@counterculturediy.com, and we can feature them here!

Share this post

Start typing and press Enter to search

Shopping Cart

No products in the cart.