Dirty Pour Pumpkin Door Hanger
/
/
Dirty Pour Pumpkin Door Hanger

Dirty Pour Pumpkin Door Hanger

We have another gorgeous fall craft project for you today, y’all! Meg of Maker Magic with Meg Epps by Lyndly Grove is showing us how to make a dirty pour pumpkin door hanger. The results are nothing short of stunning!

All of us have fallen in love with resin for one reason or another. For many of us, it was a particular project that drew us in. And many of us stick pretty close to our home base. Some of that has to do with the unique types of equipment and techniques needed for the different types of resin art.

And some of it is that we fall madly in love with creating an item and don’t want to stop. Whether it’s tumblers, coasters, or resin casting we tend to make many of the same types of items. Dirty pours are a way that all of us can branch out with our resin art without any new equipment investments needed!

We already have the resin skills, now we get to experiment with a new canvas! So grab your favorite fall colors and let’s make a dirty pour pumpkin door hanger!

 Dirty Pour Pumpkin Door Hanger

Dirty Pour Pumpkin Door Hanger

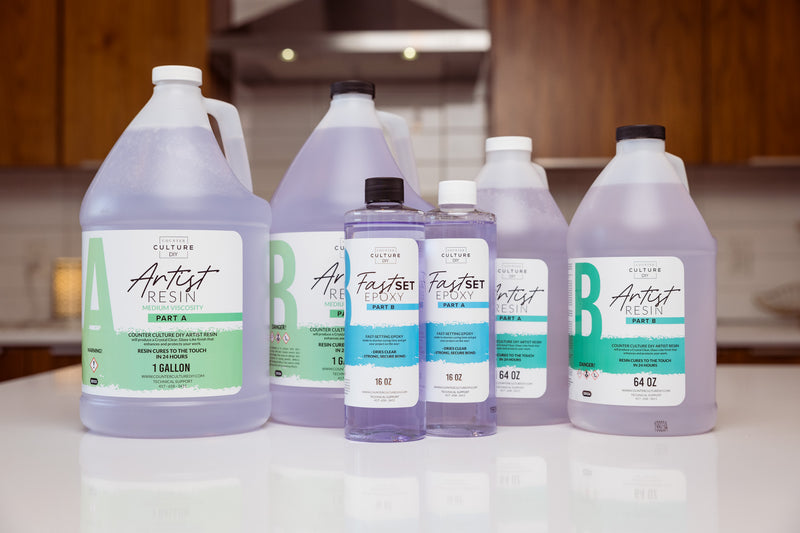
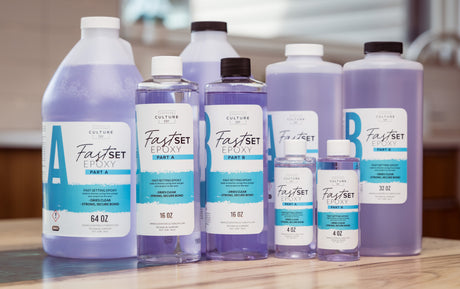
Chances are that no matter what your resin art of choice is, you have a stock pile of glitters, micas, and colorants. Along with some Artist Resin and a wood panel, that is all you need to do a dirty pour. We love dirty pours because you get to use so many beautiful shades and shimmer levels.

And they all blend together into a gorgeous creation. If you have never done a dirty pour before, don’t worry. As long as you are starting with colors and products you love, the results will be fabulous! And, as Meg shows us in the video, little touch ups of color are easy to do. Once she does her initial pour, she goes back and adds colors where she wants them. Then uses gravity and a heat gun to move the resin into a beautiful display!

Dirty Pour Pumpkin Door Hanger

How to Handle the Sides of your Door Hanger

There is no one right way to finish the sides of your dirty pour pumpkin door hanger. Some artists prefer to tape off the sides of their wood panel so that no resin gets on them. Then they go back in and paint the sides in a color that coordinates with their dirty pour.

Meg’s method was to allow the resin to naturally drip down the sides of her panel. Then she used a gloved finger to blend and spread the resin along the sides. You can allow the side resin to cure along with the rest of the panel and call it done. Or, you can get sparkly with some glitter!

Once the resin has cured, you can use your favorite glitter application technique to apply glitter to the sides. Then give the panel a final layer of Artist Resin to finish it. 

Dirty Pour Pumpkin Door Hanger

Stem Options

Meg used some adorable wood cylinders that she found at the craft store for her stem. She cut one to the height she wanted it and then glued it to the back of her panel. Her stem looks super cute and you can do yours the same way. But there are other options too! If you have easy access to fallen branches in your yard or neighborhood, you can grab a stick, cut it to size, and have a natural stem.

Fans of wine and wine cork art can hot glue a cork to the top of their panel and use that as their stem. We also know crafters who save actual pumpkin stems each year. They save their own and take donations from family and friends. The stems dry throughout the year and then they are ready for crafting the following year.

We love this idea! It does take a little planning but the you can’t beat the look of the real thing! Finally, you can also purchase faux pumpkin stems online. Seriously, what can’t you find online these days? No complaints here though, they look pretty realistic and are perfect for crafting with! 

Dirty Pour Pumpkin Door Hanger

Watch the Video Tutorial Here!

Dirty Pour Pumpkin Door Hanger

Learn how to make an adorable dirty pour pumpkin door hanger!
Yield: 1 door hanger

Instructions

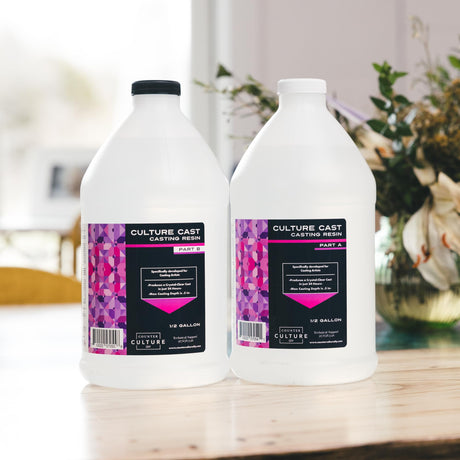
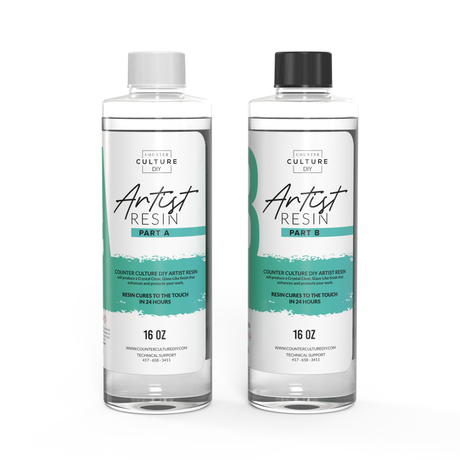
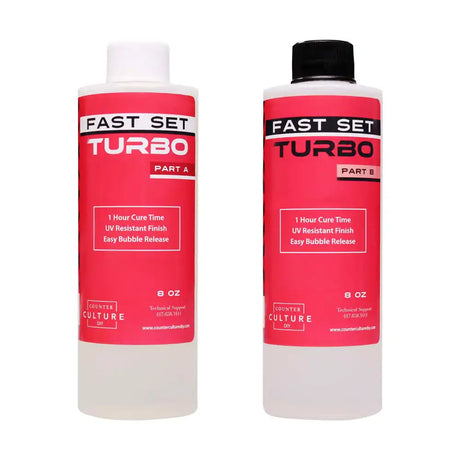
  • Start by measuring equal amounts of parts A and B of your artist resin. Then combine them into one cup and stir well for 3-5 minutes, scraping the sides and bottom of your cup as you go.
  • Pour the combined resin into 6 different medicine cups. Then add the following...
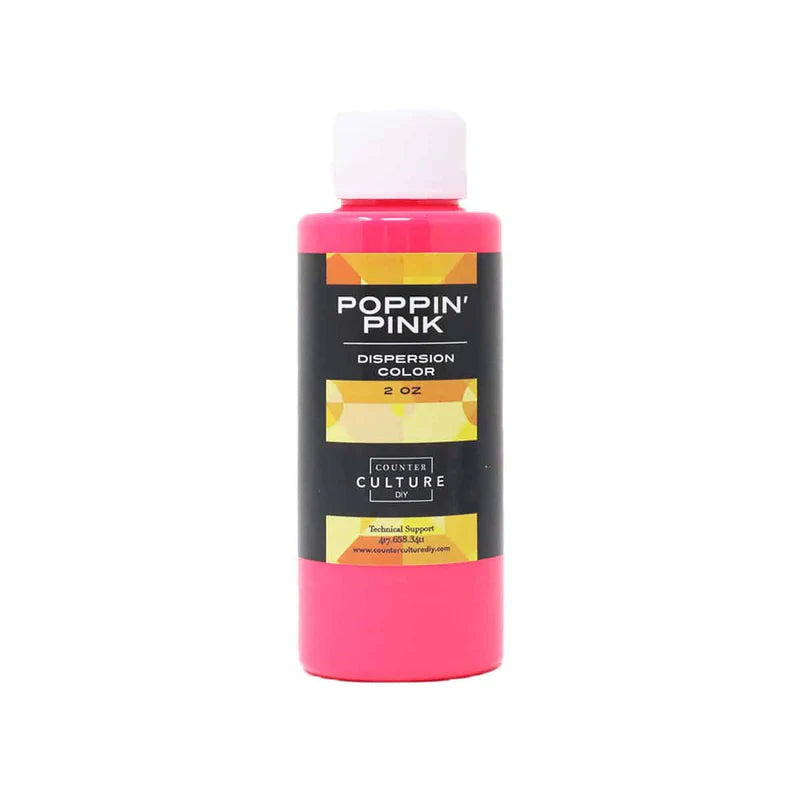
    Cup 1: 2-3 drops of Pumpkin Dispersion Color
    Cup 2: 2-3 drops of Bronze Armor Art
    Cup 3: enough drops of White Armor Art to make it opaque
    Cup 4: Tiny scoop of Flaxen Gold Mica Powder
    Cup 5: Small scoop of Amber Horizon Glitter
    Cup 6: Tiny scoop of Penny Mica Powder
  • Set out 3 medicine cups on your mat. Then place your wood panel on top of them. You want the panel elevated so the resin can run off naturally.
  • Next, drizzle some of the Pumpkin onto the the panel. Then some of the Penny. Then use a gloved finger to spread them out. This acts as a base coat and allows the dirty pour to flow.
  • Now it is time to set up the pour. Grab an empty medicine cup and pour a small amount of each color into it.
    The order Meg used is White, Pumpkin, Amber Horizon, Bronze, Flaxen Gold, White, Penny, Pumpkin, Amber Horizon, Bronze, Flaxen Gold.
  • Here comes the dirty pour! Hold your cup of colors straight up. Place the panel (color side down) onto the cup. Then place your panel with the cup on it onto the cups you are using to raise it.
    Hold the cup of colors in place for a second to let them start coming down. Then lift it and pour the resin around one half of the panel.
  • Tip and rotate your panel. Allow the resin to gently move across the half of the panel you are working on.
  • Next, drizzle some white over part of your pour. And some gold along the edge.
  • Repeat the same process of color pouring into another medicine cup.
  • You won't be able to set the panel on the cup of color this time. So just flip it as quickly as possible onto the panel and then pour.
  • Move the resin around again by tipping and rotating the panel.
  • As the resin drips down the sides, use a gloved finger to blend it in.
  • One the panel is covered, place it back on the cups. Then add more of any and all colors that you want to.
  • Now use the heat gun to move the resin where you want it. Continue adding color and moving it with the heat gun until you love your piece!
  • When you are done, set it aside to cure. The resin will continue to move a bit as it rests.
  • Once your resin is cured, use a knife and sandpaper to clean up the bottom of your panel. Finish the sides however you want to. Painting or glittering them are two options.
  • After your sides are finished, use a glue gun to attach your stem to the top of your panel.
  • Then tie your raffia around the stem. If you need to, use glue to keep the bow in place. Trim the ends of your raffia to make them more even.
  • Finally, use a knife or your fingers to separate the raffia a bit.

Dirty Pour Pumpkin Door Hanger

The Finishing Touches

And that’s how you turn a resin dirty pour into a spectacular fall pumpkin! Once you have attached your stem you can leave your pumpkin as a shelf sitter. Or use hot glue to attach a strong jute string hanger.

Remember that you can also use any color combinations that you want to. There are some optional ones listed in the recipe above. Meg added those into the first pumpkin door hanger she made. We get to see it towards the end of the video when she attaches her stem to it. It is gorgeous! So we included the colors that she used for it in the recipe for you.

As always, a big thanks to Meg for sharing her time and talent with us. If you loved learning from Meg and want to see more of her creations and tutorials you can follow her on FacebookInstagram, and YouTube, and you can check out her Facebook group, Curious Crafters. You can also join her mentoring group, Maker Magic for extra information and support from two amazing resin artists! 

You can also find more fun fall project tutorials like this one here on the blog. Check out our posts Fall Inspired Pressed Flower Coasters, and 7 Fall Themed Glitter Tumbler Tutorials for more inspiration! We can’t wait to see what you create next. Happy crafting, friends! 

Dirty Pour Pumpkin Door Hanger

You can find more awesome video tutorials like this one on our YouTube channel!

Be sure to follow us on Pinterest so you can stay on top of everything that’s new and never miss a blog post!

If you want more inspiration and information we have a Facebook group for that. Join us in Counter Culture DIY Artist Support where we, and other artists, offer ideas, answer questions, and support each other!

Do you have an art project using any of our products that you want to share? Send it to us at support@counterculturediy.com, and we can feature them here!

Share this post

Start typing and press Enter to search

Shopping Cart

No products in the cart.