Hand Painted Tumbler with Shock Paint
We have a really cute painted tumbler tutorial for you today! Shaela of Howat Wonders is showing us how to make a hand painted tumbler with Shock Paint. She teaches us how to paint a bubble gum tumbler using Pop of Color Paints! It’s a really cute tumbler that is also easy to do.
There is something so fun about bubble gum machines. Especially full ones! It takes us back to being kids with a coin in our hands and the taste of gum balls already on our tongues. Shaela shows us how to recreate this feeling on a tumbler using Pop of Color Paints and and a few extra details.
This colorful tumbler is as much fun to make as it is to show off and use. It is perfect for kids and for those of us who are still children at heart. So grab your favorite Pop of Color shades and let’s get painting!
Hand Painted Tumbler with Shock Paint
There are so many fun ways to use chalk paint on a tumbler. And you talented artists have shared some really beautiful designs with us. We love seeing new ideas and learning new techniques. So we are grateful to Shaela for showing us how to paint this bubble gum machine tumbler!
If you have kids in your life, this could be a great tumbler to let them help with. Using a round sponge brush is an easy way to get perfect circles. So even young kiddos could add their gumballs! Let them choose their own colors and watch them go to town. You will probably need to go back in and to some touch ups where the circles overlap. But the littles will be so excited that they got to help create a cup!
Bubble Gum Tumbler Variations
We love the paint colors that Shaela chose for her bubble gum machine tumbler. And she listed the colors for us so we can use the same ones if we want to. You could also use what you have on hand. Or choose your own unique color combinations! Your bubble gum tumbler is going to come out adorably, any way do it!
The decals that Shaela used really made her gum ball machine tumbler pop! You can find similar decals online. Or, if you have a vinyl cutting machine, you can design and cut your own. Have a steady hand with a paint brush? You could even free hand the gum ball machine details!
If you don’t have the silver foil flakes that Shaela used to separate the top and bottom of her tumbler, there are other things you can use! You could use silver vinyl tape or nail tape instead. Or use a metallic paint marker. You could also just tape off the line using the painter’s tape and paint the line on. And there are probably a hundred other options that y’all can come up with that we missed!
However you make your bubble gum tumbler, it’s going to be great! It is the details that make each artist’s creation uniquely brilliant. Even when we all start with a similar inspiration. That’s one of the things that we love most about art!! A single spark of an idea leads to something amazing from each artist.
Hand Painted Tumbler with Shock Paint
Materials
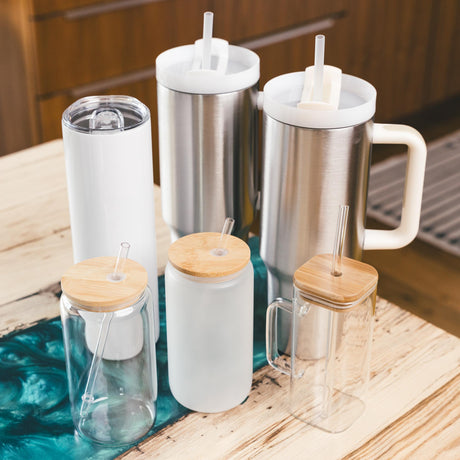
- Stainless Steel Tumbler
- Silicone mat
- Protective gloves
- Filter mask
- Mixing cups
- Large Silicone Mixing Sticks
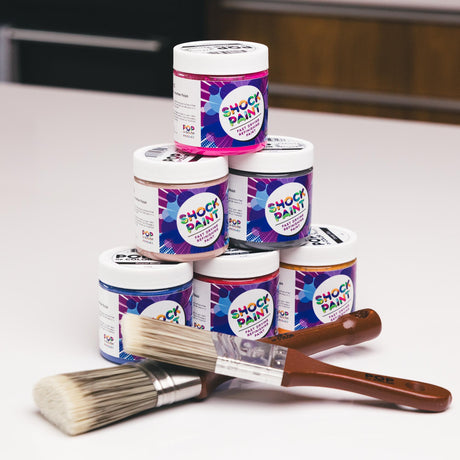
- Lamb's Wool Shock Paint
- Red Red Shock Paint
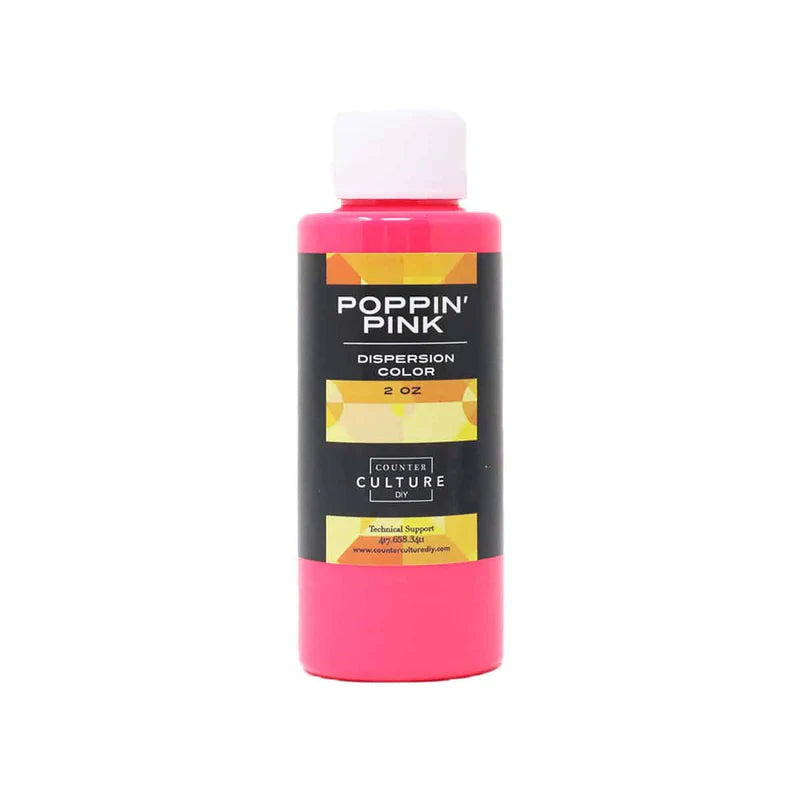
- Hot Pink Shock Paint
- Neon Purple Shock Paint
- Neon Green Shock Paint
- Bright Yellow Shock Paint
- Ocean Deep Shock Paint
- Premium Flat Furniture Paint Brush
- Paint brush small, or round sponge brush
- Gumball machine details
- Foil Flakes silver
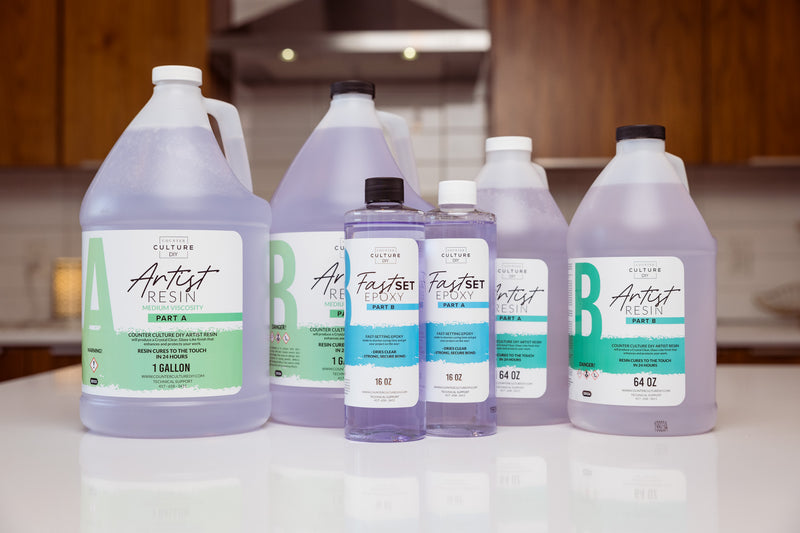
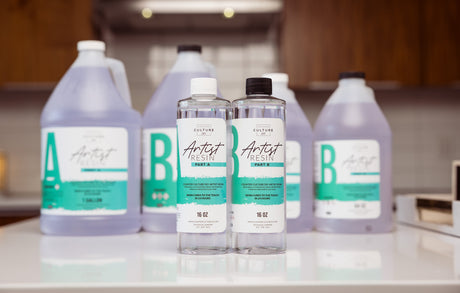
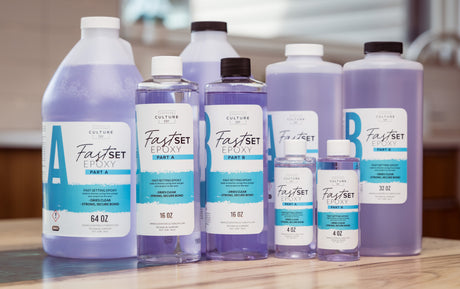
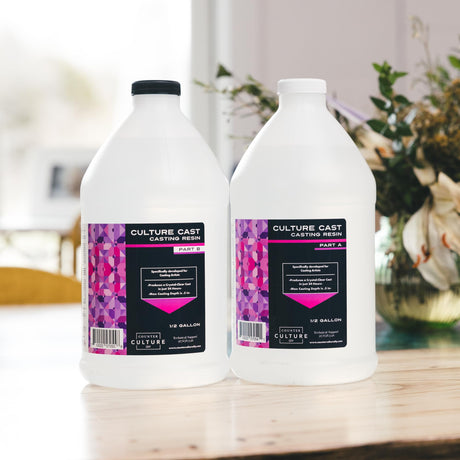
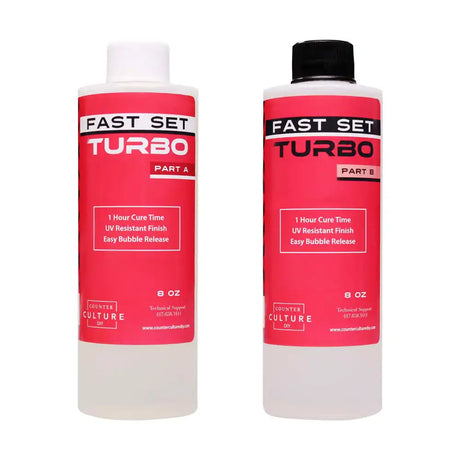
- Counter Culture DIY Artist Resin
Instructions
- Start by cleaning and prepping your tumbler. Then use painter's tape to section the cup into 2 parts. The bottom portion should be a bit larger than the top.
- Now use a mix of Red Red and Hot Pink to paint the bottom section and Lamb's wool to paint the top. Let it dry for a minute before moving on to your gum balls.
- Start making circles for the gumballs. *Hint, Shaela learned that drawing the balls out first or using a circle sponge brush may help make more even circles. Alternate your colors and add gumballs over the whole top part of the cup.
- Then go back in and add half circles to fill in your gumball machine. When the gumballs are dry, use a fine brush to add little lines on the gumballs to make it the look more 3D and reflective.
- Then add the extra touches you want for your gumball machine! Shaela used Mod Podge and silver foil around where the two main colors meet. And she added gumball details with silver vinyl.
- Next, mix up a batch of Artist Resin according to the package instructions. Measure equal amounts of Parts A and B. Then pour part B into part A and mix well for 3-5 minutes. Be sure to scrape the sides and bottom of your cup as you go, as well as your mixing stick. This ensures that all of your epoxy will be well incorporated.
- Apply the resin to your tumbler using a gloved finger to smooth it out. Allow the resin to cure. Then add a final layer of combined resin and allow that to fully cure.
The Finishing Touches
How cute is this gum ball machine tumbler, y’all?! It makes a great gift for the gumball lovers in your life. And, if you sell your tumblers, it’s a really fun addition to your product line up. A big thank you to Shaela for showing us how to make this adorable cup. If you loved learning from Shaela and want to see more of her fabulous work, you can follow her on the socials. Find her on Facebook, Instagram!
If you try this design we would love to see it!! Tag us if you post a picture on social media so we can check it out. We hope you have as much fun with this bubble gum tumbler as we did. Happy painting, friends!!
Pop of Color Shock Paints are one of a kind chalk paints and sold exclusively at Counter Culture DIY. So now you have even more reasons to stop by!
You can find more awesome video tutorials like this one on our YouTube channel!
Be sure to follow us on Pinterest so you can stay on top of everything that’s new and never miss a blog post!
If you want more inspiration and information we have a Facebook group for that. Join us in Counter Culture DIY Artist Support where we, and other artists, offer ideas, answer questions, and support each other!
Do you have an art project using any of our products that you want to share? Send it to us at [email protected], and we can feature them here!