How to Crackle Paint on a Tumbler
/
/
How to Crackle Paint on a Tumbler

How to Crackle Paint on a Tumbler

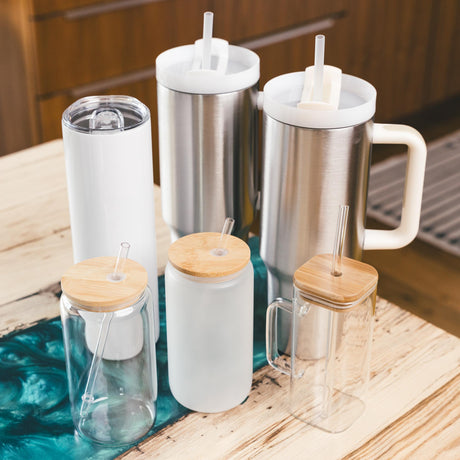
Our paints can be used on so many surfaces and in so many projects! Today Cathy from The Rustic Pixie is showing us how to crackle paint on a tumbler. The result is a beautiful mix of rose gold patina and crackle!

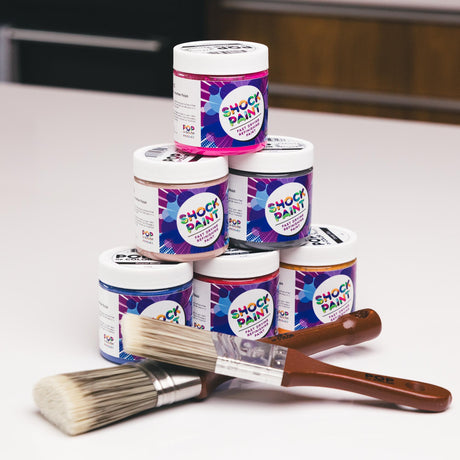
The crackle method has been consistently popular for a long time now. And it’s no wonder! The crackle lends a rustic vibe that is beautiful and full of texture. The insanely quick dry time of our paints makes them perfect for the crackle method. Cathy show us how to crackle paint on a tumbler using Pop of Color Paints and a heat gun. Then she teaches us how to complete this gorgeous patina tumbler using glitters and Counter Culture DIY Artist Resin. We can’t wait for you to see the results and give it a try for yourself!

How to Crackle Paint on a Tumbler

There is so much to learn in Cathy’s tutorial! Not only does she show us how to crackle paint we also learn other awesome tumbler tricks. The video below is full of helpful tips and tricks. One of the things we liked learning about most was the role alcohol plays in this tumbler! Brushing the alcohol over the metallic ink created an awesome effect. As Cathy says, the alcohol leaved different colored streaks. The look is similar to a woodgrain!

The rose golds that Cathy uses on this tumbler are just gorgeous! And our Lamb’s Wool paint makes the perfect crackle paint base. We have listed the supplies that you need to duplicate Cathy’s tumbler below. Or you can try your own color combinations. We have 42 amazing paint colors for you to choose from and they will all crackly beautifully for you! Did we mention that we also have neon colors?!? Neons can be hard to come by in matte finished paints but we have you covered!

Get Your Crackle On

how to crackle paint on a tumbler

When you see paint crackled it looks like it would take a lot of steps and work. But actually the opposite is true! With our paints it really only takes minutes to achieve. It only takes a couple of coats of paint and a heat gun to get you the look you want. Then the addition of the ink and alcohol adds a layer of fabulous dimension.

If you have been intimidated by the crackle method before, now is the perfect time to jump in and give it a try! Whether you use the same supplies that Cathy used or you come up with another fabulous combo, the results are sure to be beautiful. We can’t wait to see what you all come up with!

How to Crackle Paint on a Tumbler Supply

Learn how to make a crackle tumbler with Pop of Color Paints!
Yield: 1 tumbler

Instructions

  • Start by using your 1" paint brush to apply 2 coats of the Lamb's Wool paint to your tumbler. Hit it with a heat gun for just a minute. This should cause some crackling which is great!
  • Now squeeze a little bit of the Rose Gold Mixative onto the tumbler and use the chip brush to spread it from top to bottom. Continue adding and spreading until the whole cup is evenly covered.
  • Next put about 5 ml of the alcohol into a medicine cup. Dip your chip brush in, blot it a bit, and then go over the whole cup brushing from top to bottom again.
  • Then squeeze a little bit of the Quick Coat onto the cup in a few spots, use your finger to spread it a bit, then add the foil flakes to those spots. Then use your finger to brush off the excess.
  • Mix a little bit of the Silver Sand and Backstage together in a medicine cup.
  • Then use the same process you did for the silver flakes. Choose different spots to add a tiny bit of the Quick Coat and then your glitter mix.
  • Once you have all the spots that you want glittered done, use your finger to brush it into the cup and push the edges out. You want it to have a more jagged look instead of rounded edges. Then when it is dry, brush off any excess.
  • Next go back with your Quick Coat and glitter and add a bit of glitter to the center of your glitter spots. It is almost like adding a center to a geode. This glitter layer you won't touch or spread.
  • Now add a coat of the Rustoleum 2X Clear and let it dry for about 10 minutes. Then spray it again and let it dry for 30 minutes.
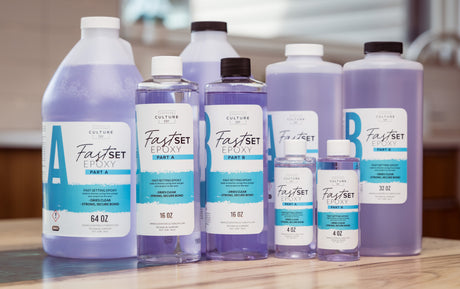
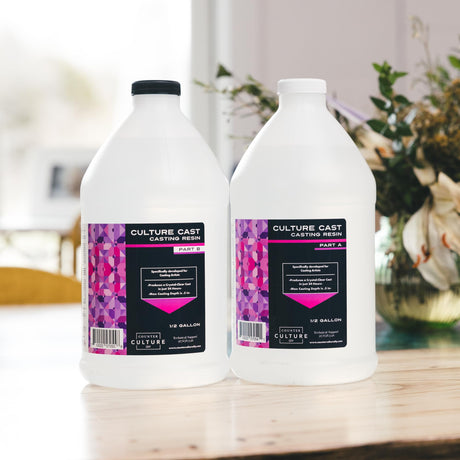
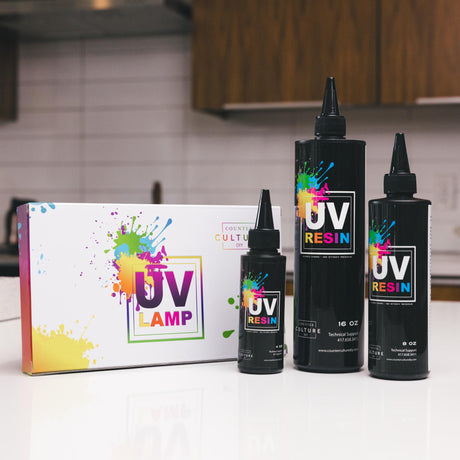
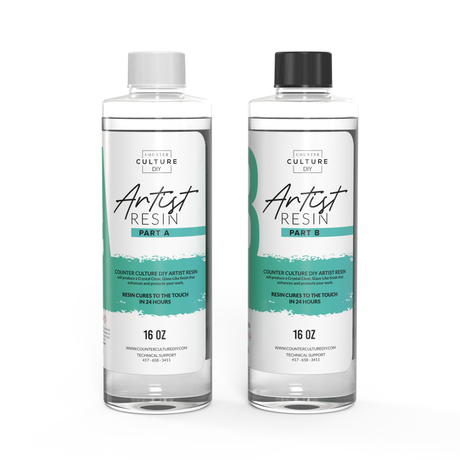
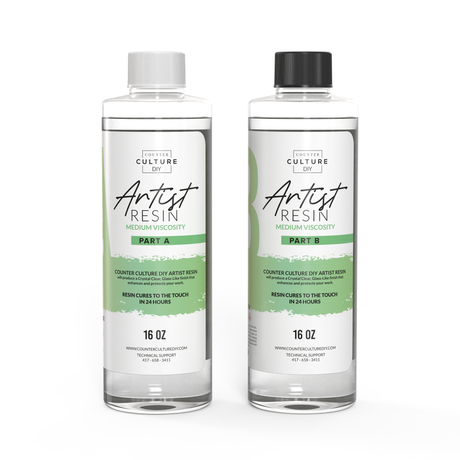
  • Next, mix a batch of the Counter Culture DIY Artist Resin according to the package instructions. Apply a nice even coat to your entire tumbler. Allow the resin to cure and then add another layer if needed to make your tumbler smooth.

The Finishing Touches

We just can’t stop staring at this tumbler! All of those details are so beautiful. If you enjoyed learning from Cathy you find more of her tutorials on her YouTube channel, The Rustic Pixie Creates. You can also follow her on Facebook and Instagram. To see more of her amazing creations check out her website! We hope you love this tumbler as much as we do. If you give it a try, be sure to tag us on social media so we can see it! Have fun creating y’all…

how to crackle paint a tumbler

Pop of Color Shock Paints are sold exclusively at Counter Culture DIY. So now you have even more reasons to stop by!

You can find more awesome video tutorials like this one on our YouTube channel!

Be sure to follow us on Pinterest so you can stay on top of everything that’s new and never miss a blog post!

If you want more inspiration and information we have a Facebook group for that. Join us in Counter Culture DIY Artist Support where we, and other artists, offer ideas, answer questions, and support each other!

Do you have an art project using any of our products that you want to share? Send it to us at support@counterculturediy.com, and we can feature them here!

Share this post

Start typing and press Enter to search

Shopping Cart

No products in the cart.