How to Paint a Birch Wood Shiplap Tumbler
/
/
How to Paint a Birch Wood Shiplap Tumbler

How to Paint a Birch Wood Shiplap Tumbler

We are really excited to bring you another fabulous painting tutorial today! Kristin of Martins Chaotic Creations is showing us how to paint a birch wood shiplap tumbler. You are not going to believe how beautifully realistic this tumbler looks! 

We are always looking for new painting techniques and really enjoy learning new things. So we were really pumped when Kristin did her how to paint a birch wood shiplap tumbler tutorial on the Pop of Color Artist Support Page. Kristin shows us how a seemingly tricky design is actually very doable. Kristin assures us that even a beginner can do this, you can’t really mess it up. So let’s get painting!

How to Paint a Birch Wood Shiplap Tumbler How to Paint a Birch Wood Shiplap Tumbler

How to Paint a Birch Wood Shiplap Tumbler

The first thing that Kristin tells us is to trust the process. This birch wood tumbler is all about layers. At first it may look wonky and you may get concerned. But stick with it! The shiplap and natural wood look come when the layers are added. And Kristin shows us exactly how to do that in the video below!

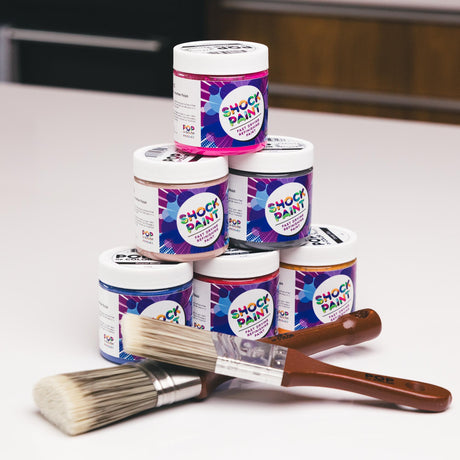
Using Pop of Color Paint to do this faux shiplap technique has lots of advantages. For one, the colors are absolutely gorgeous. And the coverage that our chalk paints give mean you can use far less paint to get the look you want. Our paints also dry really quickly. Which makes them perfect for projects like this that have several layers of paint. Kristin uses her heat gun to speed the drying process for the video. But even if you let it air dry, you won’t be waiting too long!

How to Paint a Birch Wood Shiplap Tumbler

Watch the video tutorial here!

How to Paint a Birch Wood Shiplap Tumbler

Learn how to use Pop of Color Shock Paints to create an amazing tumbler with shiplap!
Yield: 1 tumbler

Materials

Instructions

Prep Your Tumbler

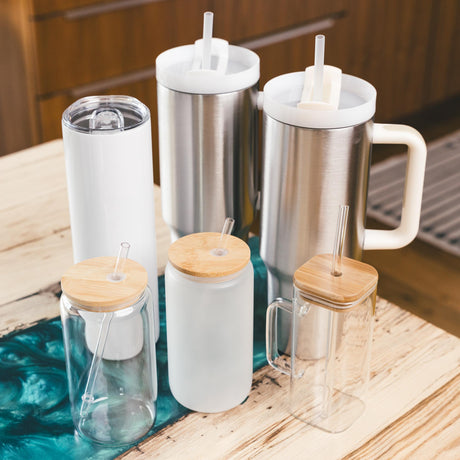
  • Start by prepping your tumbler and painting it with the Pure White. Cover the whole tumbler but it doesn't need to be a super heavy coverage. A medium coat of the paint is what you need.
  • Next, tear off a piece of the painter's tape. You will use the same piece repeatedly. Take the tape and line it up with the top rim of your cup. Wrap it around the tumbler, getting it as straight as you can. It doesn't need to be perfect though. Kristin reminds us that the slight imperfections makes the tumbler look more natural.
  • Now take your pencil and draw a line right at the edge of the tape. Remove your tape and replace it a little bit under your first line. Repeat this process down the rest of your tumbler.

Paint Your Tumbler

  • Give your Black and Pure White a good stir. Then put some of each onto your paint tray. You only need a little bit of Black so don't pour too much.
  • Stir you Light Grey and Charcoal paints. Then put some of the grey on your paint tray. Next use a popsicle stick to drizzle some of the Charcoal onto the Grey and then mix them together. The pour a little bit of the Blush on a separate plate. And a small amount of Lamb's Wool.
  • Now it's time to paint! Dip one of your chip brushes into the black paint, only get a little bit on your brush. Dab it off to remove even more paint. Then feather on the black very lightly in several spots. Don't worry, Kristin shows us exactly how to do this in the video tutorial!
  • Next, repeat the same process with the grey paint. Focus on the areas of the tumbler that are still open. As you continue on in your painting, use slightly more paint. Kristin explains that this is they way you get good texture.
  • Now use the white paint and repeat the same process. Any time you use the white, be heavier with the paint.
  • Then go in with the Lamb's Wool and just add little accents.

Layer up the Paint

  • Now it is time to add more depth and texture. Start over again with the black paint. Apply it in the same way you did the first time. Kristin adds the black to some of the same spots she did the first time and some in different spots.
    Do the same with the grey paint. Then use your heat gun to dry the paint so the layers don't start to blend too much.
  • Continue on with the white paint. At this point you want to focus on the areas between your lines to establish the blend of the "grain".
    Remember to use more white paint on your brush than you use for the other colors. Use the heat gun again to dry the white paint.

Add the Details

  • Next use your pencil to redefine your original lines. Kristin likes to use the flattened side of a pencil tip to get a feathery lead look. It is similar to what you would use for shading. Lightly go back and forth along your lines.
    Go darker in some areas and lighter in others. It doesn't need to be perfect. Again, this is what makes it look more natural.
  • Now use the Blush to go back in and add little accent strokes to the tumbler. You use the same method as you did with the black and grey paint on the first layer.
  • Then, starting with the white, continue to layer on your colors until you are happy with the outcome. These layers will be very light. Kristin is barely even touching the cup.
  • When you are happy with the painting, dry it with the heat gun. Then go back in with your pencil and clean up your lines a final time. Once you are done it's time for Quick Coat and Artist Resin!

How to Paint a Birch Wood Shiplap Tumbler

How to Paint a Birch Wood Shiplap Tumbler

How to Paint a Birch Wood Shiplap Tumbler


How to Paint a Birch Wood Shiplap Tumbler

Seal and Finish your Tumbler

Quick coat artist resin

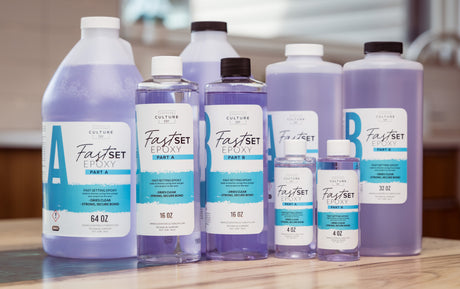
  • Once your paint layers are completely dry it is time to seal your shiplap tumbler. Counter Culture DIY’s Quick Coat is absolutely perfect for sealing your cup. Quick Coat makes sure that your paint is sealed well so that your epoxy can adhere properly. Apply a thin layer of Quick Coat to your tumbler using a gloved finger. Then allow the cup to dry.
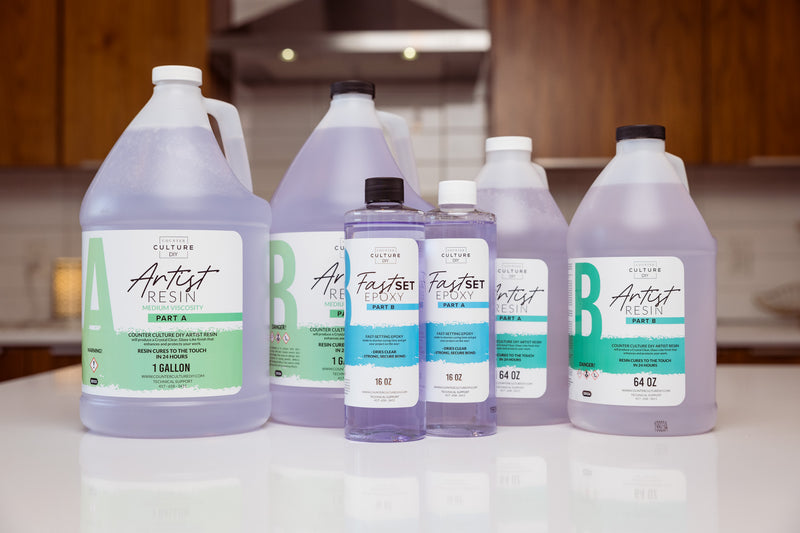
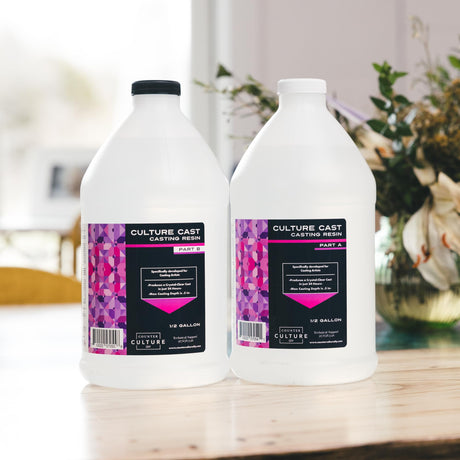
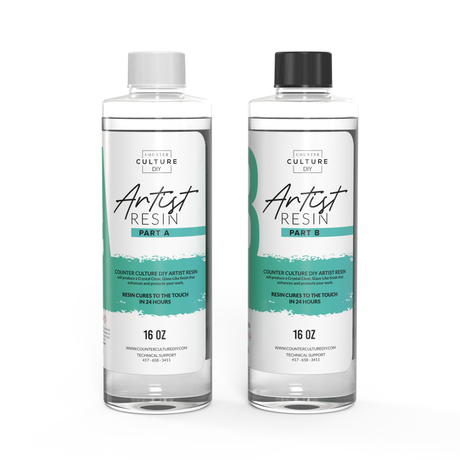
  • Next add your first layer of Counter Culture DIY Artist Resin. Kristin told us that this design takes about 25-30 ml of combined epoxy. A little more than most tumblers but definitely worth it. Add as many layers of resin (allowing them to cure in between) as you need to get your tumbler nice and smooth.

The Finishing Touches

It’s a process, y’all. But this beautiful birch wood shiplap tumbler is worth every single step! Once you have your layering technique down, you will be off and running. When your tumbler is epoxied you can stop there and enjoy it as is. Or you can add a decal or waterslide. Kristin has made some beautiful Christmas tumblers using this method and waterslides!

A big thanks to Kristin to sharing this tutorial with all of us. We love learning new painting techniques and you know that tumblers hold a special place in our hearts! If you want to see more of Kristin and her work you can follow her on Facebook, and Instagram. 

We hope you love this birch wood tumbler as much as we did. Happy painting, friends!

How to Paint a Birch Wood Shiplap Tumbler


Pop of Color Shock Paints are one of a kind chalk paints and sold exclusively at Counter Culture DIY. So now you have even more reasons to stop by!

You can find more awesome video tutorials like this one on our YouTube channel!

Be sure to follow us on Pinterest so you can stay on top of everything that’s new and never miss a blog post!

If you want more inspiration and information we have a Facebook group for that. Join us in Counter Culture DIY Artist Support where we, and other artists, offer ideas, answer questions, and support each other!

Do you have an art project using any of our products that you want to share? Send it to us at support@counterculturediy.com, and we can feature them here!

Share this post

Start typing and press Enter to search

Shopping Cart

No products in the cart.