Painting Furniture with Pop of Color Paints
We have been blown away by the amazing things our artists have been creating with our paints! One thing we have noticed is that painting furniture with Pop of Color Paints has been really popular. So we wanted to talk about the best ways to do that. Below are some of our favorite tips and tricks!
Painting furniture can be such a fun process. It’s true whether you have a piece at home that needs a makeover or you enjoy the thrill of hunting down old pieces in need of some love. The smooth application and finish of our paints makes the process even more fun. Because of the fabulous coverage, you can skip some of the steps and coats that you would normally need when painting furniture. So grab your paint brushes and tack cloth and let’s get painting!

Artist: Shay Livenspargar
Painting Furniture with Pop of Color Paints
No matter what you are painting or what you are using, there are some parts of the painting furniture process that remain the same. Cleaning and prepping your pieces is always important. And, since furniture usually sees a lot of traffic, finishing your pieces is typically a must. Let’s talk about the supplies you will need and then we will get into the steps!

Artist: Orchid’s True Blue
Furniture Painting Supplies
- Pop of Color Paints
- Sand paper
- Tack cloth
- Premium Flat Furniture Brush
- Small paint roller
- Paint tray for large projects
- Finish – either Pop Coat Varnish or Finish It Wax
- Tools to remove hardware
The supplies you need will vary depending on the furniture and method you will be working with. But this supply list will likely cover most furniture painting projects. It is also a good idea to have something to protect your work area. A cheap shower curtain, old sheet, or a drop cloth will work well.
Step One: Set up your Workspace
You will want to set up your workspace in an area that is away from strong breezes and direct sunlight. If you are in an area where you want to keep the floor protected, lay something out and then place your furniture piece on top of it. If you have any scrap wood you can set your piece on top of it. This will give it some elevation which will make it easier to paint around the bottom.
You also want to make sure that you can easily move around the piece you’re working on. This will keep you from having to move the piece itself. Moving the piece is not only cumbersome but you could also mar the work you’ve already done.

Artist: Rick Cheadle
Step Two: Prep your Piece
When it comes to furniture, prepping your pieces is one of the most important steps. It is easy for a piece to go wrong if proper prep isn’t done. How well a piece is prepped does a lot to determine its outcome. Our paint and it’s super smooth finish is very forgiving. However, you still want to make sure that your piece is well cleaned and free of debris.
Oil, dirt, and residue can keep any paint from adhering properly. So start by cleaning your piece well. You can use a degreaser for tougher jobs and for others, mineral spirits or a vinegar water mix will work well. Whichever cleaning agent you use, be sure to rinse it off well before you move on.
Next you will want to remove any hardware and drawers from your piece. Then use some wood filler to fix up any gouges or holes. After the wood filler has set, sand those spots smooth and then lightly sand the rest of the piece. You don’t need to sand it down completely, just scuff it up a bit so that the paint will adhere evenly.
Finally, wipe the piece down to remove any dust from sanding. Using tack cloth can make this process very easy since the dust will cling to it. Once your furniture piece is prepped, it’s time to paint!
Step Three: Paint!
How you start the painting is up to you. You can either put down a layer of primer first or just plan to use another coat of your Pop of Color paint. Either way, use your brush or roller to add your paint on with a light hand. Be sure to paint with the grain of the wood. The brush will be good for getting into crevices while the roller can cover more area, especially on large pieces.
Once your first coat has dried (which will be quick, our paint dries fast!) apply a second coat and allow that to dry as well. Most likely you will not need another coat of paint. Once this is done you can move on to distressing or embellishing your piece.

Before

After Artist: Rick Cheadle
Step Four: Seal it
Our paints are very durable and often don’t need to be sealed. Furniture is a different story though since it gets so much use and traffic. We recommend sealing any furniture pieces that you paint. Not only will it add to the durability, it will also make it much easier to clean. The sealer you use will depend on your personal preference.
You can either use polyacrylic finish or a furniture wax finish. We created Pop Coat varnish with our chalk paints in mind. Pop Coat is a Clear, water-based acrylic topcoat that creates a durable matte finish for your furniture refurbishing needs.
Pop Coat is used as a varnish and sealant for your Pop of Color painted projects. Make sure your paint is dry before applying. For best results please apply 2-3 layers of Pop Coat to your pieces, recommended to sand in between layers.
Our Finish It Wax is designed specifically for furniture. “FINISH” IT wax is a clear wax great for chalk paint projects. Its creamy soft texture makes it easy to apply to furniture pieces.
Depending on the look you are going for, you can also darker tones of wax (like antiquing wax) which are great for aging and embellishment. You can also buff the wax to the exact shine level that you want. The polyacrylic can be applied with a brush and for the wax you can use a special wax brush, cheesecloth, or a rag.

Artist: Sarah of Sweet Soul Savage
Painting Furniture with Pop of Color Paints
And that’s all there is to it! There are so many different ways to upcycle furniture, this is just the beginning. This simple method will give you basic but beautiful coverage. Once you get the hang of this you’ll be ready to learn other methods to achieve different fabulous looks. Keep your eye on the blog, we will be covering many of them soon!
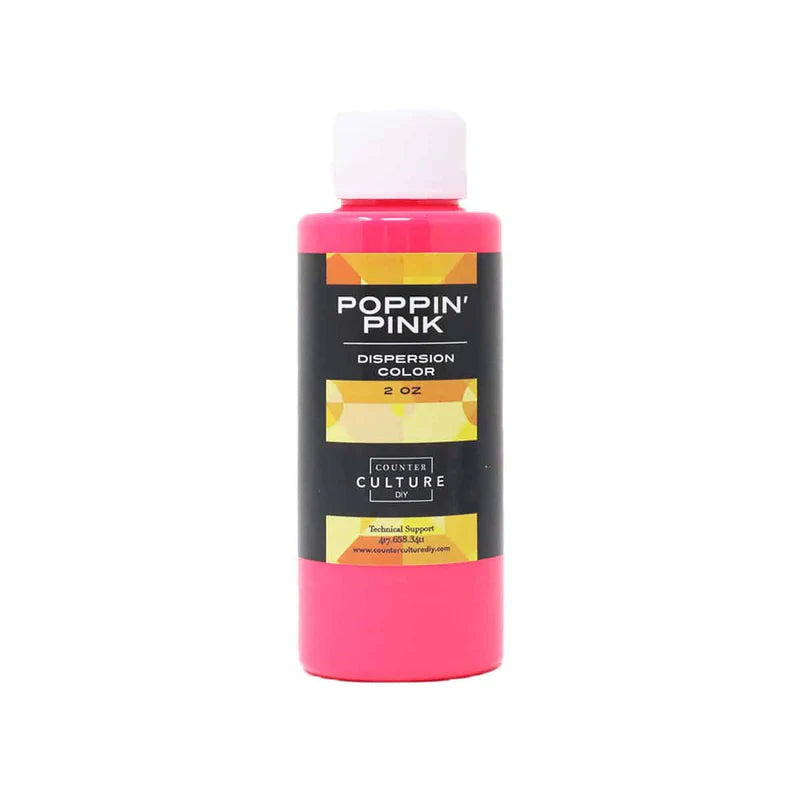
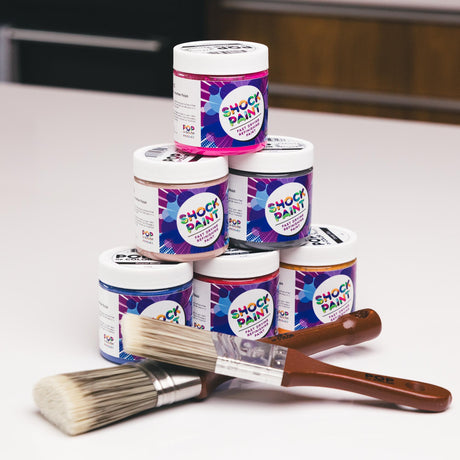
Pop of Color Shock Paints are sold exclusively at Counter Culture DIY. So now you have even more reasons to stop by!
You can find awesome video tutorials on our YouTube channel!
Be sure to follow us on Pinterest so you can stay on top of everything that’s new and never miss a blog post!
If you want more inspiration and information we have a Facebook group for that. Join us in Counter Culture DIY Artist Support where we, and other artists, offer ideas, answer questions, and support each other!
Do you have an art project using any of our products that you want to share? Send it to us at support@counterculturediy.com, and we can feature them here!