How to Make Flower Coasters
/
/
How to Make Flower Coasters

How to Make Flower Coasters

Coasters, coasters, who loves coasters? We sure do! This week Sandra Lett is showing us how to make flower coasters that are simple yet elegant. You are going to love these beautiful creations! 

Many of you probably already know Sandra if you are active in our Counter Culture DIY Artist Support group. She is an amazing painter and resin artist and an excellent teacher! Today she is showing us how to make flower coasters and the results are just stunning. Whether you are a newbie resin artist or have been on the epoxy beat for decades, this is a tutorial you are sure to enjoy. Sandra really makes the process a simple one with her clear instructions and detailed explanations! 

How to Make Flower Coasters

This resin coaster tutorial is perfect for anyone wanting to learn how to make flower coasters. But, it is especially great for beginner artists! Sandra goes into detail about measuring and mixing. She also gives some fabulous tips about working with resin. Sandra explains how to determine how much your irregularly shaped molds will hold which is really useful to know. It allows you to mix up the correct amount of resin and reduce waste. You can also use our Resin Calculator to find out exactly how much resin you will need for any project. 

Another tip that Sandra shares (and we absolutely love this!) is to work with a timer. We know that some of you are resin veterans and can feel that time in your bones. But, for many of us artists, time can easily get away from us. Sandra sets a timer so that she knows she has stirred her resin for enough time to thoroughly combine it. She also uses her timer as a stop watch once she has finished combining it. That way she always knows how much working time she has left. If you have 30 to 40 minutes of working time, it is so helpful to know how much is left to you. That way you don’t find yourself rushing at the end of a pour. Or rushing at the beginning because you’re worried about running out of time. It’s these simple little things that can make life so much easier! 

Design Variations

The colors that Sandra picked for her coasters are absolutely beautiful! You will find them all listed in the recipe below if you’d like to use the same ones. You could also try using different color combinations too. Another reason that this resin tutorial is perfect for beginners is that Sandra shows you exactly how she got her colors. You see just how much Dispersion Color, Alcohol Ink, and Mica Powder she uses to get the shades she did. Mixing colors is an art in itself and can be a little intimidating for beginning resin artists. There’s nothing to be scared of though! Sandra gives you a really clear view of just how it’s done. And, you’ll see in the video, one of her colors didn’t turn out exactly how she pictured it but it is still fabulous! Some of the best art work comes from the processes that don’t go exactly as planned. 


How to Make Flower Coasters

Making beautiful flower coasters using Dispersion Colors, Alcohol Ink, and Mica Powders
Yield: 4 coasters

Materials

Instructions

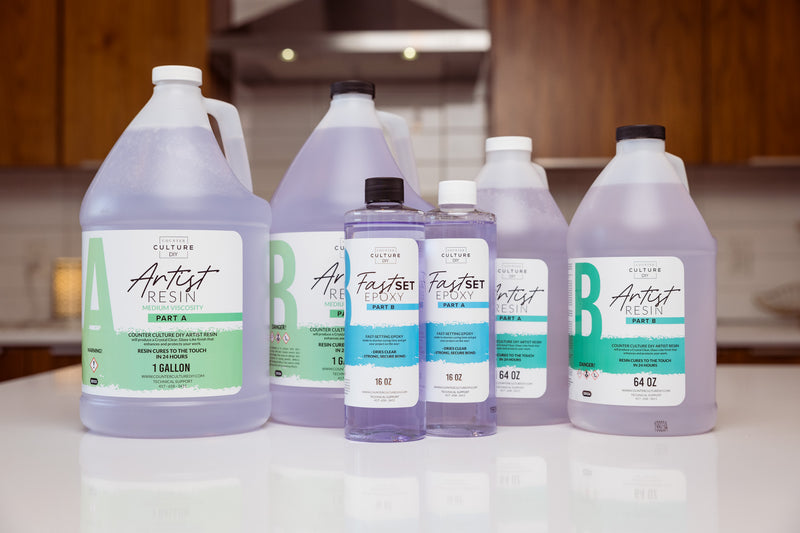
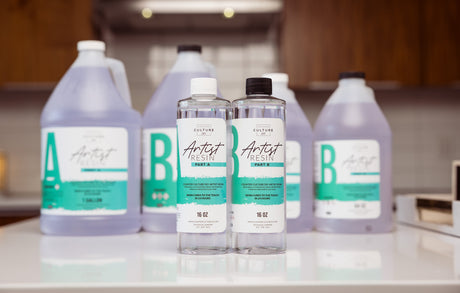
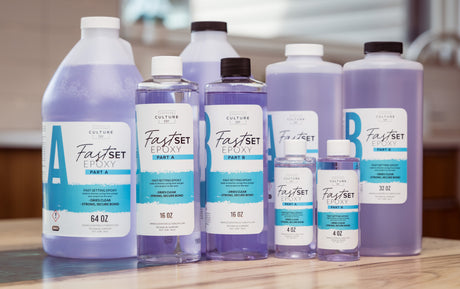
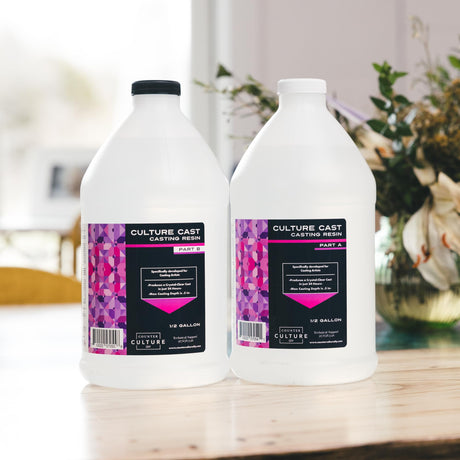
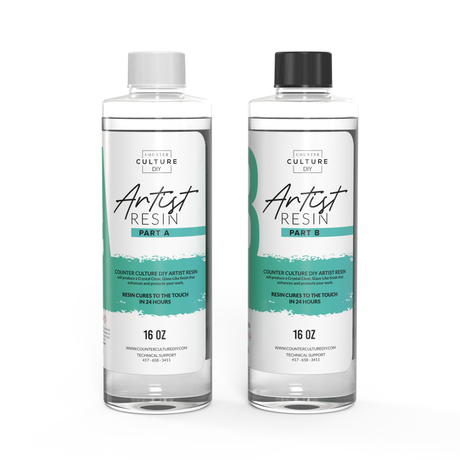
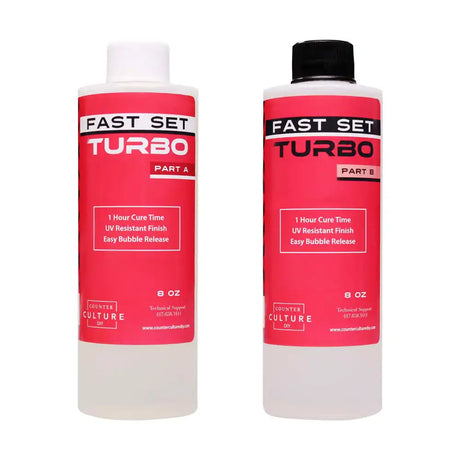
  • Start by combining 5oz of Part A and 5oz of Part B of your Artist Resin and mix well for 6 minutes to combine, scraping the sides of your cup and your stir stick.
  • Pour about a half ounce of combined resin into 2 separate medicine cups and, in a third medicine cup, pour one ounce.
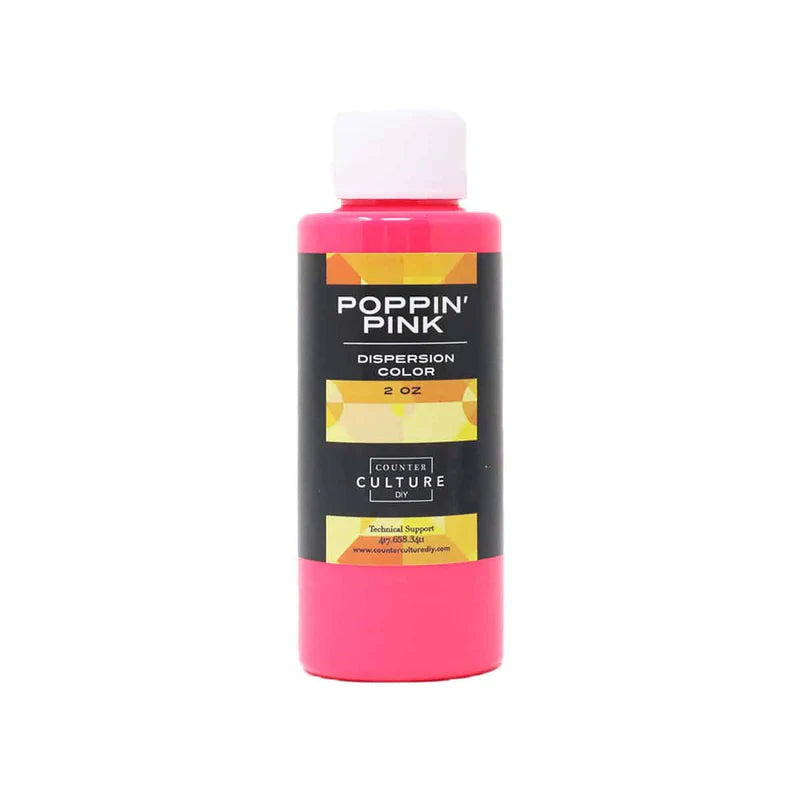
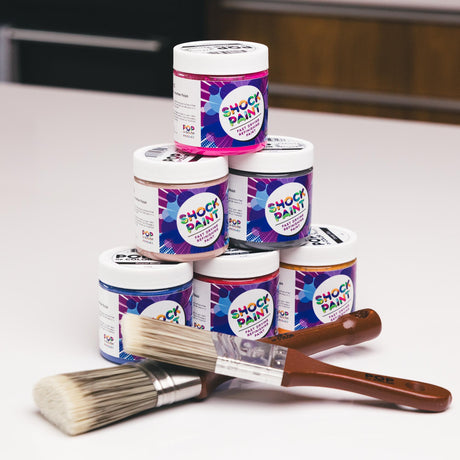
  • Add a tiny bit of Blue Sapphire into one of your half ounce cups and mix well to combine the color. Then add a little bit of Bora Bora Mica Powder to the cup and stir to combine.
  • Next add a healthy squeeze of white Armor Art to the one ounce cup and stir well to combine. Then add a little bit of Pearl Shimmer Mica Powder and mix again.
  • Now add a bit of Pearl Shimmer Mica Powder to your last cup and stir. Then add a couple of drops of Purple Alcohol Ink and stir well to combine. Then ad a little bit of the Bora Bora Mica Powder and mix it again.
  • Pour a base layer of the combined clear resin into each of your molds. Use the torch to pop any air bubbles, spritz them with alcohol which will help with bubbles, and use a toothpick around the edge of the molds to release any bubble that may be forming.
  • Next, use the tweezers to lay a small flower petal in the center of each coaster. Push them in gently and add a drizzle of the clear resin over top if you need to, they should be covered by the resin.
  • Sprinkle a little bit of the Coral Reef Glitter around the dried flower petals. Use a toothpick to move the glitter around a little bit if you need to.
  • If you are using a piping bag, pour your darkest color into the piping bag. Cut off the tip of the piping bag to open a small hole in the end.
  • Next, use the piping bag to squeeze out your resin along the outer edges of the coaster molds. You can also just pour directly from your cup for this but the piping bag gives you more control.
  • Now use the lighter blue color and pour a thinish line of it a little closer towards the center of the coaster than the last color. You want a little bit of space between the two lines.
  • Repeat this same process with the white cup, moving closer towards the center again.
  • Then use the heat gun in a circular pattern to pop any bubbles and get your colors moving a bit. After that, add a little more white around the flower and glitter at the center of your molds. Then use the torch to pop any bubbles that have formed and then the heat gun again to spread the colors some more.
  • Next, use a toothpick to pull from the outside edge of the mold inwards, wiping it off after each swipe. This will give you the flower petal look. When you are done, cover them with something to keep any dust out of them while they cure.
  • Allow the coasters to cure for at least 6 hours before you demold them. Make sure they aren't at all tacky to the touch before you remove the coasters from the molds.

The Wrap Up…

Ok, the piping bag may be our favorite tip we’ve seen in awhile! What a great idea for pouring smaller amounts of color. You get so much more control that way! We’ve been working with resin for a long time and are excited to try it but, if you’re new to the medium, this is an especially useful tip. You get the hang of pouring straight from a cup eventually but using a piping bag can help you skip right over some of those early pouring mistakes. Thanks Sandra! 

If you loved learning from Sandra you can check out what else she teaches about and sign up for her classes on her collection page. You can also follow her on FacebookInstagramPinterest, and YouTube, and check out her website!

You can find more awesome video tutorials like this one on our YouTube channel!

Be sure to follow us on Pinterest so you can stay on top of everything that’s new and never miss a blog post!

If you want more inspiration and information we have a Facebook group for that. Join us in Counter Culture DIY Artist Support where we, and other artists, offer ideas, answer questions, and support each other!

Do you have an art project using any of our products that you want to share? Send it to us at [email protected], and we can feature them here!

Share this post

Comments are closed.

Start typing and press Enter to search

Shopping Cart

No products in the cart.