Making a Resin Coaster Holder
We have had a bunch of fabulous coaster tutorials for you recently. So it only made sense to bring you a post about making a resin coaster holder! Follow along and learn how to make your own beautiful coaster caddy!
We’ve shown you how to make all types of coasters so far. From squares to geodes, from mosaic to flowers, and all sorts of other fun stops along the way. Today we are making a resin coaster holder that is the perfect way to house your beautiful creations! Meg Epps from Lyndly Grove is back with another great video tutorial to teach us how it’s done. And her coaster caddy is absolutely stunning! We can’t wait for you to check it out.
Making a Resin Coaster Holder
Coasters are some of our favorite resin creations. If you like working with molds, chances are you have made coasters at some point in your resin journey too. Coasters are small canvases waiting to be awakened by our artistic visions. There are so many fabulous designs and products to try, and each set is so unique! One of the things that we love most about them is the opportunity to add layers. Resin is so fun to work with in any project but all those details that layers create make coasters especially fun! If you are looking for a fabulous example of a beautifully layered project, check out our tutorial blogs on How to Make 3D flower coasters and Making Rose Quartz Coasters. Both of those techniques have absolutely gorgeous results!
Design Options…
Meg also makes some beautiful layers in her coaster holder! She uses gold foil, Precious Metals, Painted Glass, and alcohol ink to make a piece you can stare at for days and still find something new in. Isn’t that one of the best things about resin art? We definitely think so! If you love the way Meg’s holder turned out we’ve listed the supplies she used. That way you can make one similar to hers.
The design options for these caddies are just as vast as the ones for coasters though! You can make them to match a particular set of coasters or you can make them in more neutral colors to house any set. The holders work for any shape coaster and look especially good with the geode shaped designs. The edges of the holder have that beveled look just like our geode coaster mold which makes them a great match!
If you sell your creations, and we know that many of you do, these holders make an awesome addition to your shop. It’s a great way to offer more products to your customers and to get add on items for you orders! Plus, if you are making a coaster set with a holder to match, you can make them all in one go and save time. And who doesn’t need a little more time in their day? Think of all the extra resin creations you could make or the coffee you could drink with that extra time!
Making a Resin Coaster Holder
Materials
- CCDIY Coaster Caddy Mold
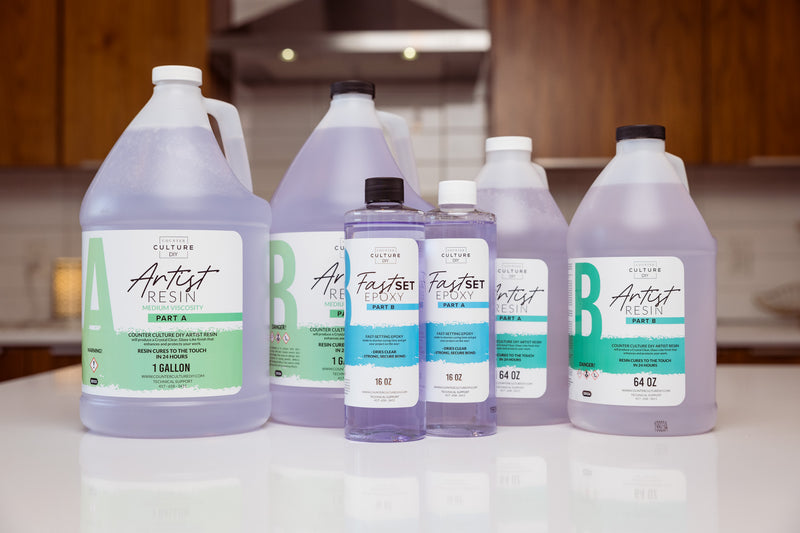
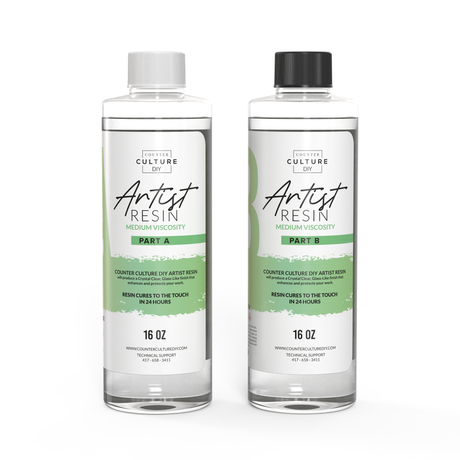
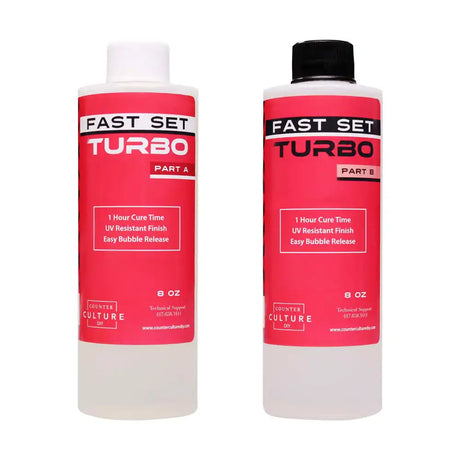
- Counter Culture DIY Artist Resin Meg uses Medium Viscosity
- Resin calculator
- Protective gloves
- Mixing sticks
- Mixing cups
- Heat gun
- Painted glass
- Gold foil
- Chroma Flakes (Gilded Age)
- Glitter (Kaleidoscope)
- Glitter Spoon
- Alcohol Ink Sky Blue and Turquoise
- Precious Metals Sound Check
Instructions
- Start by combining equal amounts of Part A and Part B of the Artist Resin according to the package instructions. If you aren't sure how much resin you will need you can use our Resin Calculator for help! Use the heat gun to pop any bubbles that have risen to the surface of your mixing cup.
- Next, pour a thin layer of the combined epoxy into the bottom of your mold, this will be your base layer. Use the heat gun again to pop any bubbles.
- Now wipe off your painted glass and set it aside for a minute. While you wait for those to dry, place small pieces of the gold foil into your resin in your mold.
- Next, use the glitter spoon to add a few of the Chroma Flakes to the mold. Then, add some small pieces of your painted glass throughout the mold. Repeat the same process with the glitter.
- Now drop one drop of the Sky Blue alcohol ink in a few of the open spots and then do the same with the Turquoise alcohol ink.
- Then pour another thin layer of combined resin over top of your additions. Use the heat gun again to pop any bubbles.
- For the next layer, add a little more gold foil, the Precious Metals, and a bit more of each ink. Then add another layer of resin to fill up the mold. Finally, add a few more sprinkles of Chroma Flakes and drizzle a little bit of resin over top of that.
- Allow the resin to cure for 24 hours before demolding and moving on to assembly.
- Once you've demolded your separate pieces just pop the the legs of the holder into the base and it's complete! You may want to use some glue to make sure they stay securely in place but that is entirely up to to.
And that’s how you make a resin coaster holder friends! The process can be as simple or as intricate as you want. You can make your holder using the same technique as you did your coasters or pull out some of your favorite colors or additions and make it complimentary. You can’t go wrong with these! Then, after you’ve demolded, assembly is really simple. Meg shows you how to do it in the video tutorial and it only takes a second. Finally, once you’ve assembled, you are ready to display your beautiful coasters! The beauty of your coasters will be much more visible when displayed standing up instead of stacked on top of each other. We love that and hope you and your customers do too!
If you loved learning from Meg and want to see more of her creations and tutorials you can follow her on Facebook, Instagram, and YouTube, and you can check out her Facebook group, Curious Crafters.
Be sure to follow us on Pinterest so you can stay on top of everything that’s new and never miss a blog post!
If you want more inspiration and information we have a Facebook group for that. Join us in Counter Culture DIY Artist Support where we, and other artists, offer ideas, answer questions, and support each other!
Do you have an art project using any of our products that you want to share? Send it to us at [email protected], and we can feature them here!