Resin Sand Dollar Tutorial
During the dog days of summer many of us are ready to get our toes into the sand. And, during the winter months, we are dreaming of those beach days to come. Today Meg Epps of Lyndly Grove is sharing her resin sand dollar tutorial with us. This beautiful project will remind us of the beauty of the beach no matter what time of year it is!
Beach themes never go out of style and it’s easy to see why. The calming colors and the beautiful lacing and cells of the waves are always a joy to look at. In this resin sand dollar tutorial, Meg is showing us how to achieve the beach look and those fabulous waves and it’s probably easier than you think. The key thing to remember is that it is all about layering. And, the results are stunning. There is nothing like a peaceful beach scene to put us in a good mood!
Resin Sand Dollar Tutorial
When it comes to making a beach scene (no matter what surface you are doing it on) the most important thing is layering. All of that depth and dimension comes from adding several layers of color and blending them in different ways. If you only add one or two layers, your piece will be pretty enough but it will lack that 3 dimensional look. It is that effect that makes these pieces so stunning and so interesting to look at.
Sand Dollar Design Variations…
The colors that Meg used for her sand dollar are all included in the recipe below. So, if you love them, you’ll be able to use the same shades. You can go with any colors that you like though! Meg points out that she likes to use three different shades of the same color in order to get a good gradient of colors. The blending between the three shades adds so much beauty to these pieces! If you love this project but would like to see an example of a different base and color pallet, check out our Sorbet Sunset Tutorial. Similar in some ways, different in others, it is another fabulous take on the beach theme!
A Little Business Tip…
If you sell your handmade items and aren’t already making beach scenes, you may be missing out. What we have seen is that they are amazingly popular with many different types of customers. And, they are popular all year round! There is undoubtedly a surge of purchases (especially of beach themed tumblers) going into the summer months. But, they remain good sellers throughout the year.
People who live in beach towns or have cabins by the water love these pieces for their home decor. Others, who are land locked, still decorate with these themes and colors simply because they are gorgeous. If you already have a solid brand and product type you may not need to add this to your line up. But, if you are just getting started or looking to add a new product line, beach themes could be the perfect thing! Plus, they’re just plain fun to make.
Resin Sand Dollar Tutorial
Materials
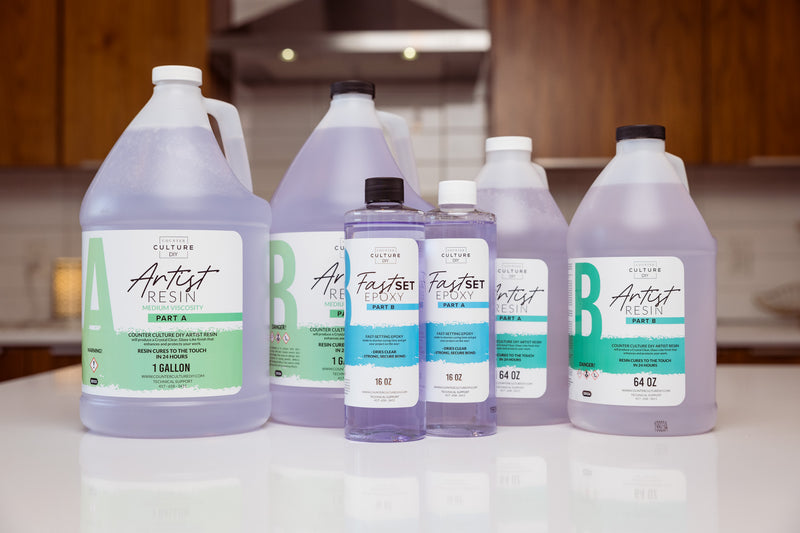
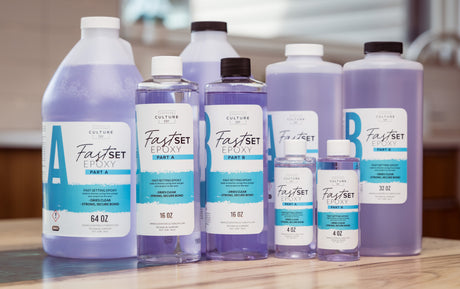
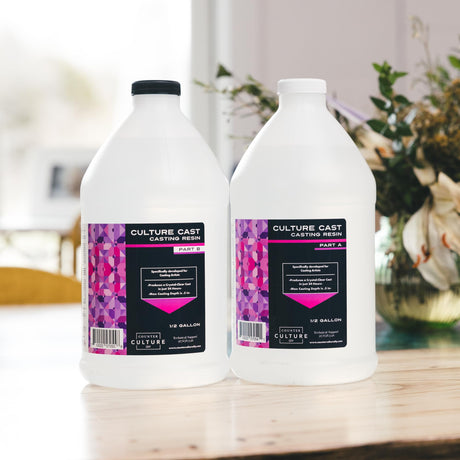
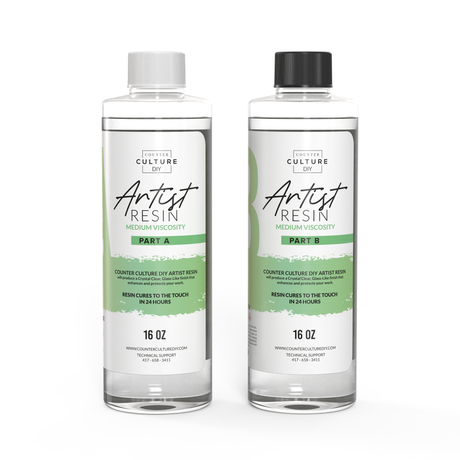
- Counter Culture DIY Artist Resin Medium Viscosity
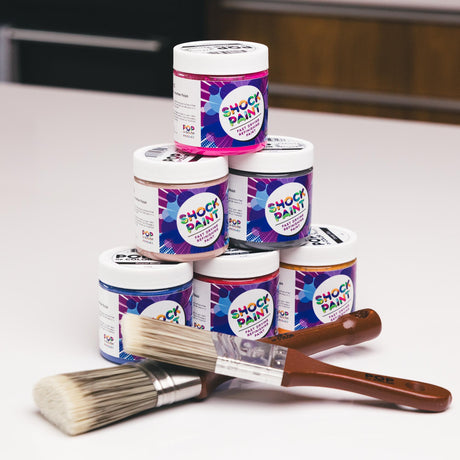
- White Prime Time
- Sand dollar acrylic blank small
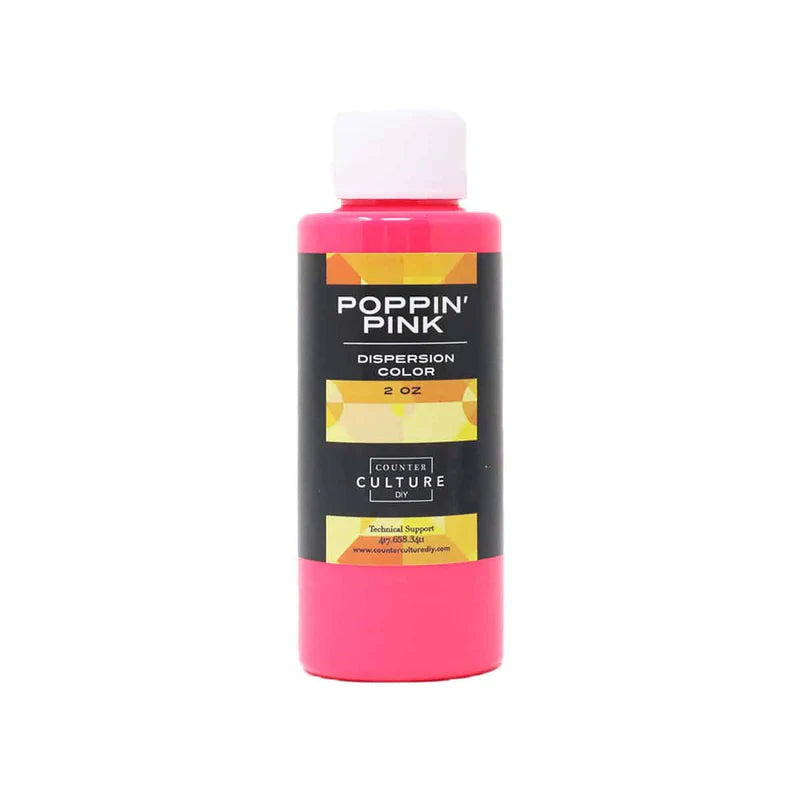
- Aquamarine Dispersion Color
- Sky Blue Dispersion Color
- Sand Dispersion Color
- White Armor Art
- Blue Fusion Glitter
- Shiny Cerulean Glitter
- The One that I Want Glitter
- All American Mica Powder
- Torch
- Heat gun
- Paint brush
- Glitter Spoon
- Metal Stir Stick
- Small Silicone Mixing Sticks
- Mixing cups
- medicine cups
- Protective gloves
- Filter mask
Instructions
- Start by removing the protective sheet from one side of your sand dollar blank.
- Next, use your paint brush to apply a base coat of the white Prime Time to the entire sand dollar. Set it aside to dry while you mix up your epoxy.
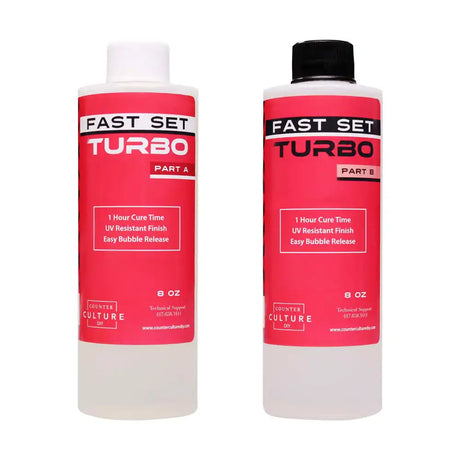
- Now combine equal amounts of Part A and Part B of the Medium Viscosity Artist Resin and mix thoroughly. Then, separate your combined epoxy into 8 medicine cups. Pour about 5-10mls into each cup and then go back and add more if you have it left over but leave just a little bit of clear resin in reserve.
- Now add a couple of drops of each Dispersion color into separate medicine cups and mix to incorporate them into the resin. In your next cup, add one glitter spoon scoop of the mica powder and stir to combine. In another cup, add a good sized drop of the Armor Art and mix it up. Add 4 scoops of each glitter into separate cups and mix each one well.
- Now it's time to pour! If your base coat isn't quite dry, just use the heat gun to finish drying it. Set you sand dollar on top of a few upside down mixing cups so that it is elevated. Just make sure that you don't have them under the openings of the sand dollar so that the resin can still drip down into the holes.
- Start with your mica powder resin and pour a little bit over the top 1/4 of the sand dollar. Then use a gloved finger to spread it around. Just underneath that, pour a section of the Aquamarine resin and spread that around as well. Below that, add a section of the Sky Blue resin and spread it out.
- Below the Sky Blue, leave a small area blank and then pour your Sand resin below that and all the way to the bottom of the sand dollar, spreading it out after it's poured.
- Next, go back and pour another layer of each color of resin, deciding how much and how far you want those colors to go. Then, starting at the top, use your finger to spread each color out and blend it into the color beneath it.
- Then add another layer, similar to the last one, and then use the heat gun to move the resin around and blend the colors.
- Now start adding your glitters in (except your gold glitter). Use just a little bit and move them around however you want to. You will be using heat to move the Armor Art around in the next step so you may want to keep some of your glitter back to use after your layers have been moved around by the heat.
- Next, drizzle a couple of thin lines of the Armor Art resin right along your shore line. Then add a line of clear resin right above the white (towards the water side, not the sand side). Then, holding your heat gun at an angle, use it to fan the white up into the sky. Add another layer of the Armor Art resin and fan it out again.
- Then add a line of Armor Art resin up in the blue area and use the heat gun to spread it again. Now that you have a base of waves, apply the Armor Art directly to the piece (not combined with resin) wherever you want waves and use the heat gun to spread it.
- Now you can go back in and add any of the colors that you think need a bit more or any more waves that you want. If you think it needs more glitter, add that now too. If your waves need more lacing, use the torch to apply more heat.
- Finally, add the gold glitter to your beach. Then allow your sand dollar to fully cure.
The Wrap Up…
It was so fun to watch Meg’s process for making this beautiful beach scene sand dollar. Just as each project is different, so is each artist. That means that your process will probably vary a bit from Meg’s. It is great to have a basic understanding of the methods and steps as a jumping off point though! And, if you have been struggling with your waves, Meg gives great information about how to nail them!
If you loved learning from Meg and want to see more of her creations and tutorials you can follow her on Facebook, Instagram, and YouTube, and you can check out her Facebook group, Curious Crafters.
You can find more awesome video tutorials like this one on our YouTube channel!
Be sure to follow us on Pinterest so you can stay on top of everything that’s new and never miss a blog post!
If you want more inspiration and information we have a Facebook group for that. Join us in Counter Culture DIY Artist Support where we, and other artists, offer ideas, answer questions, and support each other!
Do you have an art project using any of our products that you want to share? Send it to us at support@counterculturediy.com, and we can feature them here!