Seo Description Resin pens have now become a staple in the resin art community. Tumbler artists especially have grabbed on to pen making with both hands. And they are having a blast doing it! Ashley Lee of Craft Crate is showing us how to make UV Resin pens that are so quick to make and adorable when done.
Resin pens are amazing because they are a tiny canvas that allow you to try so many amazing designs. Anything that you can do on a tumbler, you can scale down for a pen. They make great gifts, are popular with customers, and are the perfect “thank you” gifts to throw in with tumbler orders.
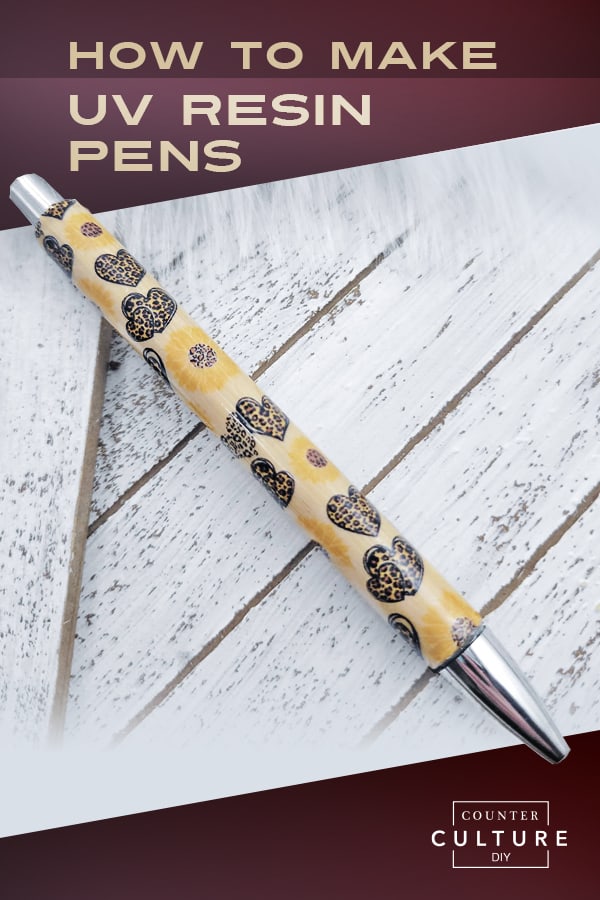
And best of all, learning how to make UV resin pens means you will be able to create your pens in just minutes instead of hours or days. So grab your bamboo ink pens and your UV Resin and let’s get creating!

How to Make UV Resin Pens
First thing first, let’s talk about UV Resin! You can use any of our Artist Resins to make your DIY pens. They will all work beautifully and will give you that durable but glass-like finish you’re after. If you aren’t ready to dive into UV Resin yet, check out our post How to Make Resin Pens. You The thing about UV Resin that makes it so awesome for pens is that it cures in minutes. LITERALLY minutes, y’all!
And, since you only need a tiny amount of resin for pens, UV Resin is perfect for little projects like these. No need to mix up the minimum amount of traditional resin for your pens and ending up with leftovers that you need to find a use for. Since you don’t need to mix the UV Resin, you can use only the amount you need and leave the rest in the bottle.

Kaelee of Kaelee’s Kustoms
You can do a single pen at a time if you want. Instead of needing to make a batch to ensure you don’t waste any resin. HOWEVER, if making a large batch of pens, UV Resin is still the way to go. Because of its insanely quick cure time (4 minutes for pens) you can knock out a whole bunch of resin pens in no time. Especially if you are only doing water slides, clear wraps, or vinyl and forgoing the glitter.
These adorable resin pens are awesome to have on hand to throw in when shipping your orders. Or as a part of a gift you’re putting together for someone!
Why Use Bamboo Pens?

We pride ourselves on listening to the needs of our resin artists and developing products that meet those needs. When making resin pens became increasingly popular we heard what artists said about the challenges they were having. And now we have these fabulous bamboo pens that solve a lot of your problems.
Our pens are easier for makers to create on than other refillable pens. They are simple to disassemble and put back together. They have a surface that makes a great base for things to adhere to. Our bamboo pens are also grooved at the edges for easy trimming.
And, they offer a pretty base as is! Letting the bamboo shine through clear wraps (like Ashley did) is a great design option too. No matter how you use them, these pens were designed to be used by resin artists!

A Little Goes a Long Way
In the video below, Ashley explains that we only need a small amount of resin for our pens. Using too much resin will cause pooling that will prevent the pens from curing properly. Too much resin can also gather at the ends of your pen which will leave a lip or a bulge. Start by squirting a small amount of the UV Resin onto your wrapped pen.
Then use a gloved finger to smooth it evenly over the pen. If you need more resin to cover the pen, add just a little at a time and smooth it out again. Once you have made a few pens you will be able to easily gauge how much you need.

Watch the video tutorial here!

How to Make UV Resin Pens
Materials
- Bamboo Ink Pens
- Waterslide or clear wrap
- Counter Culture DIY UV Resin
- Counter culture DIY UV light
- Exacto knife
- Protective gloves
- Filter mask
- Silicone mat
Instructions
- Start by disassembling your bamboo pen. Set your pieces to the side for reassembly once your pen is finished.
- Next, cut your waterslide or clear wrap to fit your pen. Then line it up and completely wrap your pen.
- Use an Exacto knife to trim the overhang at the top and bottom of your pen. Simply follow the grooves in the pen for easy trimming.
- Next, squirt a line of UV Resin onto the pen. Use a gloved finger to smooth the resin out and cover the whole pen.
- Now place the pen under the UV Lamp and let it cure for 4 minutes. Rotate as you go to make sure it is fully cured on all sides.
The Finishing Touches
And that’s how to make UV Resin pens! There are so many design options when it comes to resin pens. This one is possibly the simplest. And it’s also an adorable option. If you want to learn how to add glitter to your pens too, check out our post, How to Make Glitter Resin Pens. In that post you will see how to add a base coat to your pens and how to apply the glitter. Glitter is always a great option for your tumbler and pen designs!
A big thanks to Ashley for sharing her time and talents with us! If you want to see more of her work and what she is up to, you can check her out on the socials. She is on Facebook, Instagram, and her website!

You can find more awesome video tutorials like this one on our YouTube channel!
Be sure to follow us on Pinterest so you can stay on top of everything that’s new and never miss a blog post!
If you want more inspiration and information we have a Facebook group for that. Join us in Counter Culture DIY Artist Support where we, and other artists, offer ideas, answer questions, and support each other!
Do you have an art project using any of our products that you want to share? Send it to us at support@counterculturediy.com, and we can feature them here!