DIY “Marble” Holiday Charcuterie Board
/
/
DIY “Marble” Holiday Charcuterie Board
DIY "Marble" Holiday Charcuterie Board

DIY “Marble” Holiday Charcuterie Board

More fabulous holiday resin art is coming at ya! Today, Meg of Maker Magic with Meg Epps by Lyndly Grove is showing us how to make a DIY “marble” holiday charcuterie board. She uses gorgeous glitters and mica powders with Artist Resin to create a beautiful custom cutting board. 

We love unique handmade gift ideas. And Meg is sharing a fabulous one with us today! Serving charcuterie has become very popular, especially around the holidays. And these DIY marble holiday charcuterie boards are the bees knees. Not only are they beautiful, they are functional too. Use them to serve up your favorite grazing foods. And watch your guests awe over your gorgeous creation. 

You can give your boards as handmade gifts. Or offer them for sale in your shop and ride the wave of charcuterie’s popularity. You can also use any size or shape cutting board which allows you to really customize your handmade charcuterie boards. In the video below, Meg breaks it all down for us. We can’t wait for you to see the results!

DIY "Marble" Holiday Charcuterie Board

DIY “Marble” Holiday Charcuterie Board

The marble technique that Meg shows us is simple to do. If you have ever made a geode, the resin pouring process is similar to the marble one. The best part is that this simple resin technique can be used on any type of surface. So once you have it down, you can use marbling in lots of other projects!

What to do with Leftover Resin

One of the questions that we get asked a lot is “how can I use leftover resin?” We get it, resin isn’t cheap and we don’t want to waste a drop. Meg shows us one way to use extra resin, and there are lots of others.

You could also try to make sure you are mixing the right amount of resin right off the bat. If you want to have the exact amount of resin for any project, you can use our resin calculator. It’s a handy tool that helps minimize waste.

But if you do find your self with extra resin. Or you intentionally mix up a little extra, like Meg did, you can use it to make Christmas ornaments. Grab your favorite holiday colored glitters and your ornament molds and pour away!

If it isn’t the holiday season you can always use your extras for key chains, phone grips, earrings, etc. We never want to waste that resin and there are lots of fun ways to make sure that every drop gets used. 

Christmas Tree & Snowflake Ornaments

Personalizing your Holiday Charcuterie Board

Even if we all start with exactly the same supplies, no two of our holiday cutting boards would be the same. So right out of the gate, each board will be unique. But there are ways you can further customize your holiday cutting boards!

You can choose your own beautiful color combinations. If you are making your charcuterie boards for gifts, this allows you to match the board to your loved one’s existing decor. If you are making you boards to sell, offering multiple color options will help you appeal to a broader audience.

You could also add a vinyl decal to your finished handmade charcuterie board. The options for this personalization are endless. Cute sayings, initials, monograms, or holiday scenes are just a few. All you need to do is wait for your marble pour to cure. Then apply the vinyl, seal it with Quick Coat, and then give it a final layer of Artist Resin.

Like we mentioned earlier, you can also start with any type of cutting board you want. Which will help you match the recipient even more. We have seen cutting boards in the shape of states, hobby items, and sports logos. All would be fun to dress up with your resin pours!

DIY "Marble" Holiday Charcuterie Board

Watch the video tutorial here!

DIY "Marble" Holiday Charcuterie Board

Learn how to make a beautiful "marble" charcuterie board for the holidays!
Yield: 1 cutting board

Instructions

  • Place a piece of tape at the point on your cutting board that you want your resin to stop. This will be your guide line. Meg did hers at a bit of an angle.
    Don't stick your tape around the side and bottom of your cutting board. You want to be able to pull the tape off. Just fold the end of the tape over itself so you can grab it.
  • Next, place a sheet of contact paper on the back of your cutting board and use an exacto knife to trim off any excess. This will protect the back of your board from getting epoxy on it.
    You could also use painter's tape for this if you don't have contact paper.
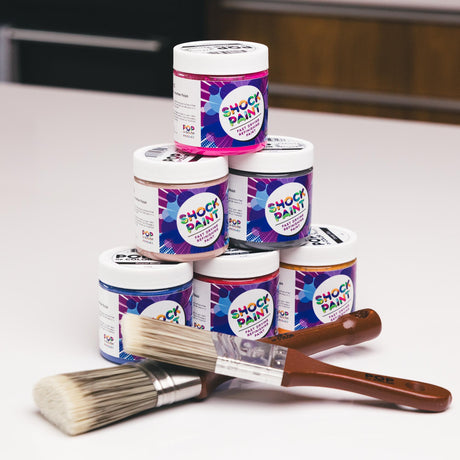
  • Now paint from your tape up to the top with the Pure White Shock Paint. This will be your base coat so the wood doesn't show through the glitter. Let the board dry.
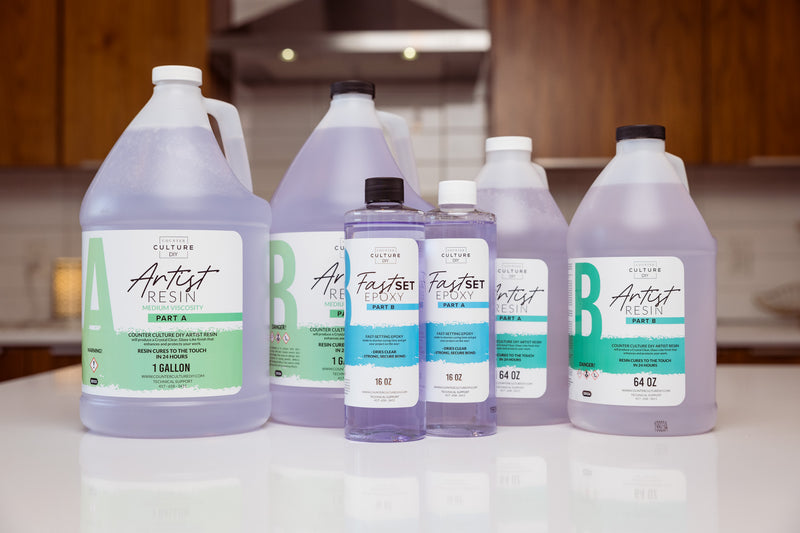
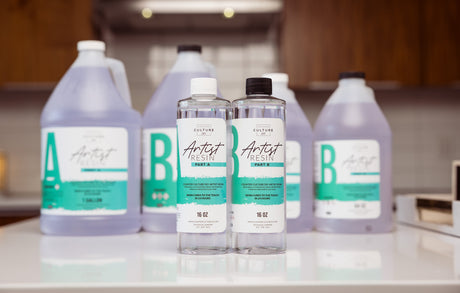
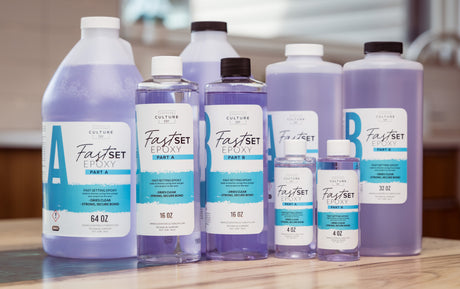
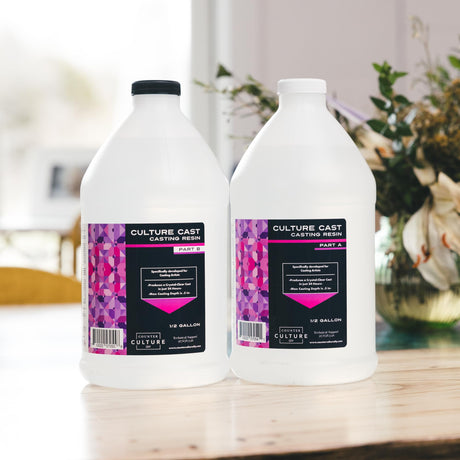
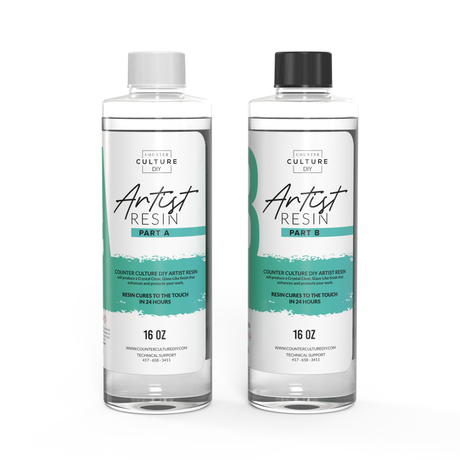
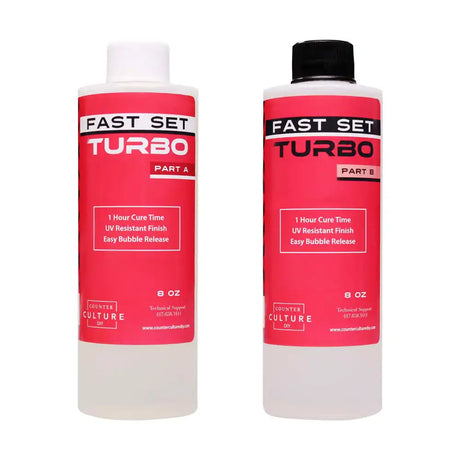
  • Next, mix up a batch of Artist Resin according to the package instructions. Measure equal amounts of Parts A and B. Then pour part B into part A and mix well for 3-5 minutes.
    Be sure to scrape the sides and bottom of your cup as you go, as well as your mixing stick. This ensures that all of your epoxy will be well incorporated.
  • Pour your epoxy into 6 medicine cups. One for each color you will be using. You want a little more resin in the cup that will be your primary color. For this tutorial, that is white.
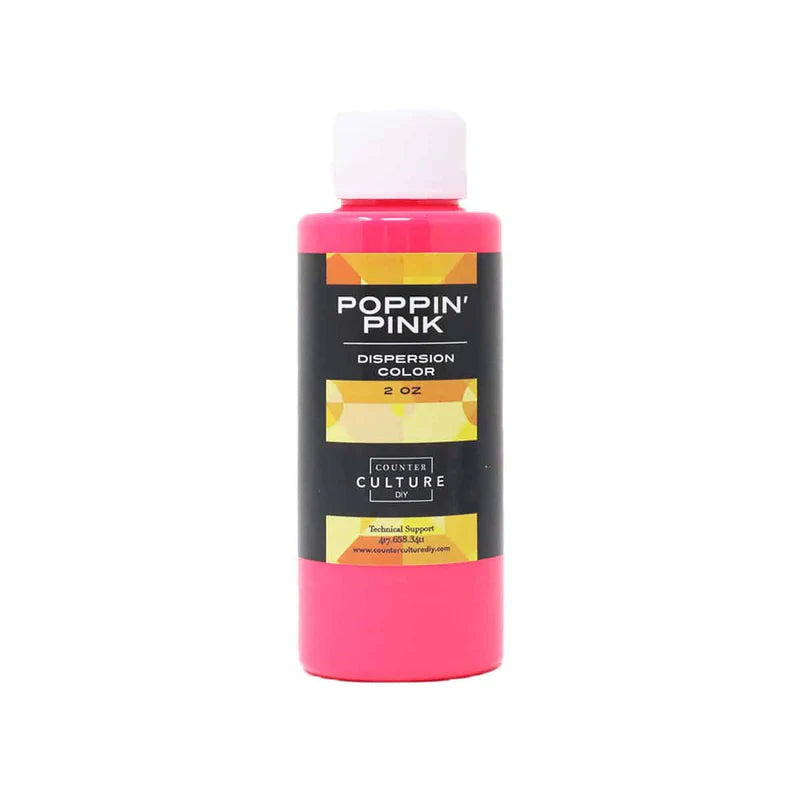
  • Add a small amount of White Snow to one cup and Cameo Cream to another and stir to combine. Add more if you need to in order to get to the opaqueness you want.
  • Repeat the same process with Frozen, Sterling Snow, The One that I Want, and Flaxen Gold. Each one in their own cup.
  • Set your cutting board on two over turned cups in a matted tray. This will elevate it so it isn't sitting in a pool of resin and gives the epoxy somewhere to drip.
  • Now pour some of your white over the whole painted area and use a gloved finger to spread it out. This will give us a base of resin and will help the other colors to move around better.
  • Next, pour a line of the white sort of like you would for a geode. Add one line of cream on either side, about an inch or so away from the white. Then add the your other colors in lines that sort of follow your pattern.
  • Now use the heat gun to move your resin around. This will blend the colors some and give you beautiful effects.
  • If you want your handmade charcuterie board to have a crisp line, leave your tape on until the end. If you want it to have a more blended/natural look, take the tape off at this point.
  • Use the cream colored resin to follow and cover the tape line. Then add any other colors where you want them. Then use the heat gun to blend them a bit.
  • Finally, add stones and/or crystals here and there to finish the cutting board.
  • Check your sides to see if you need to add any more resin. Then let it cure for about 3 hours. Come back and remove the contact paper from the back of the board. Then let it finish it's 24 hour cure.

The Wrap Up

And that’s how you make a DIY marble holiday charcuterie board, y’all! The marble resin pour lets us use several gorgeous glitters and micas at once. And the pouring technique is a satisfying as it is beautiful. Add in some crystals and a holiday themed decal, and you have a holiday cutting board that is lovely and practical.

As always, a big thanks to Meg for sharing her time and talent with us. If you loved learning from Meg and want to see more of her creations and tutorials you can follow her on FacebookInstagram, and YouTube, and you can check out her Facebook group, Curious Crafters. You can also join her mentoring group, Maker Magic for extra information and support from two amazing resin artists! 

DIY "Marble" Holiday Charcuterie Board

You can find more awesome video tutorials like this one on our YouTube channel!

Be sure to follow us on Pinterest so you can stay on top of everything that’s new and never miss a blog post!

If you want more inspiration and information we have a Facebook group for that. Join us in Counter Culture DIY Artist Support where we, and other artists, offer ideas, answer questions, and support each other!

Do you have an art project using any of our products that you want to share? Send it to us at [email protected], and we can feature them here!

Share this post

Start typing and press Enter to search

Shopping Cart

No products in the cart.