Tumbler Making for Beginners: How to Make Epoxy Tumblers
/
/
Tumbler Making for Beginners: How to Make Epoxy Tumblers
tumbler making for beginners

Tumbler Making for Beginners: How to Make Epoxy Tumblers

Hello resin tumbler fans! So you’ve seen some amazing tumbler creations, you have an artistic/crafty spirit, and you are ready to try your own hand at tumbler making? Then you are in the right spot! Today, the amazing Misty Leonard of MD Leonard Designs is teaching us all about how to make epoxy tumblers.

Whether you are new to the resin world or just new to tumbler making, we wanted to offer you a one stop place for all tumbler making for beginners info you need. In the video below, Misty covers everything about basic tumbler making. From PPE to applying glitter, to resin mixing and application… Misty explains it all. So grab a tasty beverage to sip, bookmark this page so you can come back to it when you have questions, and let’s get crafting! 

Tumbler Making for Beginners: How to Make Epoxy Tumblers

Step One: Get your PPE Together

Filter Mask

Filter MaskThe first thing that you need to have when you start working with resin is good PPE (personal protection equipment). Epoxy cures through a chemical reaction so we need to make sure that we keep ourselves safe while working with it. First off, you want to have a good filter mask respirator to protect your lungs. We have a fabulous one that was designed specifically for working with epoxy resin. It’s reasonably priced. And it’s pink! 

On a side note, when you watch our video tutorials you won’t see the artists wearing respirators, and this confuses some people. The only reason they forgo the respirators during videos is because you wouldn’t be able to hear them through the filter mask. But anytime our artists are off screen, they are wearing those respirator masks!

Protective Gloves

Disposable Nitrile Gloves - MediumThe next thing you need is protective gloves. You want to protect your hands from any type of epoxy products. And you can do it simply by wearing gloves. You can add some of ours to your cart, or snag them locally. Just make sure that you always have a box on hand.

Optional Protective Items

Silicone MatOther than that, the rest is optional. We love working with silicone mats because they protect our work surfaces. They are also super easy to clean resin and paint from. A lot of us also wear an apron to protect our clothes. We all vary in messiness levels and not everyone chooses to wear an apron. But if you are like many of us and tend to be on the messy side, an apron and old clothes are great to craft in!

Grab your Tumbler

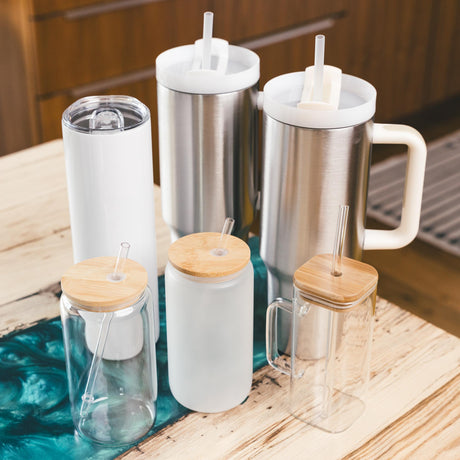
The next thing you will need is your tumbler! You can use any stainless steel or sublimation tumbler that you want. We, of course, are partial to ours and they come in lots of shapes, styles and sizes. So you want to have at least a basic plan for the tumbler you will be making in order to pick the right style cup for the job. There are straight cups, curved ones, mugs etc. And each one is a blank canvas waiting for you to pretty it up! 

And a Tumbler Turner

You will also need a tumbler turner to get started. These hold your cup steady and give you a handle while you’re working. Then, they slowly turn while your tumbler is drying and curing. This keeps your tumbler from dripping and helps the resin self level evenly. Tumbler turners are a game changer, y’all.

You can snag a 4 piece set like these from us. Just put a length of 1/2 inch pvc in the center and you have yourself a turner! Whether you order them or make your own, just make sure you have a really snug fit so your cup doesn’t slip off. 

Prep your Tumbler

No matter what design you are going to do, you always want to start with a prepped tumbler. It just needs a good scuffing so that you get good adhesion for your base coat. You can do this in a couple of different ways.

Wet Sanding

For this process you need a fine grit sandpaper like 180 grit, and a little bit of water. Just get your sandpaper wet and lightly sand in circular motions. Go over your whole tumbler like this until you have evenly sanded it. And don’t forget the bottom of the cup. Then rinse your tumbler and give the tumbler a good wipe with a lint free towel and you’re ready to go with your base coat!

Sanding Block

If you use a sanding block to prep your tumbler, the process with be pretty much the same. Use the block to lightly sand your tumbler using circular motions. Then rinse and dry your cup with a lint free towel. Misty prefers the wet sanding method but either way works fine!

Adding your Base Coat

How to Make a Waterfall Ombre TumblerThere are soooooo many options available for you tumbler base coat. What you choose will depend on the style and design you are going for.

Spray Paint

Spray paint is the OG of tumbler base coats. They are a great way to get even coverage and the cost is often pretty low. The down side to spray paint, however, is that you need to wait 24 hours for the paint to dry. This is because you need to give the gasses from the spray time to fade. You don’t want to seal any of that in with epoxy.

Pop of Color Paint

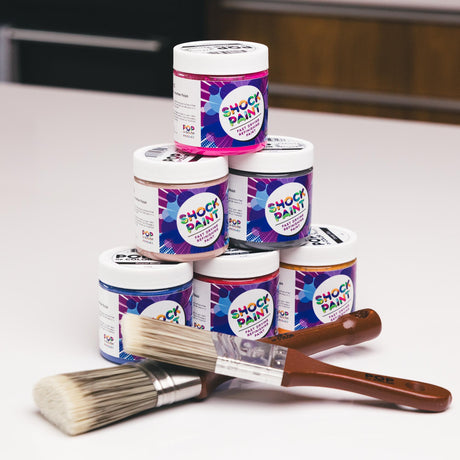
One of our favorite tumbler base coats is our own Pop of Color Paint! It is a chalk based paint that goes on so smooth and gives amazing coverage. There are TONS of amazing colors to choose from. And it dries so quickly! So you are not stuck waiting to get on with your tumbler design. You will be ready for the fun part in a matter of minutes.

To apply Pop of Color, you just need a good paint brush. Brush your paint on in even strokes. Let it dry for a minute or two and then add a second coat if necessary.

Acrylic Paint

Another good option for base coats is acrylic paint like Rick’s Mix. You will find lots of great color options with acrylics too! Just brush it on and allow the paint to dry between coats. Usually two coats will be enough to give you good coverage.

Tinted Resin

You can also add color to your first resin coat as your base. Use Dispersion Colors or Mica Powders to add color and shimmer. To do this, mix up a batch of Artist Resin according to the package instructions. Measure equal amounts of Parts A and B. Then pour part B into part A and mix well for 3-5 minutes.

Be sure to scrape the sides and bottom of your cup as you go, as well as your mixing stick. This ensures that all of your epoxy will be well incorporated. Then add your Dispersion Color or mica powder a little at a time until you get the color you want. Mix it well each time you add colorant to ensure the color is evenly distributed.

Then pour a thin layer of the colored resin onto the tumbler. Use a gloved finger to smooth it out. Then let it cure on your tumbler turner for 24 hours.

Now it’s Time for Glitter!

waterfall ombre tumblerOnce you have applied your base coat to the tumbler, you are ready to add your glitter. Here’s where things get really creative, really fun, and a tad bit messy. There are so many ways to apply glitter to your tumbler. Too many, in fact, to mention here. But head to our post How to Put Glitter on a Tumbler for lots of great options and tutorials!

Currently our favorite method is to use Pop of Color Paint as both the base coat and glitter application method. It saves time and supplies, and we know that both of those are worth a lot! You’ll read more about it in the glitter application post. But basically you apply your Pop of Color base coat like you normally would.

Then quickly sprinkle your glitter right on top of it before it dries. Just like that, you have two steps of your tumbler done at once!

Seal your Glitter with Quick Coat

Quick Coat - 4oz Trial SizeOnce your glitter layer is dry, it’s time to seal it. We designed Quick Coat for exactly this purpose! In the video below, Misty shows you how to apply the Quick Coat. She also explains how it seals your glitter in while also giving your Artist Resin the best surface to smoothly adhere to!

As Misty says, this stuff is liquid gold. And there are about a million other things you can use it for too. To learn more about Quick Coat and its uses, check out our post, How to Use Quick Coat!

Now It’s Time for Resin!

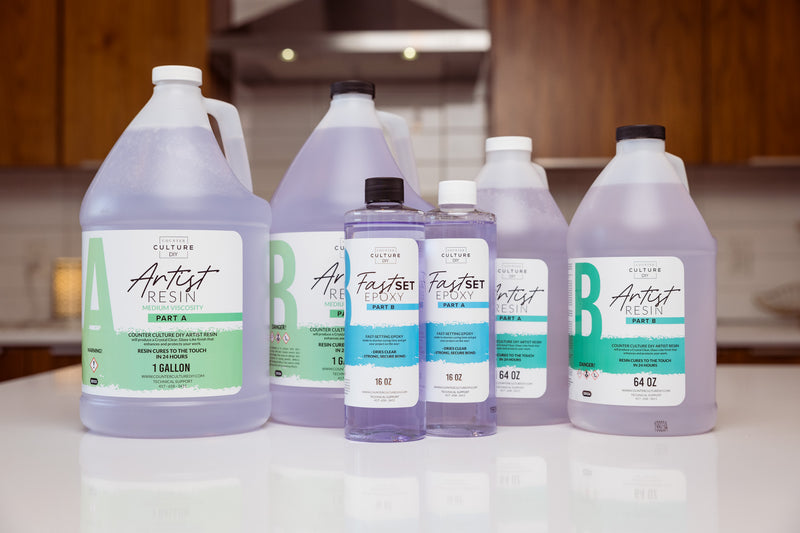
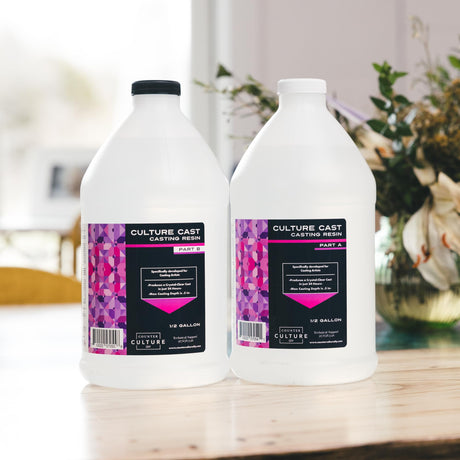
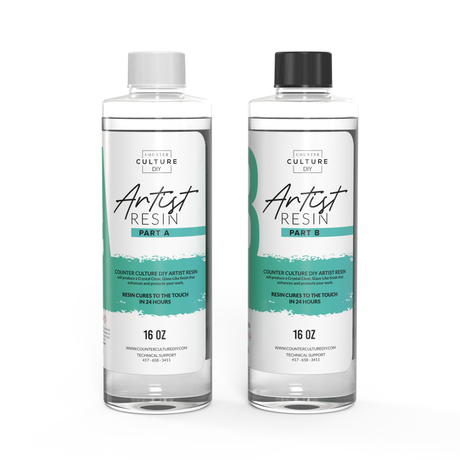
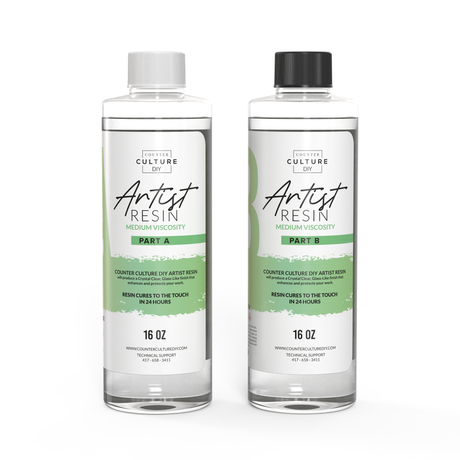
Tumbler Making for Beginners After your glitter is sealed, it’s time to grab your Artist Resin. For that you can choose between Regular Artist Resin and Medium Viscosity Artist Resin. They both have their benefits and it depends on your tumbler style, your personal preference, and your climate which one will be best for you.

Regular Artist Resin is our thickest epoxy. That means that even if you are covering the chunkiest of glitters, you will normally only need one coat. It gives amazing coverage and a glass like finish! Medium Viscosity is a bit thinner so it gives you more movement.

The inevitable bubbles you will get in your resin will rise more easily in the Medium Viscosity making them easier to pop. If you live in a colder climate, Medium Viscosity is also less picky about being kept warm. So, if you are like Misty who gets all 4 seasons in one week, Medium Viscosity will hold up well to temperature fluctuations.

In the video below, Misty walks us through each step of mixing and applying our resin to a tumbler. She explains how to measure, mix, apply, pop bubbles, and all the tips and tricks that go with them. Including how to light your torch for bubble popping! With the detailed instructions Misty gives, you’ll have the confidence of a resin pro!

Tumbler Making for Beginners

Watch the Video Tutorial Here!

The Finishing Touches

And that’s tumbler making for beginners! It may seem like a lot at first. But once you’ve made a few tumblers, all of it will start to become instinctual. You’ll be mixing and applying like a pro. Which will allow you to focus more on the colors and designs you’re using, which is the really fun part! 

A big thanks to Misty for sharing her time and talent with us! If you loved learning from Misty you can find her all over social media! Follow her on FacebookInstagram, and YouTube. We hope you have a blast creating and we can’t wait to see your tumblers!

how to make a waterfall ombre tumbler

Artist Meg Epps


Pop of Color Shock Paints are sold exclusively at Counter Culture DIY. So now you have even more reasons to stop by!

You can find more awesome video tutorials like this one on our YouTube channel!

Be sure to follow us on Pinterest so you can stay on top of everything that’s new and never miss a blog post!

If you want more inspiration and information we have a Facebook group for that. Join us in Counter Culture DIY Artist Support where we, and other artists, offer ideas, answer questions, and support each other!

Do you have an art project using any of our products that you want to share? Send it to us at [email protected], and we can feature them here!

Share this post

There are no comments

Leave a Reply

Your email address will not be published. Required fields are marked *

Start typing and press Enter to search

Shopping Cart

No products in the cart.