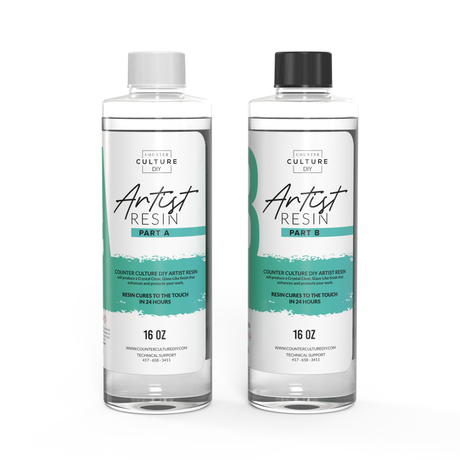
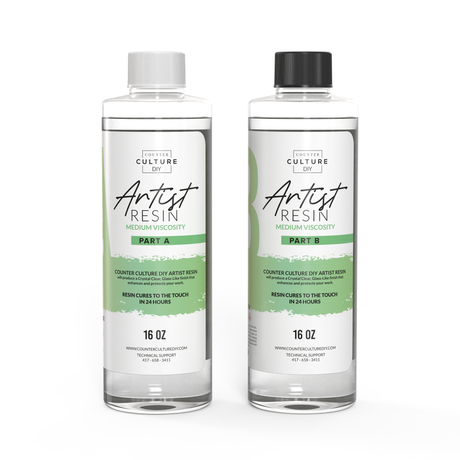
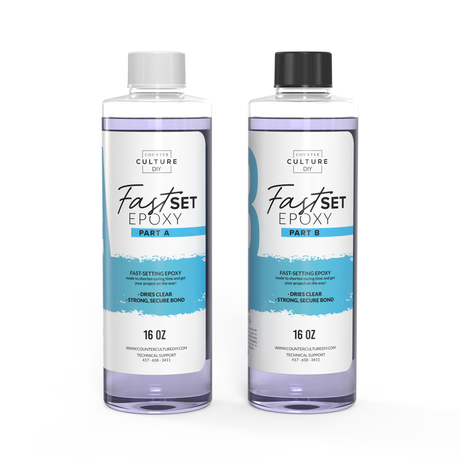
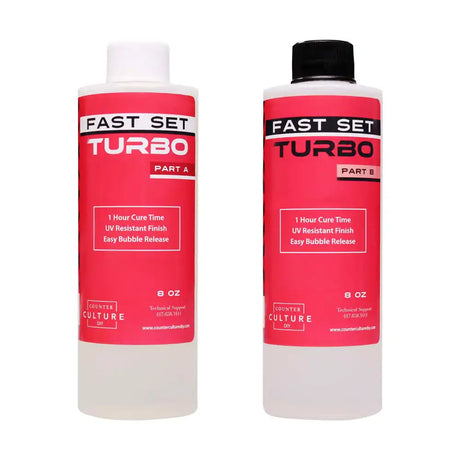
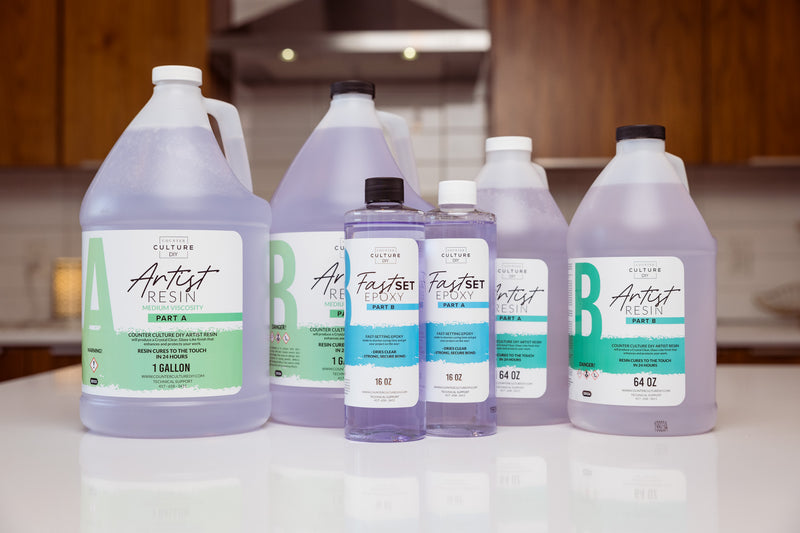
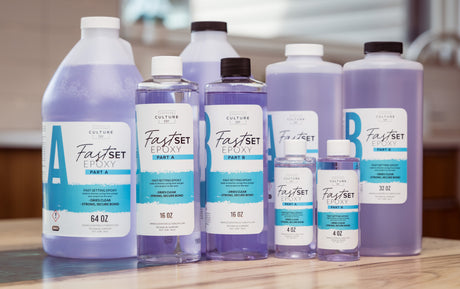
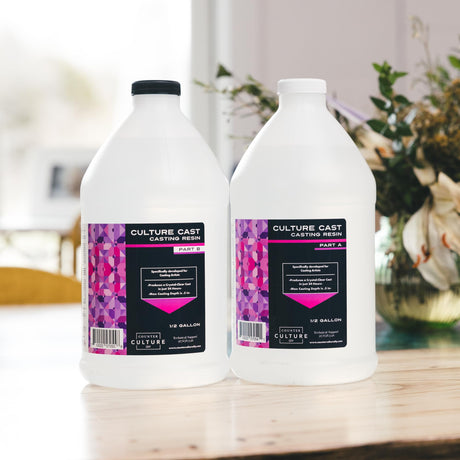
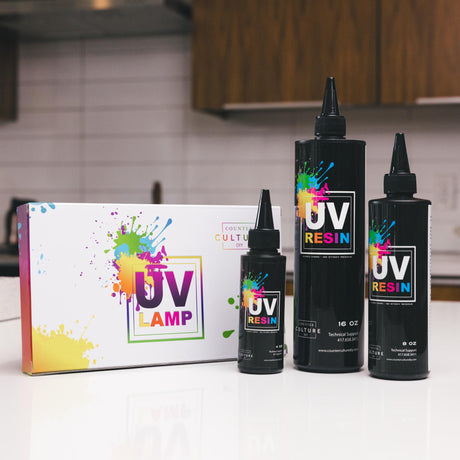
Making Summer Straw and Lid Toppers
/
/
Making Summer Straw and Lid Toppers

Making Summer Straw and Lid Toppers

It is hot outside, y’all! Cool drinks are in order and what could be more fun than sipping those cool drinks in style? Nikki from The Steel Magnolia is making adorable umbrella straw toppers and ice lid toppers and showing us how it’s done! Bonus, you also get to learn how to make your own mold for the umbrella toppers using Casting Silicone!

As tumbler makers we know you are always on the look out for your next favorite design. Right now, making toppers for those tumblers is all the rage. They are especially popular in the summer because there are so many fun things that you can do with artificial ice and ice cream! Throw in an adorable umbrella straw topper and you (and your customers!) are ready for poolside sipping.

Making summer straw and lid toppers is a great way to really make your tumblers stand out. And a fabulous way to offer more adorable products to your customers. In the video below, Nikki is teaching us how to use Casting Silicone to make our own umbrella topper molds. Then she shows us how to make a fabulous cherry limeade lid topper. We can’t wait for you to see how fabulous they are!

Making Summer Straw and Lid Toppers

So first off, you may be asking what Casting Silicone is so let’s talk about that! So many of our artist have been wanting to make their own molds and asking for the product to do it. Barry jumped on answering the call and we are excited that we can now offer the Casting Silicone! It is a 2 part Platinum Silicone Casting Rubber that is great for making your own molds.

We have two different options for you too. CS-200 has a work time of 7-9 minutes and can be demolded after 20-30 minutes at room temperature with a total dry time of 24 hours. The CS-100 has a work time of 18-22 minutes, can be demolded after 4-5 hours at room temperature with a total dry time of 48 hours. You can add dry pigments, mica, or glitter to customize the look of your mold too! 

Making a Mold for your Mold

The next question that we get a lot about making your own molds is: How do I make a mold for my mold? The answer is, any way you want! We know that’s not very helpful though so we are grateful to artist like Nikki who are sharing their mold making ideas with us. In the video below, Nikki is showing you how to use an acrylic umbrella blank (that she designed!) to make your own mold. Once you see how she does it, you’ll see that there are lots of different ways that you can make practically any mold you need. 

Ice Lid Toppers? Yes Please!

Ice lid toppers are so fun for your summer tumblers. And they are pretty easy to make once you know how! The basics include artificial ice but you can add all sorts of other fun things to them too. Nikki shows us how to make a super cute cherry limeade topper! You can also do margarita toppers or iced coffee ones, anything you can think of!

Nikki uses our UV Resin to make her ice toppers which makes them so easy to do. The UV Resin adheres the ice chunks in a matter of seconds so you can make these toppers very quickly! If you want to learn about other ways to use our UV Resin you can check out our post on using it to make keychains and badge reels

making summer straw and lid toppers

Watch the Tutorial Here!

Making Summer Umbrella Straw Toppers

How to make a silicone mold for umbrella straw toppers and how to make the toppers once your mold is complete
Yield: 1 Umbrella Mold

Materials

  • Stencil vinyl Blue by Frisco Craft is what Nikki used
  • Scissors
  • Solo Cup
  • Silicone mat
  • Acrylic Umbrella blank
  • Counter Culture DIY Casting Silicone Nikki used the 200 which is faster setting
  • medicine cups
  • Mixing cups
  • Large Silicone Mixing Sticks
  • Fantastic Fuchsia Mica Powder optional
  • Counter Culture DIY Artist Resin Medium Viscosity
  • Counter Culture DIY Dispersion Colors to match your tumbler
  • Alcohol
  • Glitter optional

Instructions

  • Start by cutting off the top 2 inches of your solo cup. This will be part of your mold.
  • Next, cut a square of the stencil vinyl that is a little larger than your solo cup piece. Peel off the backing and lay it down on your silicone mat, sticky side up.
  • Then, remove the protective paper from your acrylic blank and place it in the center of your vinyl. Push it down well and then flip it over and make sure it is completely covered by the vinyl.
  • Next center the solo cup piece (lip down) around the acrylic blank. It is really important to make sure that it is centered.
  • Now use the medicine cups to measure 20 ml of Part A and Part B of the Casting Silicone. Then pour them into a mixing cup and stir well to combine. Just like with epoxy, scrape the sides of your cups and your stick and mix well.
  • If using the mica powder, add a little bit now and then stir to combine.
  • Then pour your mix evenly over the acrylic blank to cover it. Set it aside to cure for 20-30 minutes.
  • Pull the solo cup top right off the now cured mold. Then peel the mold from the vinyl. Finally, pop the acrylic blank out of the mold and you're ready to use it!
  • Next, measure 5 ml each of Part A and Part B of the Medium Viscosity. Mix well to combine. Then add a couple of drops of the Dispersion Color you chose and mix to combine again.
  • Pour and spread your combined and colored resin into the mold, being careful not to cover the straw hole part in the middle or overfill. Spritz the resin with the alcohol to pop any bubbles.
  • If you are using glitter, sprinkle it in now and then set the mold aside to cure for about 4 hours.
  • Once your resin has cured enough to be solid but still bendable (about 4ish hours), get your solo cup lid back out and put your mold inside it, shaping it to be a dome. This will give you the umbrella shape. Allow the resin to finish curing and then demold.


Making Summer Lid Toppers

How to make an ice topper with the umbrella created in the previous recipe

Materials

  • Base topper for your lid topper From Truly Dvinyl
  • UV Resin/Lamp Bundle
  • Mixing sticks
  • Strawberry Fizz Dispersion Color
  • medicine cups
  • Chilly Chunks artificial ice
  • Artificial lime
  • Artificial cherry

Instructions

  • Stack your two sets of magnets on top of each other and put them in place on your base topper. Then put a little dab of UV Resin at the end of one mixing stick and then use another stick to take some up. Use that to paint a little bit of the resin over the magnets on the lid, being careful not to use too much. Put the cup topper in place over the base topper and push down hard so that it is in place. Holding the two toppers together, put them under your UV lamp for 60 seconds.
  • Squeeze a small amount of the UV Resin into a medicine cup and add a drop of the Strawberry Fizz Dispersion Color, then stir to combine. Use the stick to spread it around the base topper. Be careful to stay away from the edges and the straw opening, you don't want the resin to get down in there.
  • Then, starting around the straw opening, place your ice onto the resin. Then work your way around the outside edge. Add dots of UV Resin if you feel like you need it. Fill in the rest of the lid with the ice. Then place it under your UV lamp for 60 seconds.
  • Next, go in one at a time and add dabs of UV Resin and ice where you want them. You are building a pyramid of sorts. Add your lime in before you go to far and put it under the lamp for 60 seconds. After each of the next layers of ice, put it under the lamp for 30 seconds. For your final layer, add your cherry and cure it for 60 seconds.
  • Slide your straw in place and then add your umbrella straw topper to it!

The Wrap Up…

And that’s how you make your own molds, how to make umbrella straw toppers, and how to make ice lid toppers! That’s a whole lot of fun stuff in one tutorial! If you loved learning from Nikki, you can check out her tutorials on her YouTube channel, and follow her on Facebook and Instagram. You can find her awesome stainless steel tumblers on her website, thesteelmagnolia.comand see what else is happening with her life and business at Lil Hams in a Cup. 


You can find more awesome video tutorials like this one on our YouTube channel!

Be sure to follow us on Pinterest so you can stay on top of everything that’s new and never miss a blog post!

If you want more inspiration and information we have a Facebook group for that. Join us in Counter Culture DIY Artist Support where we, and other artists, offer ideas, answer questions, and support each other!

Do you have an art project using any of our products that you want to share? Send it to us at support@counterculturediy.com, and we can feature them here!

Share this post

Start typing and press Enter to search

Shopping Cart

No products in the cart.