How to Use Stick Tight
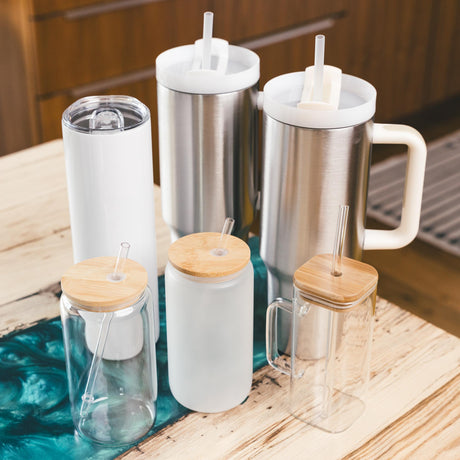
Counter Culture DIY products are always made with our artist’s needs in mind. When Barry designed Stick Tight it was to solve a problem for tumbler makers. Effect like fish eyes can happen when there are contaminates on your tumbler layers but we can take care of that for you. Today we are explaining how to use Stick Tight to get the best finished tumbler you can have!
Tumbler makers are some of the most creative artists out there. The variety of designs that are created never seizes to amaze us! Some of the processes and mediums used for tumblers can introduce things to you epoxy that can make it more difficult for your next layer of resin to adhere properly.
When you use Stick Tight, however, you’ll be able to bridge the contaminates that can disrupt the resin setting and curing processes. It promotes adhesion between smooth surfaces and has the ability to bridge over contaminates. Problem solved!
In the video below, Meg Epps of Lyndly Grove is showing us exactly how to use Stick Tight on your tumblers. She uses it to prep her tumbler before adding her first layers of resin and glitter. Making sure your tumbler is properly prepped can make all the difference in getting a flawless design.
How to Use Stick Tight
Getting rid of any impurities is important to making sure your resin adheres to your tumblers properly. Like we said, this is especially important when it comes to prepping your cup. Dust, oils, and residue from the manufacturing and shipping can all cause issues with your resin. Stick Tight will get rid of all of those things and make sure you are truly starting with a clean slate.
You can also use Stick Tight between your resin layers. This will make sure that any contaminates from the creative process will be removed before adding your next epoxy layer. It’s a quick way to reduce the likelihood of fish eyes and other annoying little imperfections in your resin.
How to Use Stick Tight on a Tumbler
Step One: Wearing gloves, pour your Stick Tight into a cup and then use a foam brush or a towel to apply it to your tumbler. Work the Stick Tight into the surface, adding pressure while using a circular motion. This will give you a solid application. When you see bubbles forming, enough has been applied and you can move to the next area of your cup.
Step Two: Once you have completely covered your tumbler, rinse it off with room temperature water. Use a gloved hand to gently rub the cup as you rinse it. After rinsing, allow the cup to air dry.
And that’s it! Just two simple steps and you’re ready to apply your resin. If you want to speed the process up even more you can do your tumblers in batches. If you clean several at once you won’t be pulling out your supplies and doing it every time you go to start a new tumbler.
The Wrap Up…
When you use Stick Tight to clean your tumblers you’ll be ensuring good adhesion between the smooth surfaces. Whether it’s the stainless steel of the cup or the smooth layers of resin, you will know that you’re getting the best adhesion possible. Removing any impurities with Stick Tight lets you apply and cure your resin beautifully!
You can find more awesome video tutorials like this one on our YouTube channel!
Be sure to follow us on Pinterest so you can stay on top of everything that’s new and never miss a blog post!
If you want more inspiration and information we have a Facebook group for that. Join us in Counter Culture DIY Artist Support where we, and other artists, offer ideas, answer questions, and support each other!
Do you have an art project using any of our products that you want to share? Send it to us at [email protected], and we can feature them here!