How to Make a Leopard Print Heart Mug
/
/
How to Make a Leopard Print Heart Mug
how to make a leopard print heart mug, leopard print heart tumbler

How to Make a Leopard Print Heart Mug

We have another adorable Valentine’s Day resin project for you today! Nicole of Coral Tumblers is showing us how to make a leopard print heart mug that is too sweet for words!

This year we have been trying to bring you some resin projects that are perfect for Valentine’s Day, and can also be used the other 50 weeks of the year. We are grateful to Nicole for showing us how to make her leopard print heart mug. Because it definitely fits the bill.

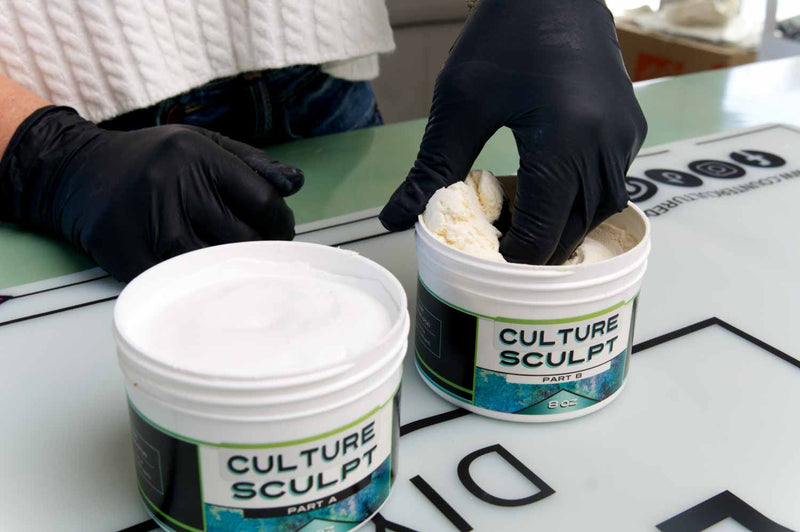
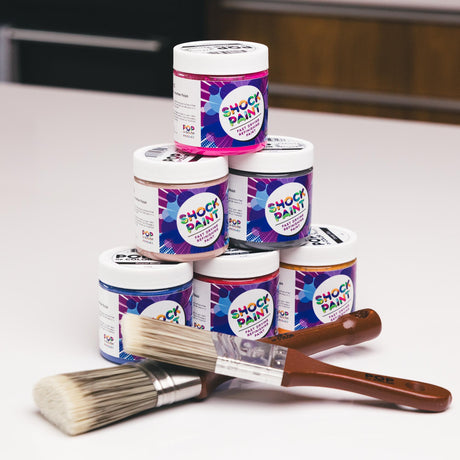
Plus, it has leopard print. And who doesn’t love a little leopard print?! Nicole uses Pop of Color Shock Paints and Culture Sculpt (our sculptable epoxy) to make her hearts. Then she adds the animal print, which really makes them pop.

The results are a mug that makes a fabulous Valentine’s Day gift. But isn’t too specific to the day that you would be tempted to let it stay in the cupboard most months of the year. Gorgeous colors and leopard print hearts are welcome any day, if you ask us!

how to make a leopard print heart mug

How to Make a Leopard Print Heart Mug

Blurb The hears on this mug are the stars of the show. Nicole made them by sculpting her combined Culture Sculpt into heart shapes. Her hearts look amazing but we have realized that not all of us are great with specific shapes. Nicole reminds us that the hearts do not have to be the same exact shapes and sizes. So you have a lot of wiggle room with them.

But, if hand sculpting the hearts isn’t something that you feel super confident about, you have other options! You could use any heart shaped molds that you have on hand. Keychain, badge reel, or earring molds would all be great options. We have also had a lot of luck using cake decorating molds in the past.

Simply press your combined Culture Sculpt into the molds. You can remove them from the molds right away. Then press them onto your cup. The Culture Sculpt works as its own adhesive and will stick to itself beautifully!

Simple Product Swaps

We know that this time of year is very cold for many of us. And that spray paint isn’t always an option in the winter months. So we have a couple of easy swaps that you can make to get the same look Nicole got, without using spray paint.

The mint colored spray paint that Nicole used is the perfect back drop for her leopard print hearts. But if that isn’t an option for you right now, you can use Mint Pop of Color Shock Paint instead. It gives fabulous coverage, goes on smoothly, and dries very fast. Even if it’s not cold out, you can swap in any mint colored paint that you have.

Another swap you can make is to trade Quick Coat for the clear spray paint. We know that many of you love Quick Coat and already have it close by. You can definitely use it for this project too.

Any foil you have will make your hearts stand out beautifully. But if you’d like to snag the same foils that Nicole used you can use her link to purchase them. Nicole listed the foils she used in the recipe below. So you will be able to find them easily!

How to Make a Leopard Print Heart Mug

Learn how to make an adorable leopard print heart mug with Culture Sculpt!
Yield: 1 mug

Materials

Instructions

  • Prep the mug as normal and wash/dry. Spray paint the cup with whatever color you choose and let it dry fully. 
  • Mix the Culture Sculpt (with gloves on) using 50% of each part and make sure it’s fully kneaded together. Pull small pieces of the mixture and form hearts around the cup.
    I chose to make some larger and some smaller, this is also easier than trying to make them all uniform.
  • Keep adding hearts until you are satisfied with the look and leave to dry for at least 8 hours or overnight. At this point your cup will be a mint color with white hearts all over it. 
  • With a paintbrush, carefully paint the Muted Plum color over each heart, being careful not to get the Pop of Color Paint on the mint cup. The Plum will serve as your base color behind the foil on your hearts.
    Often times the foil leaves very small gaps and I didn’t want the bright white shining through. The Pop of Color Paint helps it all blend together better.
    If you use a different foil, I would recommend just choosing a Pop of Color Paint that coordinates.
    Let the paint dry completely before moving on.
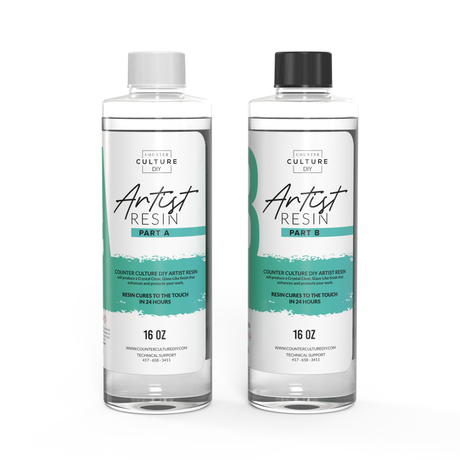
  • Next, mix up a batch of Artist Resin according to the package instructions. Measure equal amounts of Parts A and B. Then pour part B into part A and mix well for 3-5 minutes. Be sure to scrape the sides and bottom of your cup as you go, as well as your mixing stick. This ensures that all of your epoxy will be well incorporated.
  • Once your epoxy is combined, use a gloved finger to apply it to your whole mug. Let the epoxy cure and then move on to your foil!
  • Now you will have a mint cup, with plum hearts, and a single epoxy coat. The foil adhesive will stay much better on the epoxy layer (as opposed to the exposed Culture Sculpt) because the epoxy layer is shiny and not porous.
  • Take your foil adhesive and paint over each heart with a thin even layer. Make sure you cover all the areas that are plum and get all the way into the edges and crevices. Let this dry fully, up to an hour. 
  • Cut your foil into pieces a few inches wide. This is much easier to apply and press in smaller sections rather than doing all the hearts at once.
    I placed each small section over each heart one at a time, and rubbed it really well. Either with my fingers or a nail brush to get them adhered to the cup really well. Pull each piece back off and throw away, you will be left with foiled heart sall around. 
  • The epoxy is not a fan of the foil adhesive and likes to repel from those areas so you need a layer in between. I sprayed the whole cup lightly with a matte clear spray before doing epoxy again.
  • Once you are satisfied with your clear coat, do1-2 final layers of epoxy until smooth. I recommend 2 layers of epoxy with less epoxy in each layer so it does not “pool” around the hearts. Let it cure fully and, voila! 

The Finishing Touches

And that’s how you make a leopard print heart mug! You can make yours just like Nicole did. Or you can vary your colors and foils. But either way you go, it is going to be adorable! A big thanks to Nicole for sharing this project with us. We appreciate her taking the time to teach us how to make this fabulous heart mug!

If you loved learning from Nicole and want to see more of her work and what she has going on, you can find her on her website and all the socials. Follow her on Facebook, Instagram, TikTok, and in her Facebook group

how to make a leopard print heart mug

Pop of Color Shock Paints are sold exclusively at Counter Culture DIY. So now you have even more reasons to stop by!

You can find more awesome video tutorials like this one on our YouTube channel!

Be sure to follow us on Pinterest so you can stay on top of everything that’s new and never miss a blog post!

If you want more inspiration and information we have a Facebook group for that. Join us in Counter Culture DIY Artist Support where we, and other artists, offer ideas, answer questions, and support each other!

Do you have an art project using any of our products that you want to share? Send it to us at [email protected], and we can feature them here!

Share this post

Start typing and press Enter to search

Shopping Cart

No products in the cart.