How to Apply Vinyl to a Tumbler
/
/
How to Apply Vinyl to a Tumbler
how to apply vinyl to a tumbler

How to Apply Vinyl to a Tumbler

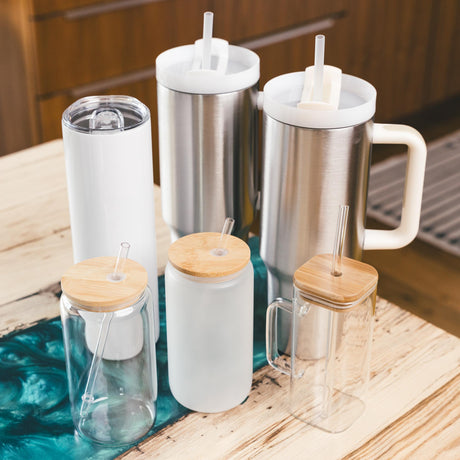
Vinyl offers so many creative options for tumbler makers. Whether you are using it as a wrap for your cup or as a decal, vinyl has become synonymous with tumbler making these days. Today we are showing you how to apply vinyl to a tumbler so you can get it on perfectly every time!

Using vinyl on your tumblers can be a lot of fun. And it opens up a ton of design options! But, if you aren’t sure how to apply vinyl to a tumbler correctly, it can be frustrating and time consuming. Fortunately for us, Rebecca Escott of Everything Tumbler Tutorials is showing us how it’s done.

In the video below, Rebecca takes us through the process step by step. She also shows us how to avoid common mistakes in vinyl application. AND how to fix them if they happen. Because, let’s face it. We all have goofs, no matter how practiced we are. But Rebecca is taking the guess work out of the vinyl process for us so we can focus on the fun parts! 

how to apply vinyl to a tumbler

How to Apply Vinyl to a Tumbler

There are a few tips and tricks that can help make working with vinyl a breeze. Once you have a few vinyl tumblers under your belt, you will be able to do them in your sleep. But, in the meantime, we have some ideas that can help simplify the process for you! 

Primaries – Vinyl by Rick Cheadle

How to Cut Vinyl for your Tumbler

To cut vinyl, you don’t have to have anything special. A good sharp pair of scissors and an exacto knife will do the trick. But there are a couple of things that can make it easier. Especially if you will be making a lot of tumblers with vinyl. 

Slide Cutter

One cutting tool that can be very handy is a slide cutter. These are often used in scrapbooking since you need lots of straight sharp cuts for that hobby. You can also get slide cutters that are specifically made for vinyl. They are great for getting a perfectly straight cut on you vinyl.

You can measure right on a slide cutter. And the slide mechanism, as well as the measurement lines, allow you to stay straight and even for every cut.

Tropical Party – Vinyl by Misty Leonard

Exacto Knife

Rebecca explains that having an Exacto knife that is good and sharp is very important for cutting vinyl. If the knife is flimsy, it can slip and slide when you need to be strong and true. And a dull knife can give you an uneven cut and tear your vinyl.

In the video below, Rebecca shows us exactly how to use the knife to trim the vinyl on our tumblers. She reminds us to use a steady cut and not a back and forth sawing method. This will ensure a straight cut without any damage to the vinyl on your cup.

Lemon Striped – Vinyl by Emily Brede

Vinyl Cutting Machines

Once you really get into working with vinyl, you will probably start looking into getting your own cutting machine. At least that’s what has happened to many of us! Having a vinyl cutter (aka cutting plotter, because of the software that lets you use your computer to “plot” and create things) allows you to produce your own decals. There are different models but the Cricut and Silhouette machines are the most popular. 

There are artists who create SVG files for decals. You can purchase them onlinie, download them, and then print/cut them on your machine. You can also use the software that comes with the machine to design your own custom tumbler decals. Once you know how to do that, the sky is truly the limit!

Vinyl cutting machines can also be used for so many other crafty projects as well so it is a really fun investment for many.

Selecting your Vinyl

Boho Daisy

Boho Daisy – Vinyl by Holli Mostella


Sheets of vinyl come in loads of colors and designs. We are proud to feature vinyl patterns that have been designed by some of your (and our!) favorite resin artists. We have sprinkled just a sampling throughout this post for you. They are unique and fabulous custom printed vinyl sheets that are beautiful to behold! 

Vinyl is typically sold in 12″ squares. but we do have some that is rated for outdoor use that also comes in 5ft rolls. Like the Gloss Black Vinyl which is permanent and highly rated for outdoor signs, marketing, crafts and decorations. It is rated for 6 years of outdoor use. And is also great for tumbler making and resin art!

Whichever vinyl you choose, you will be ready to cut with confidence through Rebecca’s teaching!


How to Apply Vinyl to a Tumbler

Learn how to perfectly apply vinyl to a tumbler.
Yield: 1 tumbler

Materials

Instructions

  • Start by measuring your tumbler from the factory line on it to the rim. And around the diameter of the cup. Then cut your vinyl sheet to those measurements.
    Or, you can just cut the sheet in half and start with that.
  • Starting with a clean tumbler, take your vinyl sheet and peel back part of the backing.
  • Choose a spot on the cup to start. It doesn't matter where it is, we just need a starting point. Get your edge nice and straight against the factory line and press the edge of the vinyl onto the tumbler.
    If you don't get it right the first time, just remove the vinyl and try again!
  • Now start to wrap the vinyl around the tumbler. Keep with edge of the factory line so your vinyl stays straight. Press the vinyl into place as you go. Slide your finger across the vinyl to make sure that it is going on smoothly and without any bubbling underneath.
  • Once you are sure you are wrinkle free, use an Exacto knife to trim the excess vinyl from the rim of your cup.
    Use a very sharp knife and a smooth cut (no sawing back and forth) to trim the vinyl. That will give you a smooth line and protect the vinyl that is on the cup.
  • Next, use the knife to cut a straight line along the seam of your cup, where the vinyl overlaps.
  • Then take the knife along the factory line to remove any vinyl that went over it.
  • Next, use painter's tape and parchment paper to cover your cup, leaving only the remaining stainless steel at the bottom of the tumbler exposed.
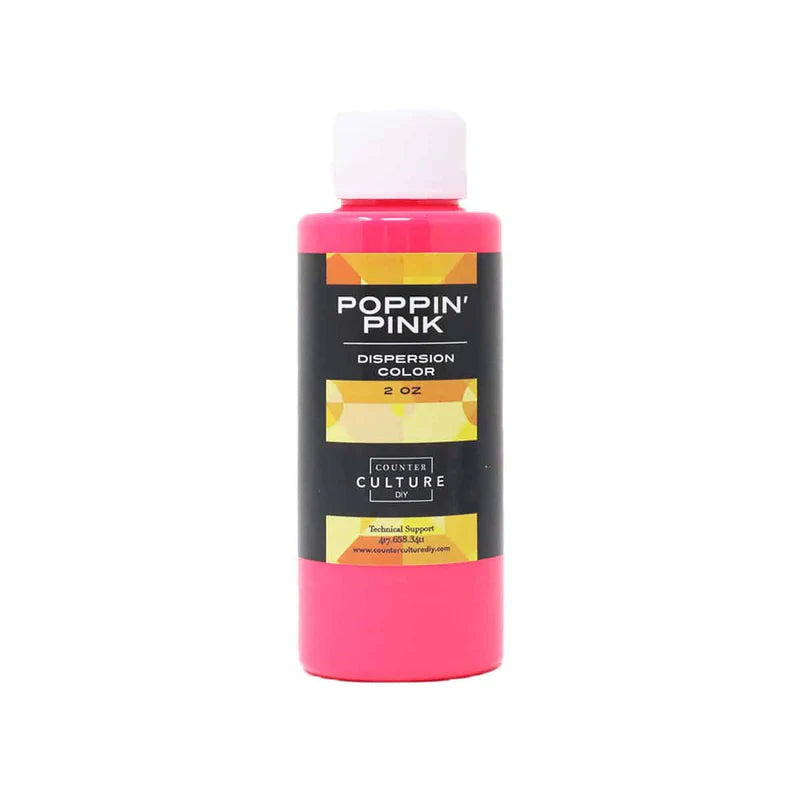
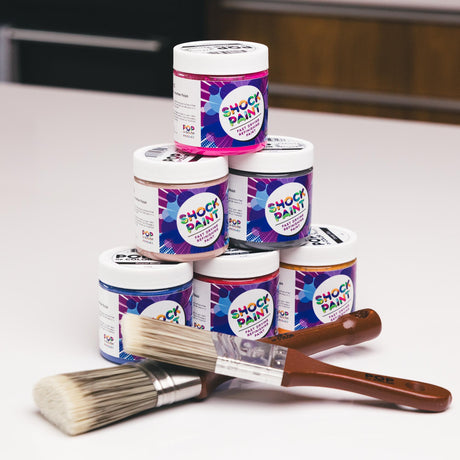
  • Now paint the exposed part of your tumbler with Jade Pop of Color Shock Paint. Once it is painted, immediately remove the tape and parchment paper so they don't dry onto the cup with the paint. Allow the paint to dry completely.
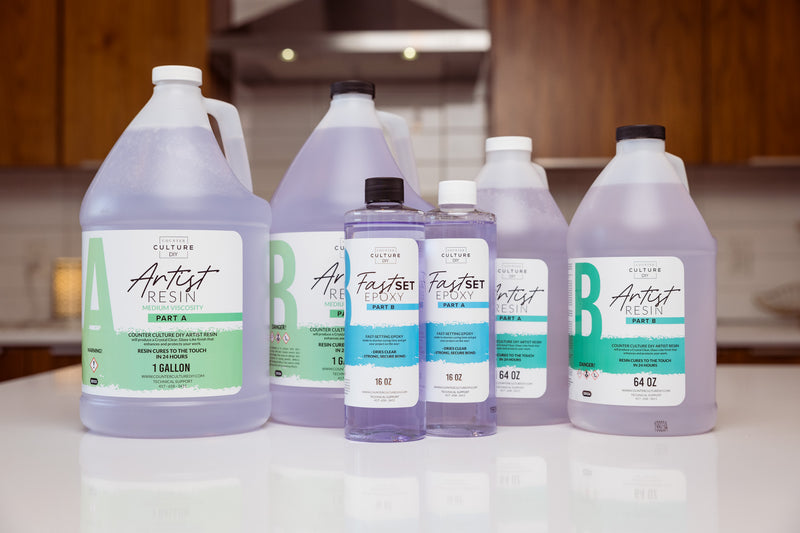
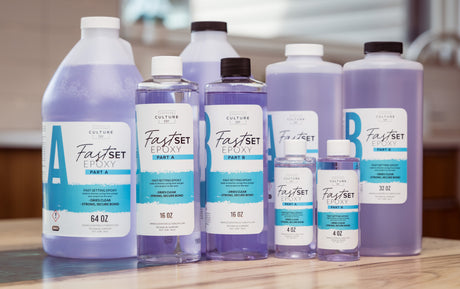
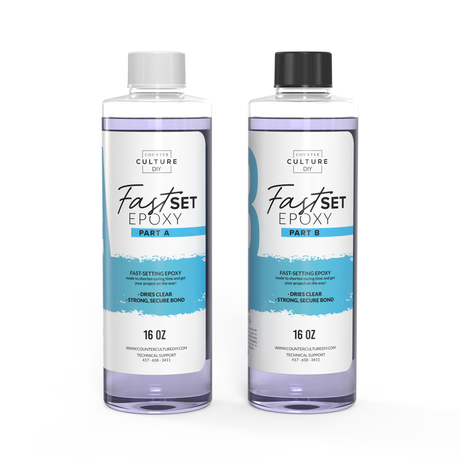
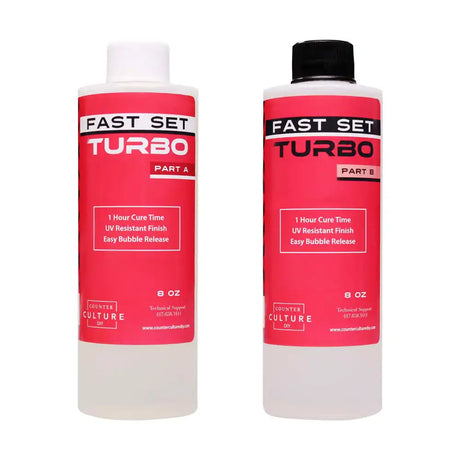
  • Next mix a batch of Fast Set according to the package instructions. Then use a gloved finger to apply it to the tumbler. Use the torch to pop any bubbles. Then allow the resin to cure completely before moving on to the next step.
  • Then tape off the bottom of your cup and spray the white spray paint over the seam of your vinyl, covering enough area for your decal to fit over too. Then allow the paint to dry.
  • Next, apply the nail tape along the seam where the vinyl meets the paint.
  • Then add another layer of Fast Set, pop the bubbles with a torch, and allow that to cure.
  • Now apply your decal to the white painted area of your cup. You can seal it with Quick Coat to make sure your decal stays put and the epoxy covers it well.
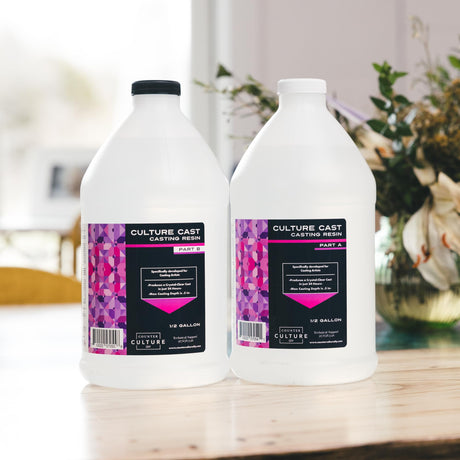
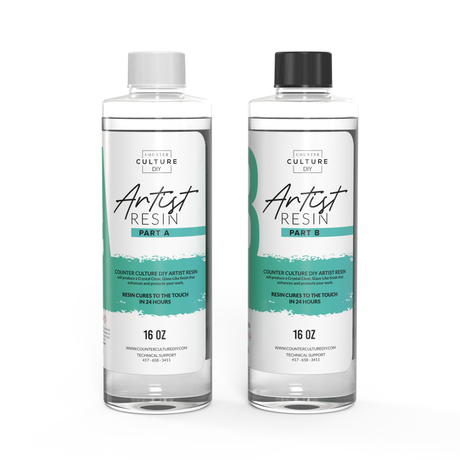
  • Then mix a batch of Artist Resin according to the package instructions and apply it to the tumbler for your final coat. Allow the cup to cure completely and it is ready to use!

The Finishing Touches

So that is the dish on how to apply vinyl to a tumbler! And once you have it down, you can do it perfectly every time. But remember, Rome wasn’t built in a day. And neither is expert vinyl work. As Rebecca reminds us in the video, your exacto knife and fabulous decal mean that you have some wiggle room if your vinyl placement isn’t absolute perfection. 

A big thanks to Rebecca for sharing her time and talents with us! If you loved learning from her and want to see more of her tutorials and work, you can follow her on all the socials. You will find links to all of her online happenings here. And she has a lot of fun things going that you don’t want to miss! 

how to apply vinyl to a tumbler

You can find more awesome video tutorials like this one on our YouTube channel!

Be sure to follow us on Pinterest so you can stay on top of everything that’s new and never miss a blog post!

If you want more inspiration and information we have a Facebook group for that. Join us in Counter Culture DIY Artist Support where we, and other artists, offer ideas, answer questions, and support each other!

Do you have an art project using any of our products that you want to share? Send it to us at support@counterculturediy.com, and we can feature them here!

Share this post

Start typing and press Enter to search

Shopping Cart

No products in the cart.