How to Make a Vinyl Split Tumbler
We are getting back to tumbler basics today! Jessica Rike of Jessica Rae Designs and Misfit Makers is showing us how to make a vinyl split tumbler and the results are beautiful!
There are so many creative and amazing tumbler designs out there. And we love them all! Today we are having fun with a classic design. Jessica is giving us all the info we need to learn how to make a vinyl split tumbler that is simple and fabulous!
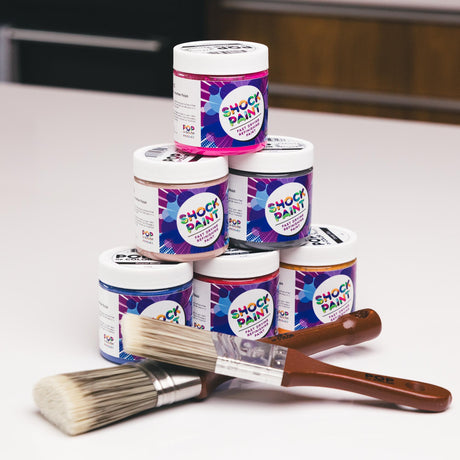
Jess uses Pop of Color Shock Paint, gorgeous glitter, and fun vinyl to make her split tumbler. She added an off set decal at the end to round out her design. In the video below, Jess shows us step by step how she completed this fabulous tumbler and we can’t wait for you to learn how to make your own!
How to Make a Vinyl Split Tumbler
We are so excited that Jess shared this tutorial with us. We have recently started offering vinyl on the website and can’t wait for you to check out all the great options we have for you! It’s no secret that our resin artists love being able to get all there supplies in one spot.
Especially when ordering earns you Culture Cash! So we keep striving to bring you more and more of the products you use on the daily. Since vinyl and tumblers go hand in hand, we thought it was time to bring vinyl to the website. From classic colors to funky patterns, we have a bunch for you to check out!
Vinyl Tumbler Tips and Tricks
In the video below, Jess shares some of her best tips for working with vinyl on a tumbler. Even if you have been using it for years, you are bound to find something useful from Jess. One of the things she tells us is to save every “scrap”. We artists know to use every drip of resin and every flake of glitter. It’s no different when it comes to vinyl.
Jess uses a cutter that is designed for scrap booking when cutting her vinyl. It’s slide cutter and visible rulers mean that you can get a clean cut with no waste every time. Not a bad return on an investment of a few dollars! Jess reminds us that all of those little scraps we save are great for making pens, key chains, or badge reels.
Jess also talks about how we can make our own vinyl striping for our tumblers. Nail tape is very popular for adding striping. But if you have your own vinyl cutter you can cut 0.1″ x 11″ strips of any vinyl you choose. Done and Done!
Other Ways to Apply Glitter
There are about a million and one ways to add glitter to your tumblers. You can do the Mod Podge method like Jess did. If you are looking for a new way to do your glitter application or just want to learn about your options, we have a few posts for you to check out!
How to Make a Basic Glitter Tumbler is a great one for those just starting with tumblers. It goes into great detail about everything from how to prep your tumbler to how to finish it with resin. The Tack It Method is also a good option to try!
You can also add your glitter right to the Shock Paint. How to Make a Striped Tumbler with Pop of Color Paints shows you how you can add your glitter directly on your paint to save time and supplies!
Other options include using Quick Coat to seal AND apply your glitter. You can also mix your glitter right into your resin when you are adding your epoxy layers. How you do glitter will depend on the project you are working on as well as personal preference. Whichever technique you use, you get to play with glitter! And that’s always a win.
How to Make a Vinyl Split Tumbler
Materials
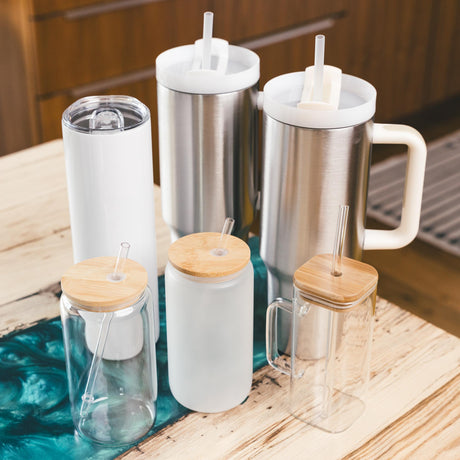
- Stainless Steel Tumbler
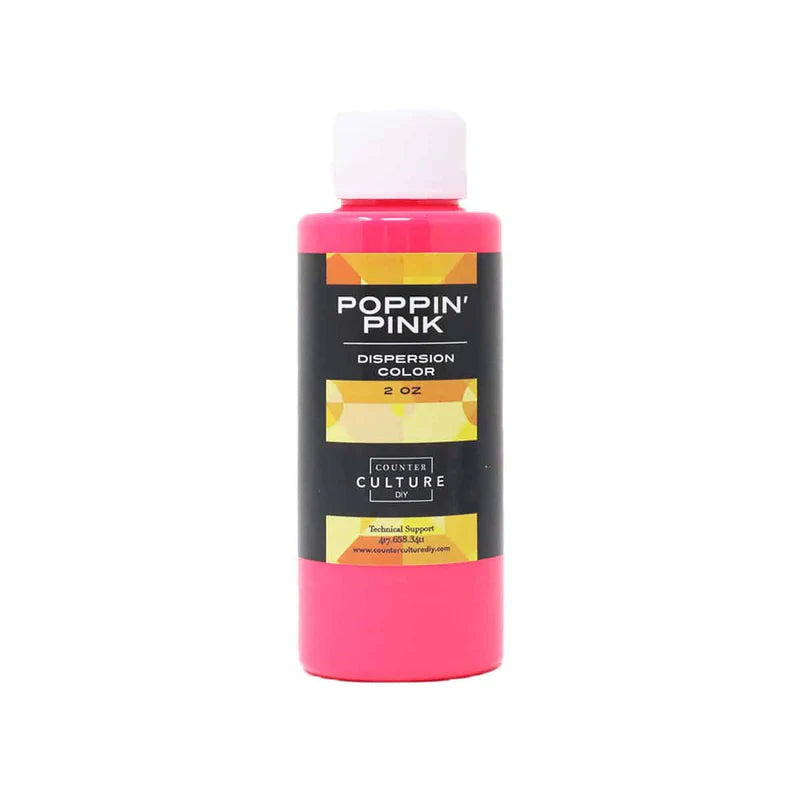
- Lilac Pop of Color Paint
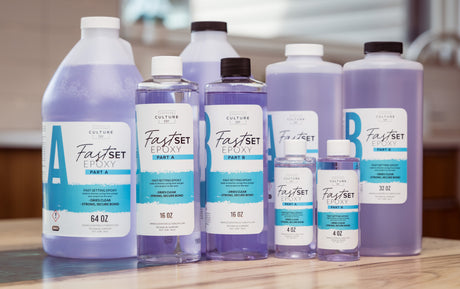
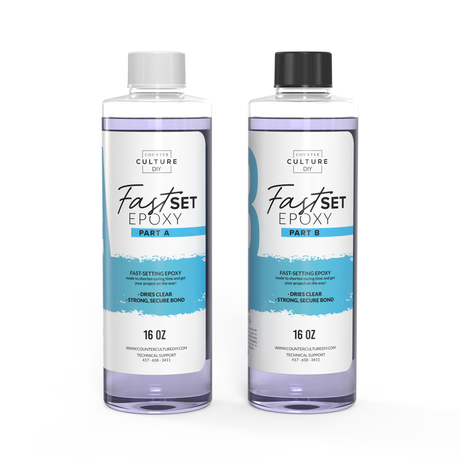
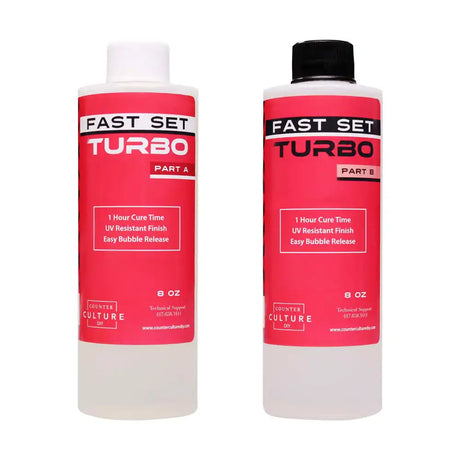
- Counter Culture DIY Fast Set
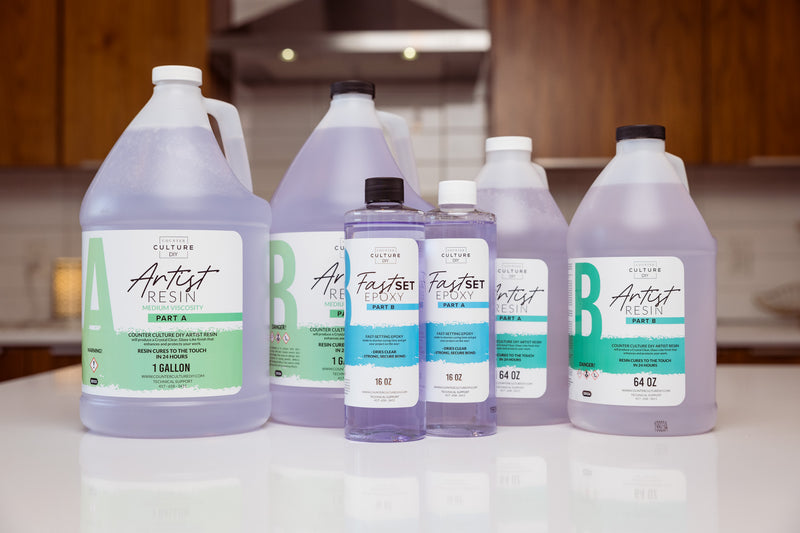
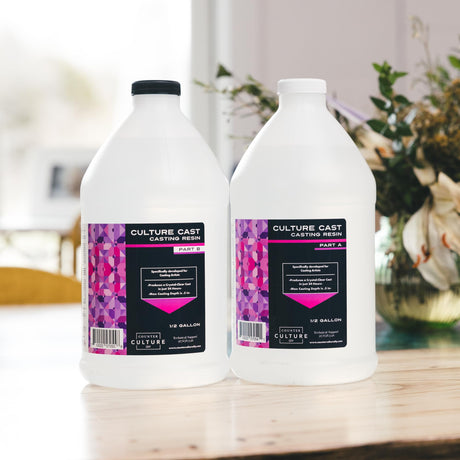
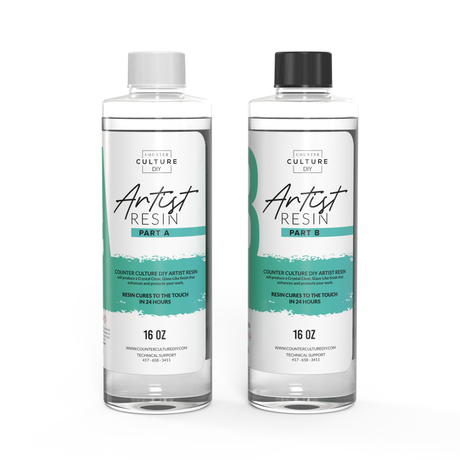
- Counter Culture DIY Artist Resin
- Counter Culture DIY Quick Coat
- Nina Glitter
- Paint brush
- Protective gloves
- Filter mask
- Silicone mixing cups
- medicine cups
- Large Silicone Mixing Sticks
- Silicone mat
- Torch
- Permanent marker
- Painter's tape
- Mod Podge
- Exacto knife
- Sand paper
- Vinyl decal
- 2 Vinyl striping or nail tape 0.1" x 11"
Instructions
- Start by cleaning and prepping your tumbler. Then rest your hand on a stack of medicine cups to keep it steady while you use the permanent marker to draw a line all the way around your cup.
- Next, mark off the size of the piece of vinyl you will need and then cut it. Set aside your extra vinyl for another project.
- Carefully line up the vinyl with the line you drew on the cup. Then slowly begin to remove the backing and press the vinyl down. Work a tiny bit at a time and use your fingers to go back and forth to remove any bubbles and make sure the vinyl lays down flat.
- Trim the bottom of the vinyl so that it is flush with the bottom of your cup. Jess uses an edging tool that works beautifully for this!
- Next use the painter's tape to cover the vinyl so that you won't get any paint or glitter on it.
- Then use your paint brush to apply the Lilac Pop of Color paint to the rest of your cup. Don't forget the bottom.
- Next, apply a thick layer of the Mod Podge to your tumbler, smooth it out, and then sprinkle your glitter onto the Mod Podge. Then remove your tape right away.
- Then use a dry brush to brush off any excess glitter from the tumbler. After that, seal your tumbler. Jess uses a spray sealant or you can use Quick Coat, whichever you have or prefer. Just make sure you allow it to dry for at least 40 min before adding epoxy.
- Now mix up 40 ml of Fast set and use a gloved finger to apply it to your whole tumbler. Use a torch to pop any bubbles. Then allow it to cure.
- Next use an exacto knife to trim any excess from the lip of your cup. Then sand it down. Also give the whole tumbler a light sand.
- Next add your vinyl striping where your glitter meets your vinyl and at the bottom of the cup. Then apply your decal.
- Now add a layer of Quick Coat over the whole tumbler to prevent the resin from repelling from the decal. Allow it to dry completely.
- Finally, mix 40 ml of Artist Resin and apply a nice even layer to your whole cup. Allow it to fully cure and you have yourself a beautiful vinyl split tumbler!
The Finishing Touches
And that is how you make a vinyl split cup, y’all! As with all things resin, there are a few steps. But it is a simple process that packs some big results. Once you have learned this method you will be on your way to a limitless amount of tumbler designs!
All you need to do is pick a vinyl sheet that you love. Then match your paint and glitter colors to a part of the pattern you’ve selected. After that, the process is the same!
A big thanks to Jessica for sharing her talent and teaching with us! If you loved learning from Jess or want to see more of her work you can find her on Instagram, YouTube, and you can find all her other social links on Linktree. She has a lot of great things going on!
You can find more awesome video tutorials like this one on our YouTube channel!
Be sure to follow us on Pinterest so you can stay on top of everything that’s new and never miss a blog post!
If you want more inspiration and information we have a Facebook group for that. Join us in Counter Culture DIY Artist Support where we, and other artists, offer ideas, answer questions, and support each other!
Do you have an art project using any of our products that you want to share? Send it to us at [email protected], and we can feature them here!