Epoxy Comparison
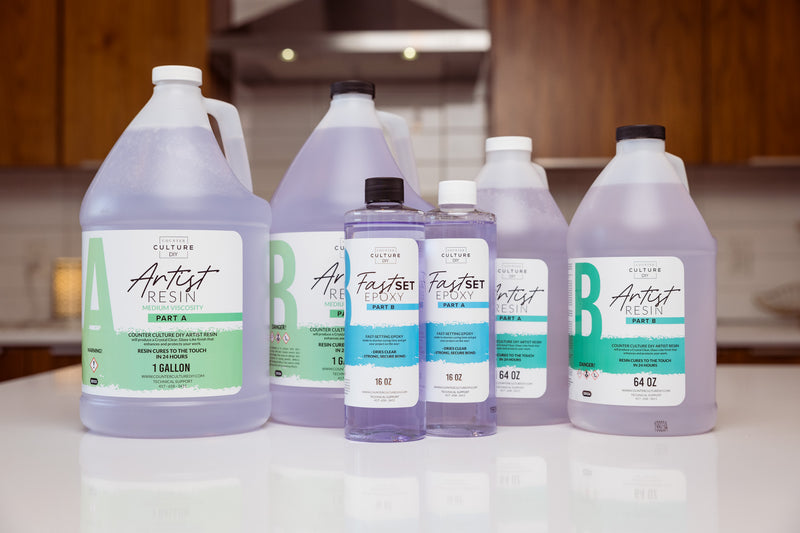
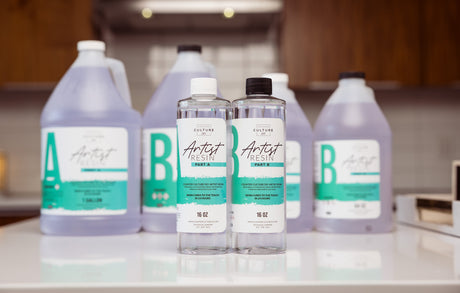
We offer an epoxy for every type of project. From our versatile Artist Resins to casting resins and our fan fave Fast Sets, we've got what you need to make your projects stand out.
| Facet | ||||
|---|---|---|---|---|
| Rating | ||||
| Rating |
★★★★★
(21)
|
★★★★★
(27)
|
★★★★★
(24)
|
★★★★★
(29)
|
| Price | ||||
| Price |
From
$24.95
Unit price
/
Unavailable
|
From
$24.95
Unit price
/
Unavailable
|
From
$29.95
Unit price
/
Unavailable
|
From
$29.95
Unit price
/
Unavailable
|
| Product variants | ||||
| Product variants | Size
| Size
| Size
| Size
|
| Usage | ||||
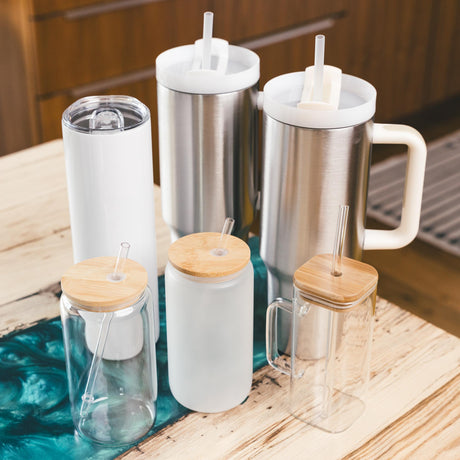
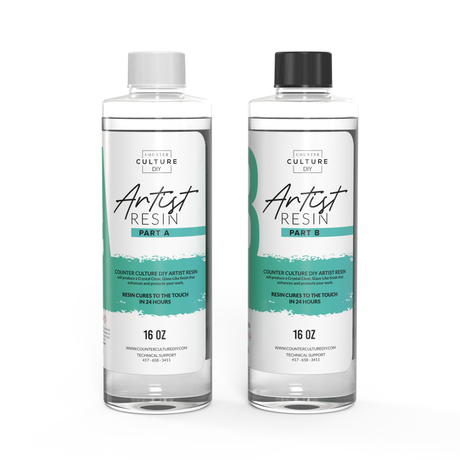
| Usage | Our original Artist Resin is a great choice for coating anything. It is high viscosity, which means even spreading and fewer coats. A great choice for tumblers, countertops, and more!
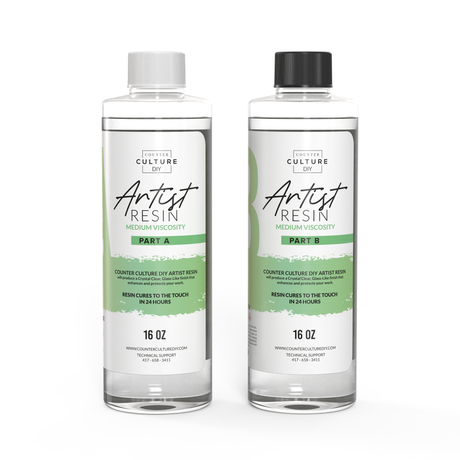
| Medium Viscosity is a slightly thinner version of Artist Resin. It is very versatile, and can be used for coating, as well as molds. A solid choice for any artist needing a multi-purpose resin!
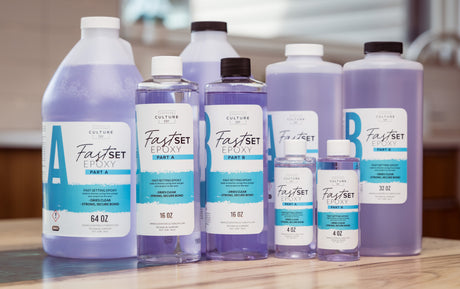
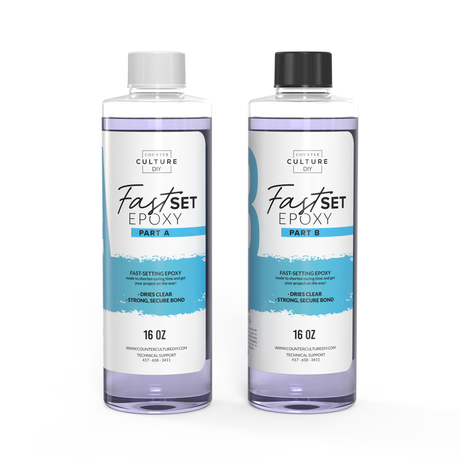
| Our original Fast Set Epoxy has a viscosity similar to Artist Resin, and is great for those that want to speed up their workflow. It is only recommended to use thin layers, which means it's best used on tumblers, pens, or other surfaces
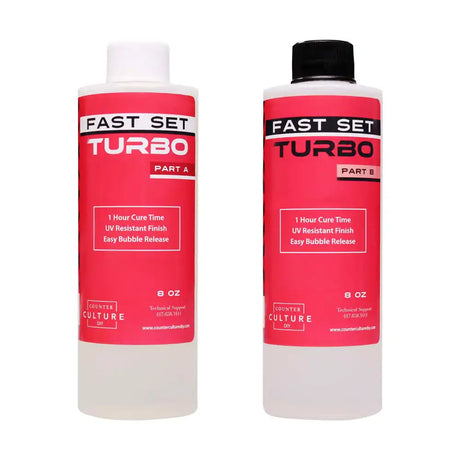
| Fast Set Turbo is the fastest of all! It fully cures in 1 hour, and has a very short working time, which is twice as fast as our regular Fast Set. This epoxy is recommended for experienced users needing to speed up their workflow.
|

