Ice Cream Scoop Tumbler Tutorial
With summer in full swing we are all sporting our favorite summer tumblers around here. And the only thing cuter than a great hot weather cup is an adorable topper! Misty Leonard of MD Leonard Designs is back and sharing a fabulous ice cream scoop tumbler tutorial!
We are absolutely loving all the adorable tumbler toppers you artists are creating! Each one seems more unique than the last. One of the fan favorites by far is the ice cream variety. So, we knew we needed to get y’all an ice cream scoop tumbler tutorial. And, as always, Misty was happy to share her know how with all of us.
These adorable cup toppers are so fun and they are perfect for different types of summer tumblers! In the video below, Misty shows you how to use our Culture Sculpt and Clay Sprinkles to make ice cream scoop tumbler toppers. These cuties are going to have your friends (and your customers) all sorts of excited!
Ice Cream Scoop Tumbler Tutorial
One of the best things about summer is heading to the local ice cream shop. Then, once you have your treat, racing to eat the cone before the heat melts it. Some of our favorite summer memories have to do with evenings like these. Now we can create adorable tumbler toppers that remind us of these times without all the sticky and drippy!
Because Culture Sculpt is epoxy based, once your scoops have cured for 4-5 hours, they can be washed and splashed with no worries. Unless you’ve intentionally added drips to your cup, there won’t be any. And there’s no need to seal either! The Culture Sculpt is fully water proof already. It does dry to a matte finish though so, if you prefer shiny, by all means add a coat of Artist Resin.
Give us Allll the Sprinkles!
This is the sort of project that our sprinkles and toppings were made for! There is such a variety to choose from you are sure to find exactly what you need to match the color and theme of your tumblers. Add a cherry to the top of your scoops and you have a sundae topper. Plain white ice cream scoops and some fun drips give you a root beer float.
There are so many different versions of tumblers and toppers that you can create using the methods that Misty shows us. You may just want to have a snack before you head into your work area so you aren’t craving sweets while you’re in there.
If you are loving tumbler toppers and want to learn how to make more you can check out our post on making summer straw and lid toppers. There you’ll learn how to make umbrella straw toppers and cherry limeade cup toppers. They’re also super cute!
Don’t Forget the Straw Hole!
One thing that you definitely want to remember when making tumbler toppers is to leave an opening for the straw. It is so easy to get all into your fun creation and then realize that there is no way to drink out of it.
Misty shows you an easy and effective way to make the straw hole in you ice cream scoop toppers so no worries. And you have 2-3 hours of work time with the Culture Sculpt so, if you do forget but remember in time, you can go back in and fix it.
That work time also means that you can redo any part of your topper that you don’t like the first go round. Sometimes scoops look great on the first try, other times they need another go. It’s super easy to fix and, since it feels like you’re an adult getting to play with Play-Dough, it doesn’t really seem like a big deal!
Ice Cream Scoop Tumbler Tutorial
Materials
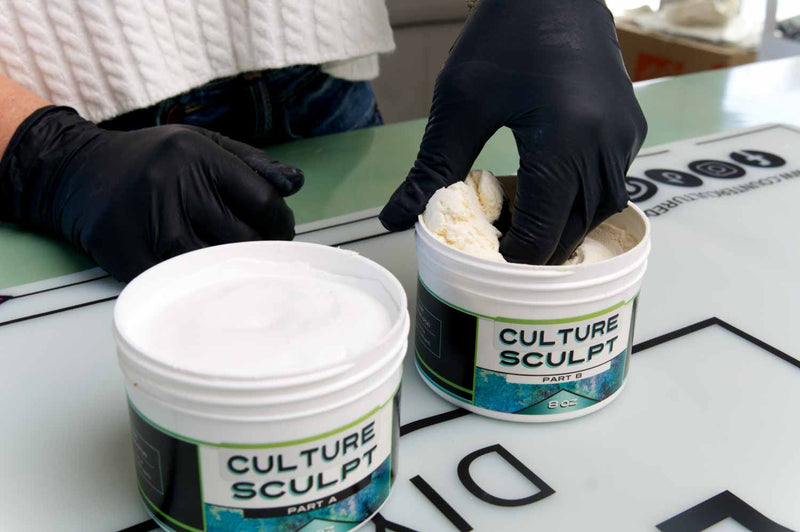
- Culture Sculpt
- Color Craze Clay Sprinkles
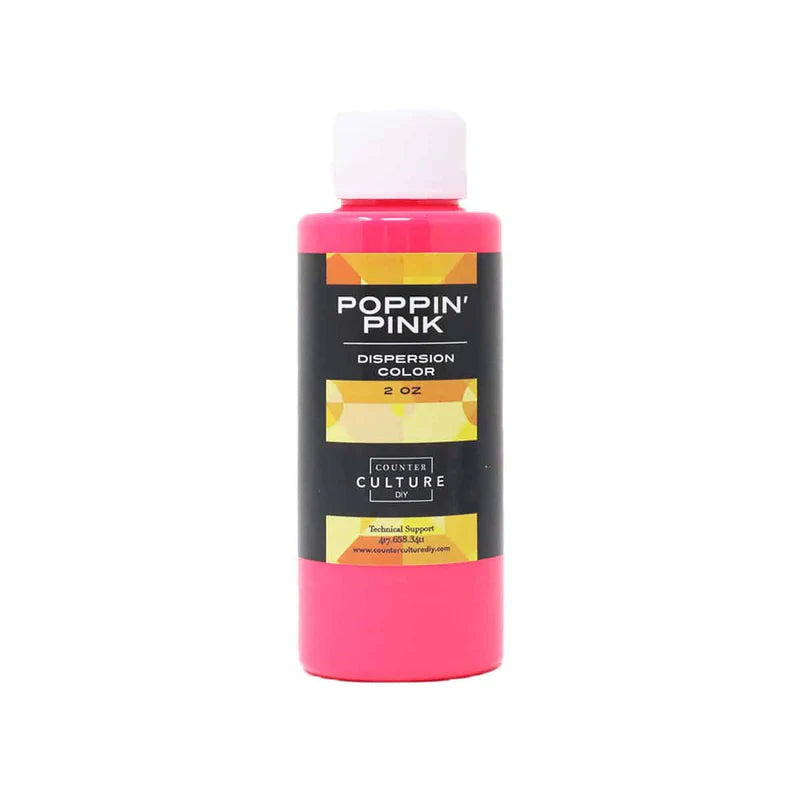
- Flamingo Dispersion Color
- 2 oz Easy Pour Lid
- Silicone mat
- Protective gloves
- Tumbler lid
- Medium sized ice cream/cookie scoop
- Dowel rod or reusable straw
- Baby wipes
Instructions
- Start by grabbing equal amounts of Parts A and B of the Culture Sculpt. Then combine them together with your gloved hands. You want enough for three scoops plus a bit more.
- Make a small well in your ball of Culture Sculpt and add a drop or two of the Dispersion Color then knead the ball well until the color is dispersed. Add more color a drop at a time if you want it to be darker.
- Take a small amount of the combined Culture Sculpt and push it down onto your lid to form a good solid base. You want to make sure to cover the entire lid (minus the straw opening) so that there are no little open areas that moisture could get trapped and cause bacterial growth.
- Now pack your ice cream scoop with the Culture Sculpt. You want to fill it so that it has a little bit of overflow. Then gently press your scoop onto your lid and release it.
- Next, make another scoop and place it onto the lid next to your first one. Make your final scoop and place it on top of your first two.
- Now use your dowel rod or straw to make the straw hole. Come up from the bottom of the lid and gently twist it up through your scoops. Then poke through from the top and use your dowel to make the opening a little bigger.
- Take your sprinkles, one at a time, and gently push them onto your ice cream scoops.
- Use a baby wipe to clean any Culture Sculpt from the sides of your lid. Then let your lid cure for about 4 hours.
The Wrap Up…
We hope that you love these ice cream toppers as much as we do. They are so much fun to make and even more fun to use. If you loved learning from Misty you can find her all over social media! Follow her on Facebook, Instagram, and YouTube. Now you have another tool in your tool box and will be able to offer even more fabulous options to your customers. Happy scooping, y’all!
You can find more awesome video tutorials like this one on our YouTube channel!
Be sure to follow us on Pinterest so you can stay on top of everything that’s new and never miss a blog post!
If you want more inspiration and information we have a Facebook group for that. Join us in Counter Culture DIY Artist Support where we, and other artists, offer ideas, answer questions, and support each other!
Do you have an art project using any of our products that you want to share? Send it to us at support@counterculturediy.com, and we can feature them here!