Why Artists Love 3D Crete by Counter Culture DIY
/
/
Why Artists Love 3D Crete by Counter Culture DIY

Why Artists Love 3D Crete by Counter Culture DIY

Are you looking for an easy way to add texture and interest to your art pieces? Do you long to add that something special? Are you ready to take it to the next level?

Not sure where to start? We’ve got you.

More and more artists are turning to 3D Crete because it’s easy to use and creates dozens of textures and unique effects quickly and easily. From resin geodes, to seascapes to creating barriers to keep your resin where you want it, the possibilities are only limited by your imagination. 

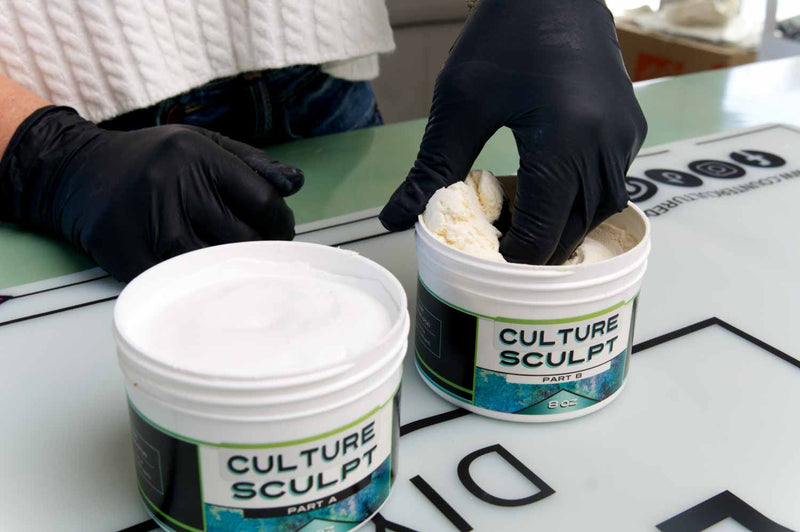
So what is Counter Culture DIY 3D Crete ? It’s is a high strength, fast setting white concrete made to accept stains and topcoats with only a few hours of dry time. 

3D Crete works great for sculpting, solid pours and creating natural elements like stone or wood.


Are you ready to learn more? 

Let’s start by collecting the right tools for your project. 

What you’ll need:

  • a small, waterproof, disposable dish. Recycled food containers work great for this.
  • stir sticks, also called popsicle sticks
  • cold water
  • gloves
  • plastic or a craft mat to protect your work area
  • old toothbrush or nail brush 
  • pallet knife


Now that you’ve gathered your tools, let’s go over mixing.

  1. Make sure your container is clean and free of grease and debris.
  2. Place a small amount of dry 3D Crete in your container. Just like making a cake, you always start with your dry ingredients first. 
  3. Add a small amount of water and stir well. Gradually add water until your 3D Crete is the texture you desire. How chunky (less water) or creamy (more water) you make your mix is up to you. That’s one of 3D Crete’s best qualities! You can create endless textures and effects based on the amount of water you add.
  4. Stir until all the product is incorporated. 

You’re ready to create! It really is that easy! 


Starting your project is just as easy! 

You can get started with just a few simple steps:

  1. Start by skimming a thin layer over the area where you want to add texture. By doing this, it will help your wet mixture stick. Just smear a thin layer with your finger, stir stick or pallet knife.
  2. Apply your 3D Crete to the area with your fingers or pallet knife. Shape and build up as you go. Don’t worry too much about texture yet, concentrate more on the general shape you’re after.
  3. Once you’re pleased with the size and shape, try using an old toothbrush or nail brush to add texture. Pounce the bristles into the surface to add a sand-like texture. 

You can use almost anything, a toothpick, barbeque skewer, wire pot scrubber, crumpled aluminum foil or just about any object to add texture. Let your imagination run wild and try different objects. 

  1. If you’re after a smooth surface, just dip your finger (or a soft paint brush) in a little water and gently rub (or brush) over the surface. 
  2. Once you’re finished, set your piece in a safe place to air dry. 

Drying time will vary depending on the surface you apply it to, and how much you add, generally within a few hours. 

You’ll want to let the product dry completely before moving on. 


Here are some of our favorite tips and tricks to help you get started:

  • Wear gloves. The mixture is non-toxic, and while it will stick to your hands, it won’t stick to your gloves!
  • Try embedding tumbled glass, stones or shells into your 3D Crete while still wet.
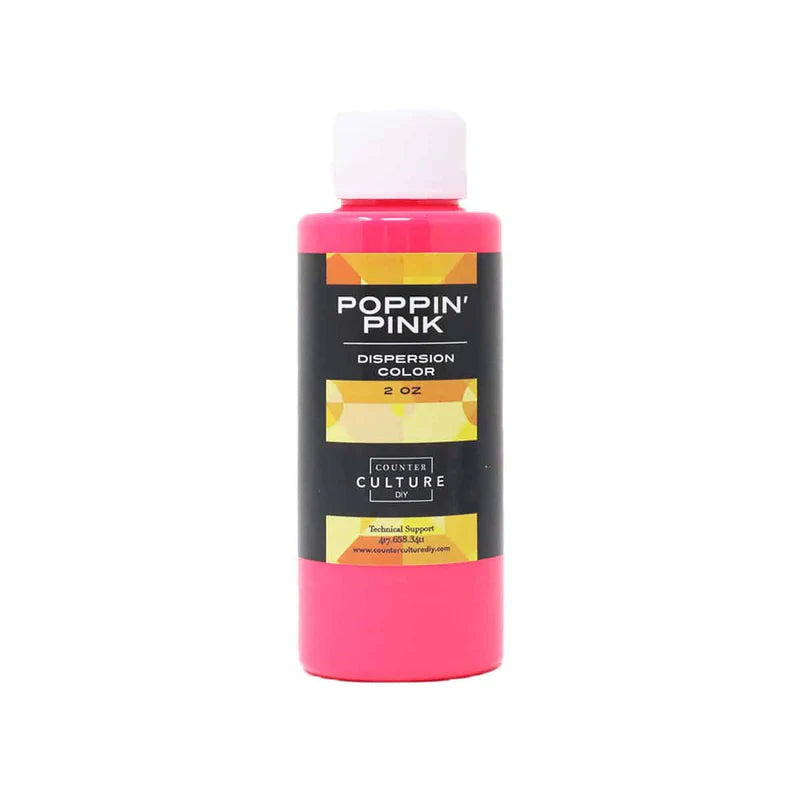
  • Add color using our Dispersion Colors or
  • Brush dry pigment powder over the surface (while still set) with a soft paint brush for a shiny, luminescent quality. Be sure to seal the surface once its dry with resin or Quick Coat.
  • If you prefer, you can let your texture dry and paint with acrylic or oil based paints, acrylic inks, even watercolor paints.
  • Apply gold leaf to select areas to add the Midas touch


Ready for some inspiration? 

Just take a look at these resin geodes by a talented artist and our friend Liza Vaughn.

She’s used 3D Crete to create a beautiful edge, and a barrier on each of these wood shapes to create her signature style resin geodes.

Professional results are easy when you start with great quality products. Visit our store for everything you need.

Share this post

Start typing and press Enter to search

Shopping Cart

No products in the cart.