How to Make UV Resin Earrings
/
/
How to Make UV Resin Earrings
how to make uv resin earrings

How to Make UV Resin Earrings

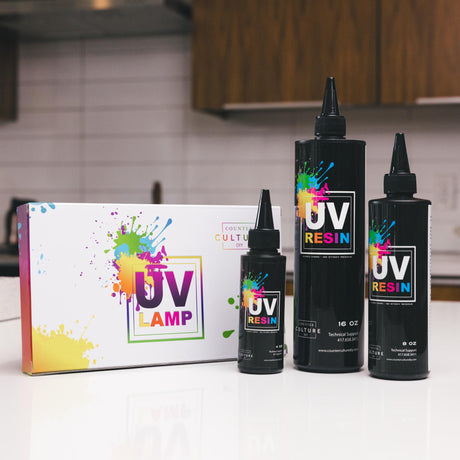
One of our favorite things about UV Resin is how quickly you can make beautiful art come to life. Meg Epps of Lyndly Grove is showing us how to make UV Resin earrings that come together beautifully and in a snap!

UV Resin requires no lengthy stirring and cures in a matter of minutes under a UV Lamp. Which means we can create many beautiful pieces in the fraction of the time that it takes traditional resins to cure. Don’t get us wrong, we adore Artist Resins and Casting Resin! They are perfect for so many projects.

But UV Resin gives us another fabulous option for making small items like jewelry, badge reals, key chains, and magnets! In the video below, Meg shows us how to make UV Resin earrings using some beautiful glitter and Dispersion Colors. We hope you love them as much as we do!

how to make uv resin earrings

How to Make UV Resin Earrings

As artists ourselves, we know how difficult it can be to find room in your work room for all the supplies. Craft room space is almost always at a premium. Especially for those of us who have glitter obsessions! (Don’t worry, you’re not alone on that😅) Another great thing about UV Resin is that it takes up so little space. 

Since it doesn’t need to be combined, it only comes in one bottle instead of two. And it’s one small bottle too! Annnd, since it can be used as a strong adhesive, there is no need to have a second product around for that. UV Resin can be used to attach your jewelry hardware, magnet backs, and so much more.

And, since the bond is made with cured epoxy, you know it is as strong as it can get! No more worrying about your beautiful creations escaping their hardware. And more room for glitter in your craft area! It’s a win win situation for sure.

If you are new to UV Resin and want to learn more about it, we have a post for that too! Check out our UV Resin Tutorial to get all the details!

Adding Glitter and Dispersion Colors to your UV Resin

It is really simple to add your colorants and glitters to the UV Resin. All you need to do is squirt the desired amount of resin into a medicine cup. Then add a little bit of glitter or colorant at a time. In the pictures below, you can see the consistency of Meg’s resin just before she was ready to pour. 

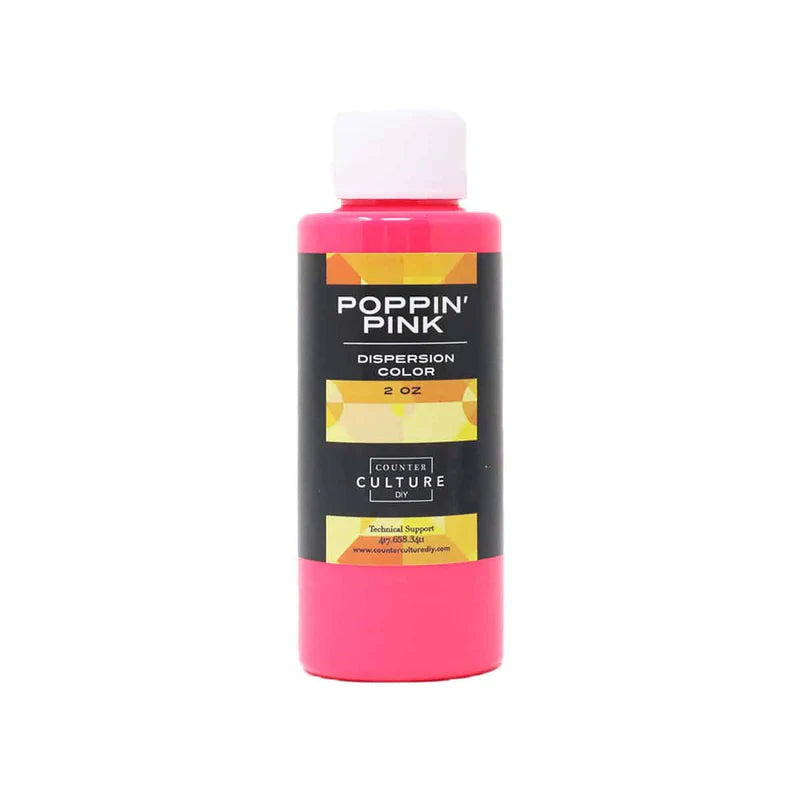
Of course, you can use as little or as much of the additives as you want. It depends on the level of sparkly you prefer as well as the deepness of the color. Just remember that a little bit of Dispersion Color goes a very long way.

Especially when working with small amounts of resin like you use when working with the UV variety. So start with just one drop, mix it well, and then decide if you need to add a little more. Once your resin looks the way you like it, you are all set to pour!

How to Attach the Hardware to your Earrings

In the video below, Meg shows us how she makes her fabulous resin earrings. But she doesn’t show us how she attaches all the gear. But we promise, it’s super easy to do! All you need to do is put a little dab of the UV Resin where you want to attach your earring back. 

Then settle the earring back into place over the resin. Finally, set it under the UV Lamp for a minute or two and your earrings are complete! If you end up with a little bit of excess that presses out around the earring back, just just a tooth pick or other similar item to remove it. 

That way, when the resin cures, you won’t have any visible blobs that could through off the look of your pieces. 

Annnnd… you can use this process anywhere you need a super strong adhesion. Even for projects or items that didn’t start as UV Resin. Since you can move the lamp around and hold it wherever you need to, you can use this resin to bond just about anything. 

Getting super excited about UV Resin and want to see another project you can use it for? Check out our post, How to Use Nail Foils with UV Resin!


How to Make UV Resin Earrings

Yield: 1 pair of earrings

Instructions

  • Start by squeezing some UV Resin into 2 medicine cups. Meg used more in one cup than the other because she wanted more glitter than plain color in her earrings.
    How much you use in each cup depends on how much of each kind you want.
  • Next, add your glitter to the medicine cup with more resin in it and stir to combine. Then add a drop or two of Dispersion Color to the second cup and stir to combine.
  • Now pour the glitter resin into two pairs of earrings and half of the oval in the third pair. Also pour into the top portion of one pair of earrings. Then fill in all the other areas with the Dispersion Color Resin.
  • Turn on your UV Lamp and set the earring mold under it for a few minutes while the resin cures. Once the earrings are completely cured, remove them from the mold.
  • Finally, use the UV Resin to attach your earring hardware and your earrings are ready to wear!


The Finishing Touches

And that’s that! In just a few minutes, you can bust out a whole lot of beautiful. For your own collection or to stock your Etsy shop or next craft show. And there are so many different ways that you can add color and sparkle to your earrings! Try different glitter and color combinations. Swap in different molds. You could also work in mica powders or foil flakes. The possibilities are endless!

As always, a big thanks to Meg for sharing her time and talent with us. If you loved learning from Meg and want to see more of her creations and tutorials you can follow her on Facebook, Instagram, and YouTube, and you can check out her Facebook group, Curious Crafters. We hope you love her creations as much as we do!

You can find more awesome video tutorials like this one on our YouTube channel!

Be sure to follow us on Pinterest so you can stay on top of everything that’s new and never miss a blog post!

If you want more inspiration and information we have a Facebook group for that. Join us in Counter Culture DIY Artist Support where we, and other artists, offer ideas, answer questions, and support each other!

Do you have an art project using any of our products that you want to share? Send it to us at [email protected], and we can feature them here!

Share this post

Start typing and press Enter to search

Shopping Cart

No products in the cart.