Are you looking for a new craft material to add to your arsenal? Look no further than UV Resin! This product is a game changer in the world of resin and jewelry-making. Boasting extremely fast cure times, a beautiful clear finish, and the ability to choose when it cures, UV resin is a must-have when it comes to small projects.

What is UV Resin?
UV resin is an easy-to-use, 1 part resin that doesn’t require mixing. How does this differentiate from an epoxy resin? Well, instead of mixing two parts, resin and hardener, you have a single part that only cures when exposed to UV light. This means you have a virtually unlimited work time!
The ease-of-use and curing is what really sets UV resin apart from epoxy and other materials, as it allows you to take on smaller projects without the hassle and time spent mixing up epoxy.
You also won’t be wasting as many mixing cups and stir sticks, depending on the project!
How to Use UV Resin
There are a few tools that will be necessary, as well as a few nice-to-haves. We’ll be sure to cover everything you need to get started using UV Resin!
Required Tools and Materials:
-
- UV Lamp This is an absolute must, otherwise you’ll have no way to cure your resin!
- Mixing Cups For mixing in colorants, glitters, etc.
- Mixing Sticks
- Heat Gun or Isopropyl Alcohol in a Fingertip Sprayer
- A project to work on You can use Silicone Molds, decorate pens, phone grips, and much more! Let your imagination run free!
- PPE (Gloves, mask if desired)
 We’re going to use a small earring mold as an example. Earring molds are extremely common to use with uv resin, and a great one to start with!
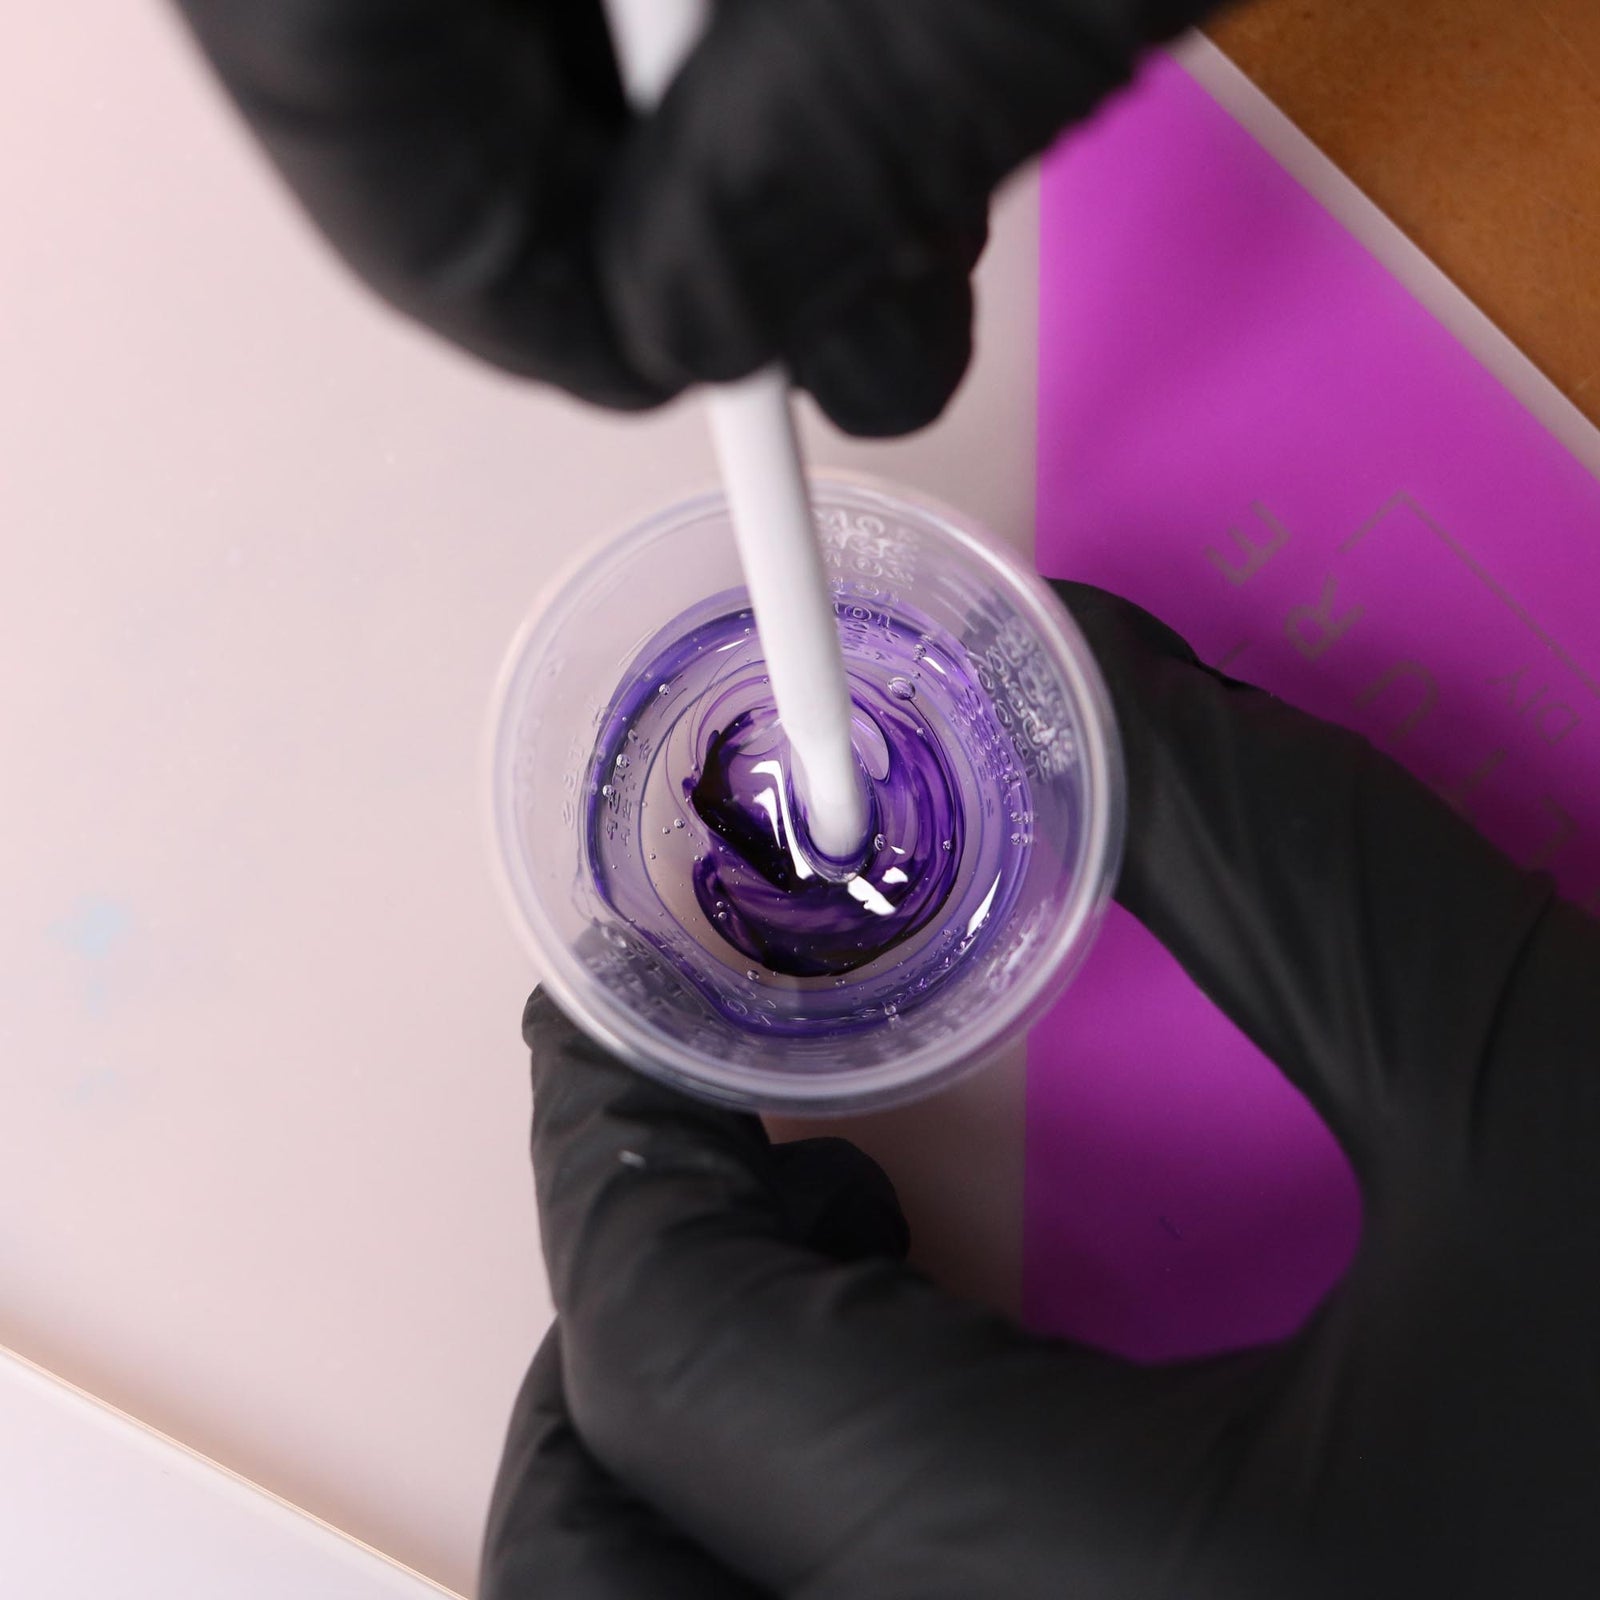
Start my coloring your resin how you please. We sell Spectrum Dye, which we developed specifically for use with UV Resin. It isn’t entirely opaque, which will allow the UV light to pass through and fully cure your piece.
Mix until you have even color throughout, then proceed to pour the resin into the mold, with your layer thickness no greater than 3mm.
 You may notice some air bubbles. These are typically caused by mixing, or they can also be from pouring. To take care of this, you have two options to pop the bubbles: either a heat gun, or alcohol.
Should you choose the former, apply the heat in sweeping motions on a high setting, holding it about 6 inches away.
If you decide to use alcohol, lightly mist the entire surface of the resin. You can also wait a few minutes and repeat this procedure to make sure all the bubbles are removed.
 You can also use those two methods together if you’re having trouble by heating the resin, which will bring the bubbles to the surface, then spraying alcohol.
Now you should be ready to cure the resin. Place your UV Lamp over your mold, making sure to cover it entirely.
Your cure time will depend on the size, depth, and colorants, but start with around 2 minutes. With some experience, you’ll be able to accurately guess how long to leave it under the lamp.
After a few minutes, it should be completely hard, which means you’re done!
 Common Problems
UV Resin Shrinking/Warping
Preventing shrinkage and warping of your projects is super simple! For starters, using thinner layers will make quite a difference. It may take longer, but the results are worth the extra work.
For warping, another option to try (if you’re using clear molds) is to cure the top for a minute or so, then flip the mold over and cure the other side. This can cause issues if the resin starts to come out of the mold though, so handle with care.
Parts of My Project Aren’t Cured
This issue is almost always cause by two things: 1. Not enough cure time, or 2. The uv light is being blocked.
Make sure there is nothing obstructing the light, and try curing for a minute longer.
When choosing molds, keep in mind that clear molds will work great with UV Resin.
You can also place a sheet of aluminum foil underneath the mold to reflect the UV light back into the resin, which will cure the piece more evenly, thus reducing warping. This also helps when using chunky glitter, though we still wouldn’t recommend it.
My UV Resin is Still Sticky
Try leaving your finished piece to sit for a day. Typically any leftover residue will harden or evaporate after some time, leaving you with a nice, solid finish.
Though it may be tempting to immediately demold or touch your freshly cured piece of work, it’s generally a good practice to cure for an extra minute or two. Combined with our aluminum foil method above, this will ensure your resin is 100% cured all throughout!
You can also place your projects in direct sunlight for a while.

Conclusion
UV resin can provide such value to an artist, it’s seemingly a no-brainer to have it on-hand. We hope this post helps with any issues you may have, as it can be a bit tricky when you’re starting out.
Leave us a comment if we missed anything!