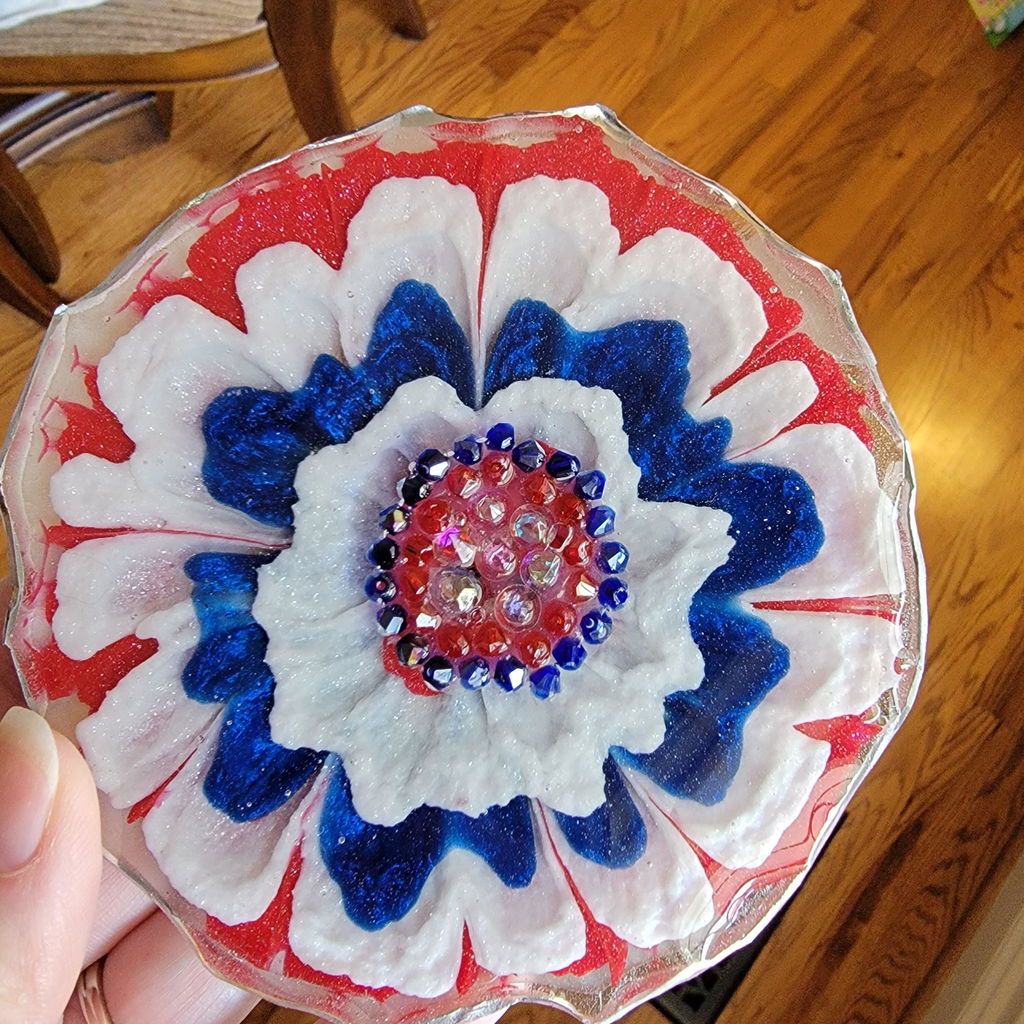


Armor Art - White
Armor Art - White is backordered and will ship as soon as it is back in stock.
Couldn't load pickup availability
Delivery and Shipping
Delivery and Shipping
Orders typically ship out within 1-2 business days
Exchanges & Returns
Exchanges & Returns
Free exchanges for defective or damaged products.
We offer a 30-day return policy on new and unused products.

Armor Art - White
Description
Description
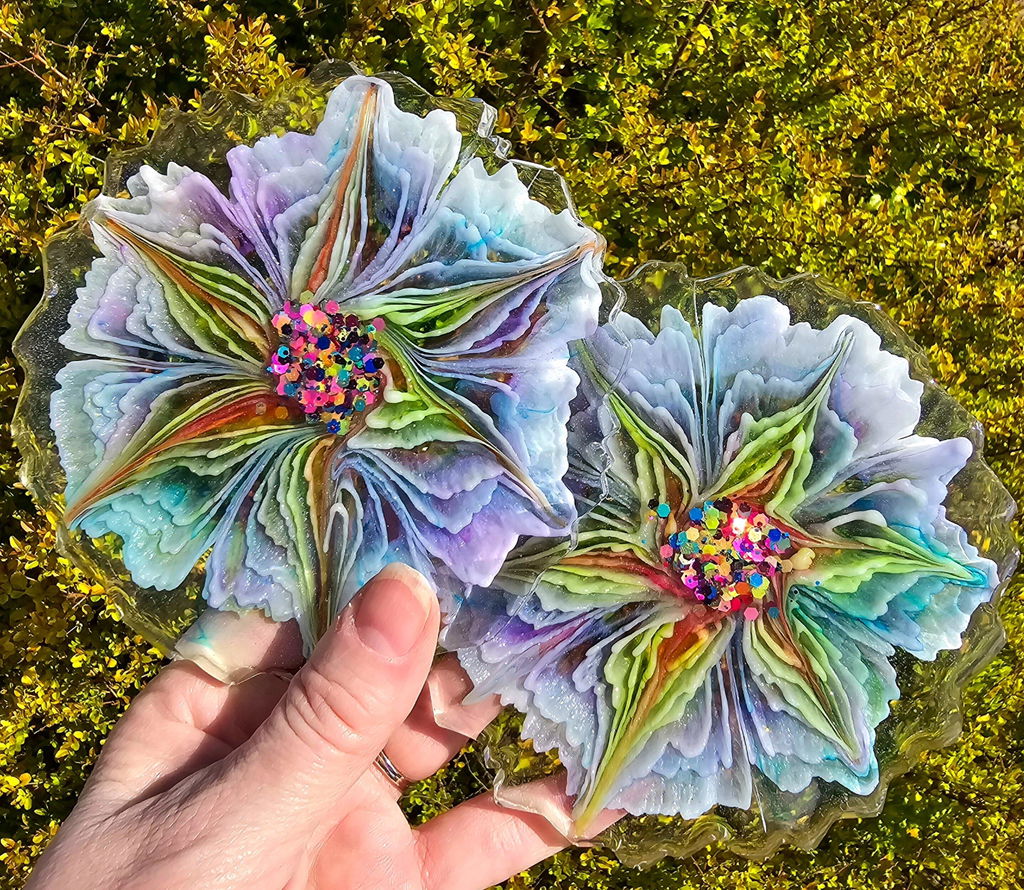
Create realistic white waves, foam-like cells and defined lacing in epoxy beach art. Armor Art White is a specialty epoxy pigment formulated for the bright, detailed wave effects that make resin ocean scenes look dimensional and lifelike.
For the best results, pair it with Original Artist Resin. Its thicker consistency helps the white resin maintain its shape as it moves across the ocean colors. In general, thicker resin produces stronger wave lines, more controlled movement and better-defined lacing than thin, highly fluid resin.
What Does Armor Art White Do?
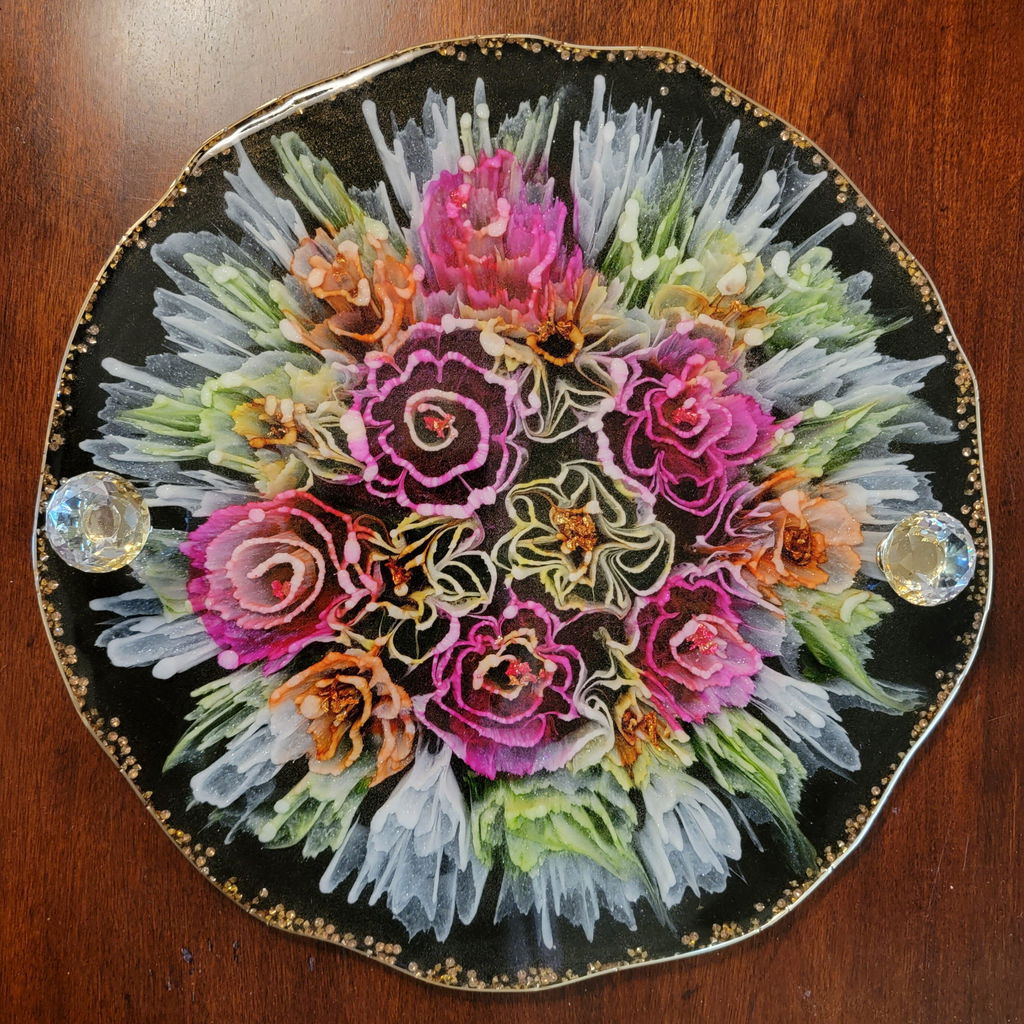
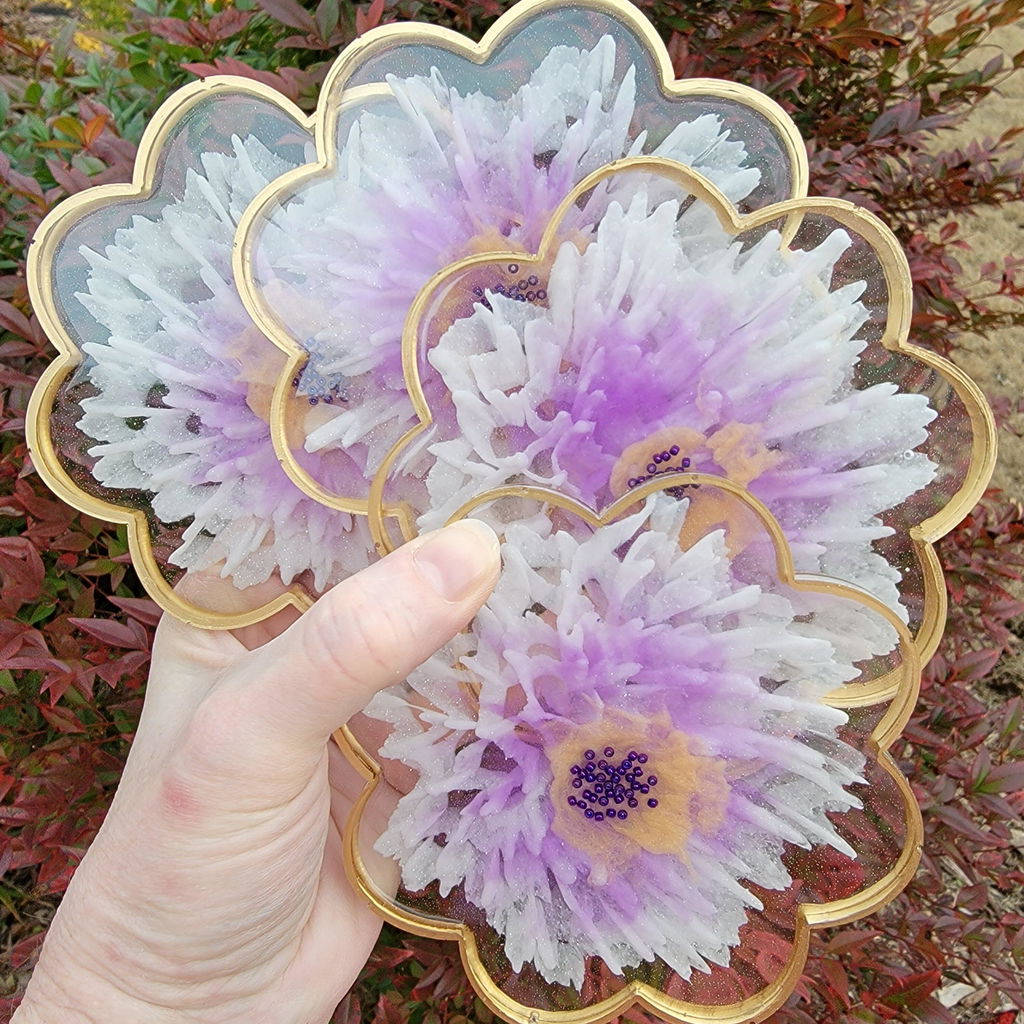
Armor Art White colors a separate portion of mixed epoxy so it can be poured and pushed across blue, turquoise and aqua resin. As the white resin moves, it opens into branching cells, delicate webbing and foam-like edges that resemble a breaking ocean wave.
- Creates bright white cells and lacing
- Produces realistic foam and breaking-wave effects
- Maintains strong contrast over dark ocean colors
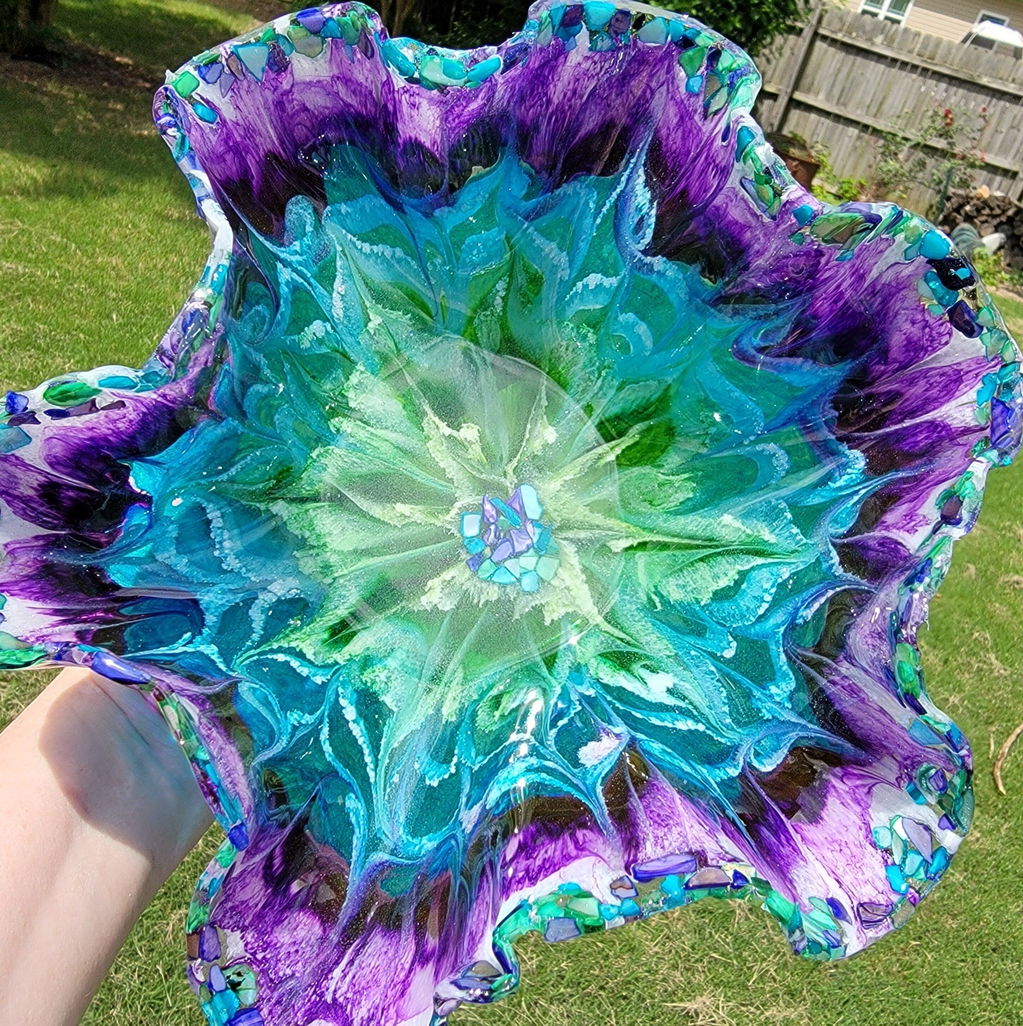
- Works for beach scenes, geodes and abstract resin pours
- Can be layered to create multiple waves and greater depth
How to Use Armor Art White for Epoxy Waves
- Prepare a clean, level work surface and follow the measuring, mixing and safety instructions for your epoxy.
- Measure and thoroughly mix the resin and hardener. We recommend Original Artist Resin because its thicker viscosity provides better control and more defined waves.
- Transfer a small portion of the completely mixed epoxy into a separate clean cup.
- Add Armor Art White a little at a time and mix thoroughly. Use enough to create an opaque white without overloading the epoxy with pigment.
- Pour and arrange the sand, blue, turquoise and aqua portions of your ocean design.
- Allow the resin to develop some body before creating the wave. Resin that is too thin can spread quickly and cause the white to blend into the background instead of forming distinct cells.
- Pour a narrow line of white pigmented epoxy along the edge where the wave should break.
- Use a heat gun or controlled warm-air tool in short passes to push the white resin over the colored layer. Direct the air from behind the white line and stop once the cells and lacing begin to open.
- Allow the artwork to cure undisturbed according to the epoxy instructions.
Tips for Stronger Waves and Better Lacing
- Choose a thicker resin: More viscosity helps the wave hold its shape and keeps the white from disappearing into the background.
- Use a narrow white line: A heavy puddle can produce a solid white area instead of delicate foam and cells.
- Control the airflow: Short, deliberate passes provide better results than continuously heating the same area.
- Do not overheat: Excessive heat can muddy the colors, thin the resin too much or affect the finished surface.
- Create layers: Add more than one wave line to give beach scenes depth and movement.
- Test first: Temperature, resin viscosity, pigment amount and working time all influence the final pattern.
Complete Your Resin Ocean Project
Explore the complete Armor Art Pigments collection for coordinating ocean colors, or browse our epoxy colorants for additional ways to customize resin artwork.
Size: 0.85 fl oz (about 25 mL)
Armor Art White is a pigment additive and does not cure by itself. Epoxy resin is sold separately. Results vary with resin viscosity, temperature, pigment amount, working time and application technique.
Frequently asked questions
What projects can I make with Armor Art - White?
Use this pigment for compatible resin art, tumblers, molds, mixed-media pieces and other craft projects described on the product page.
How much pigment should I use?
Begin with a small amount and build the effect gradually. The right amount depends on the medium, project size, desired opacity and the look you want.
Should I make a test sample first?
Yes. A small test helps you evaluate color, sparkle, transparency, dispersion and compatibility before committing to the full project.
Will the finished color match every screen exactly?
Screens, lighting, background color and batch variation can affect how a shade appears. Use the product photos as a guide and evaluate a physical test for color-critical work.
Payment & Security
Payment methods
Your payment information is processed securely. We do not store credit card details nor have access to your credit card information.